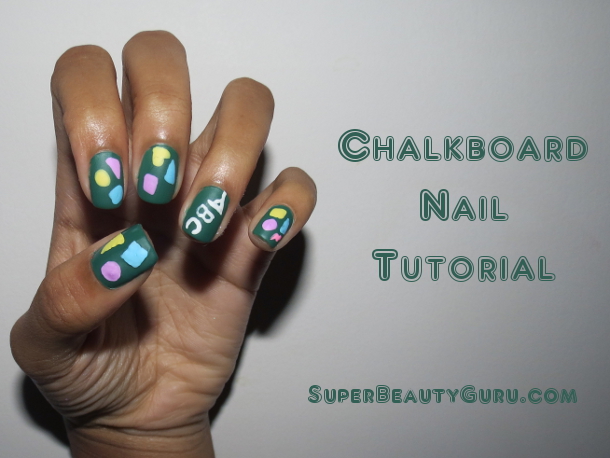
Hey everyone! Today I’m going to show you how to create Chalkboard Nails! I wore this nail design in the beginning of the school year, I just started my junior year of high school, and it was a great design to start the year with. Whenever I think “chalkboard” my mind instantly associates it with school, so that’s why I wore this as my back to school nail look.
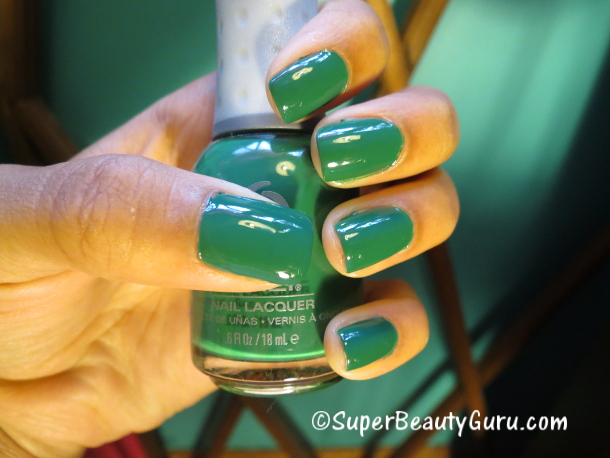
The coolest thing about this tutorial is that it makes your nails look just like a chalkboard because of the color (Lucky Duck by Orly), designs, but most importantly, the matte finish. I used a special nail polish that gives any design a matte finish, which removes the shine from the nail polish and makes it look exactly like a chalk board.
Here are all the Steps and Products I used:
If you cannot view the above video, click here for the tutorial on this look: Chalkboard Nails: Chalkboard Nail Tutorial Subscribe to my Fashion and Beauty YouTube Channel!
Steps
1) Apply a base coat to protect your nails.
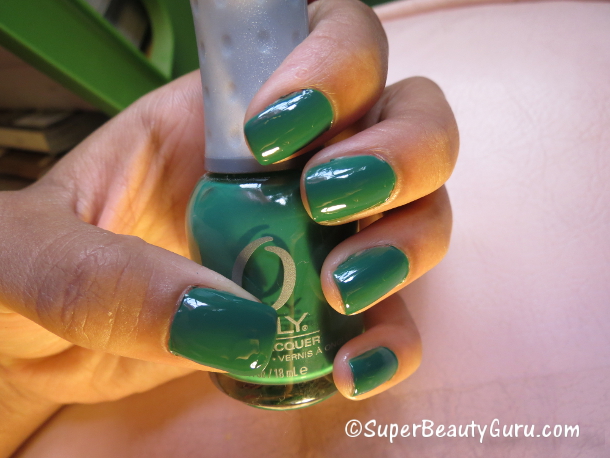
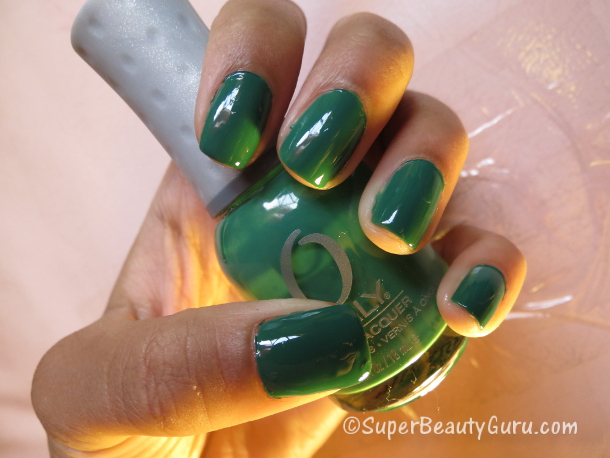
2) Paint your nails the color of a chalkboard. Most chalkboards are this greenish color, but if you don’t have a similar green nail polish, you can always try to mix the colors you do have to make this one, or just use a black.
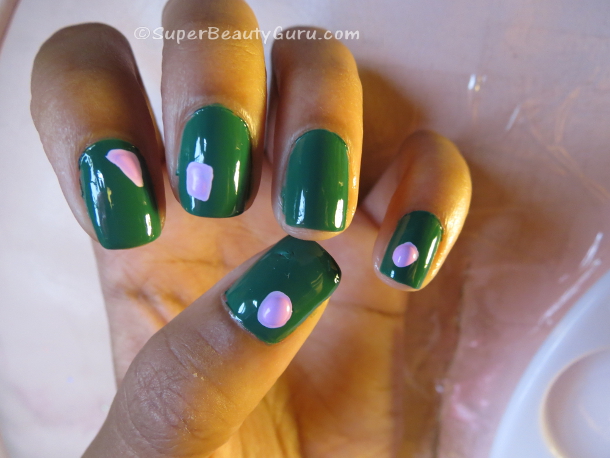
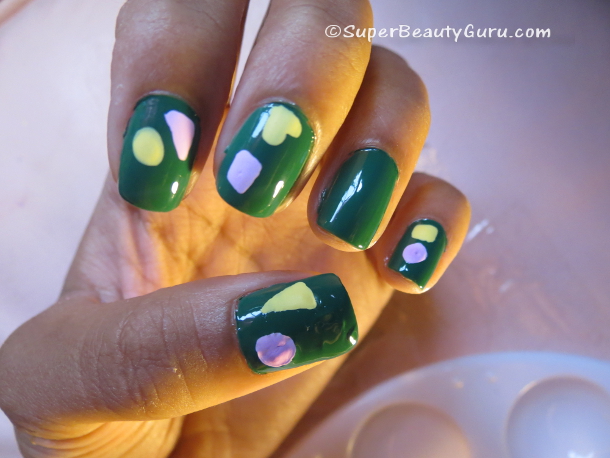
3) Use a nail art brush to paint different shapes on each nail, except for the ring finger. Start off with any pastel color, I mixed a purple with white to make it more pastel, and paint whatever shapes or pictures you think would be found on a chalkboard. You can use acrylic paint instead of nail polish because it is easier to clean up. That’s what I did.
4) Repeat step 3, but instead of using purple, use yellow. I did a heart on one of the nails just for fun, and it came out well so I left just one there so I wouldn’t push my luck
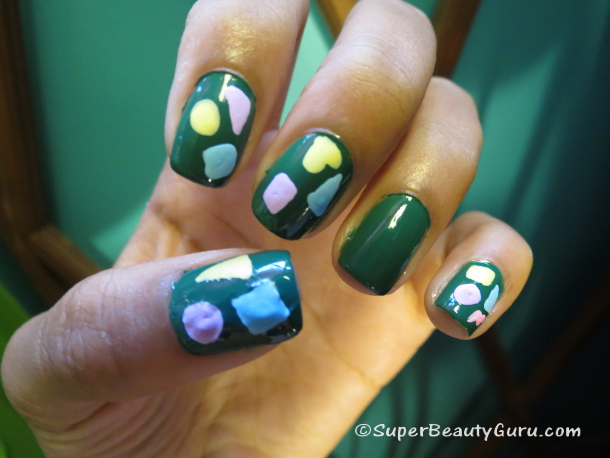
5) Add another light color… blue! You can use whatever colors you want for these, but the lighter, the better because they will look more like chalk that way.
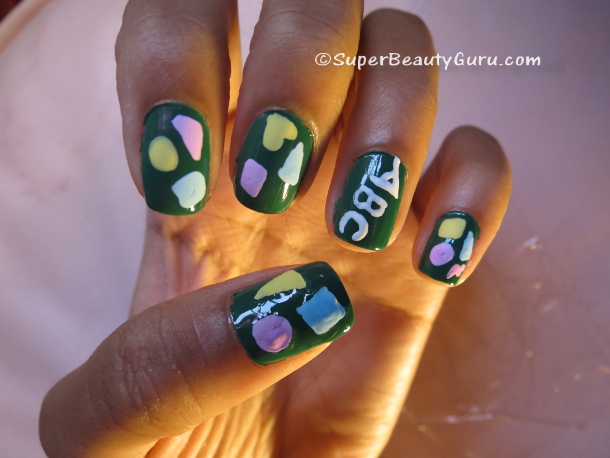
6) Remember when I said to leave the ring finger blank? Well, now it’s time to fill it in. Use a white color to write the letters “ABC” on them. I guess you could use other letters if you wanted to.
7) Now add a clear coat/top coat to seal in your acrylic paint. You need everything to be protected, because without a topcoat, the acrylic paint would wash off as soon as you washed your hands!
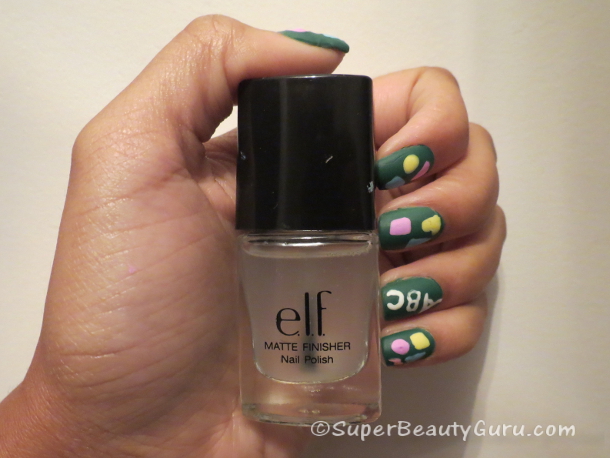
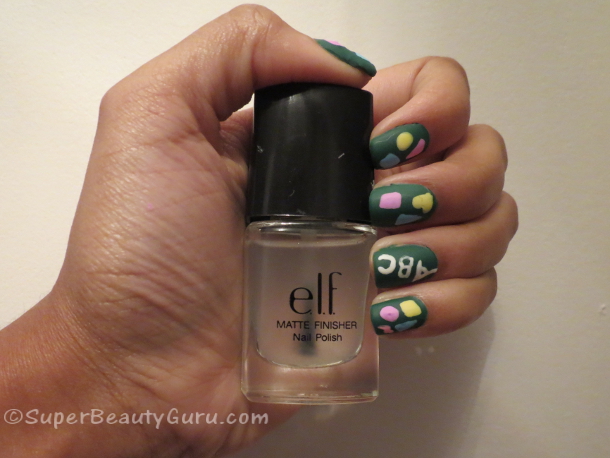
8) Once your nails are completely dry, it’s time for a matte topcoat! This is the part of the design that is the most magical. When you apply this on top of your design, in a couple of seconds, your nails will go from super shiny to not shiny at all! It’s really fun to watch, and really makes your nails look like mini chalkboards!
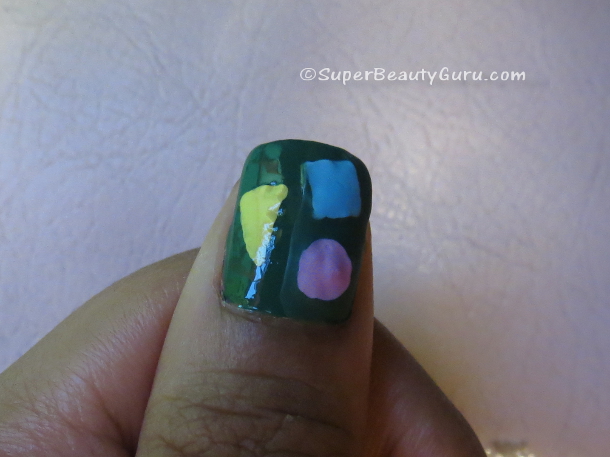
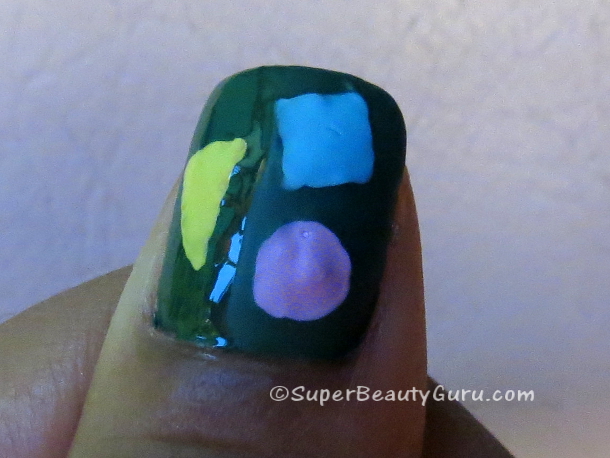
Here is a comparison of what the nail looked like with the regular topcoat (left) and what it looked like after the matte topcoat was applied (right). Huge difference, huh!
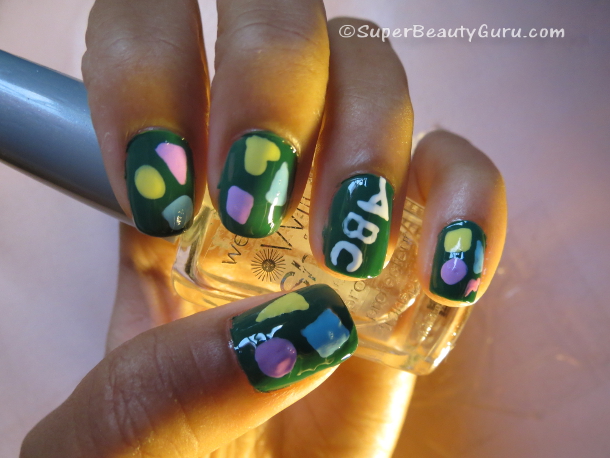
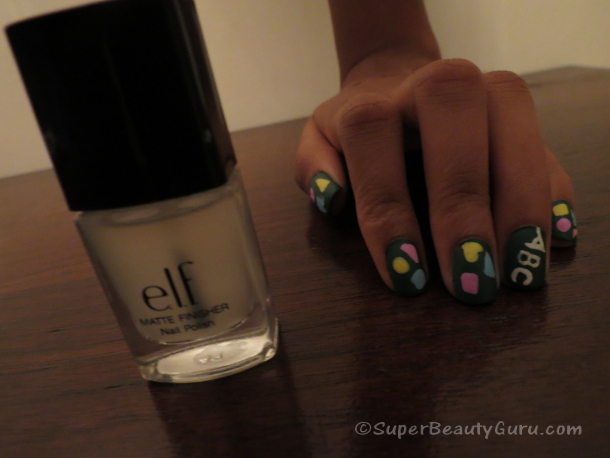
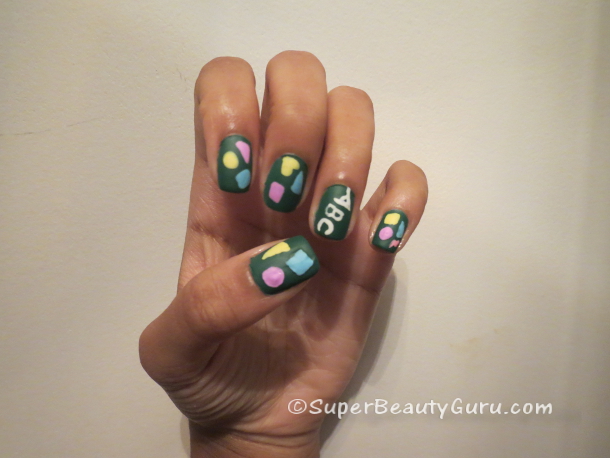
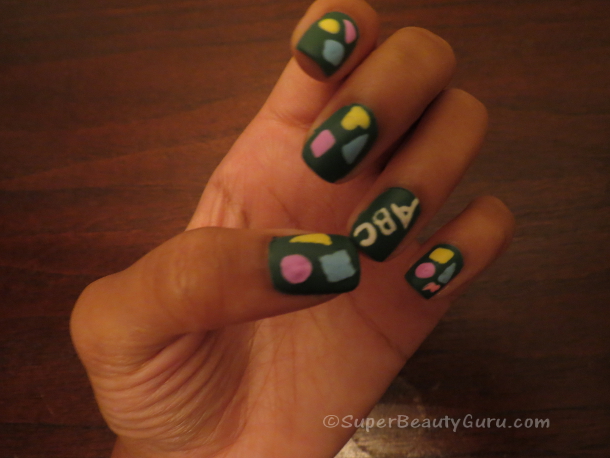
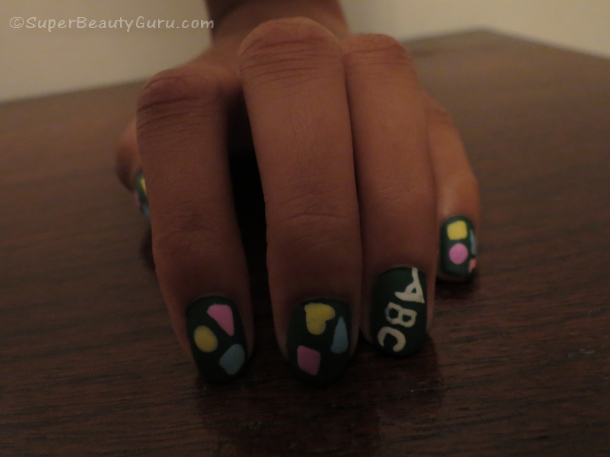
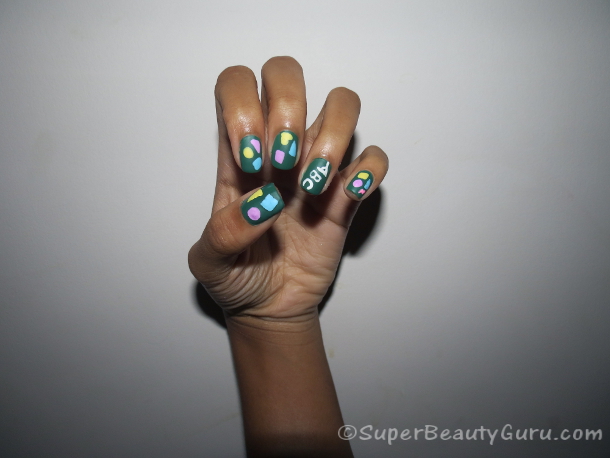
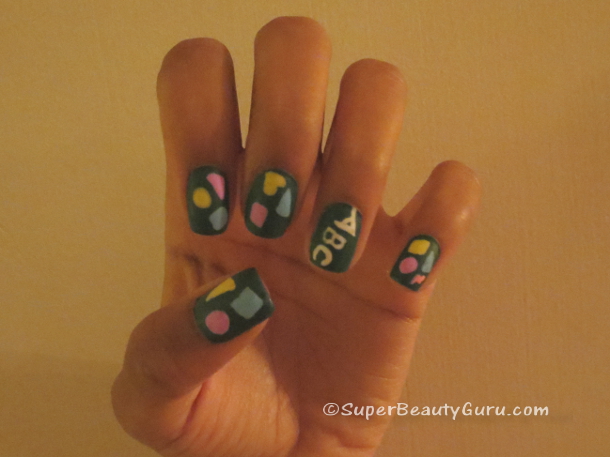
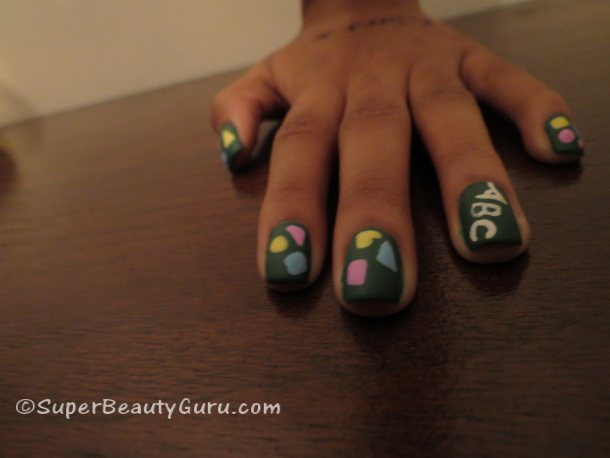
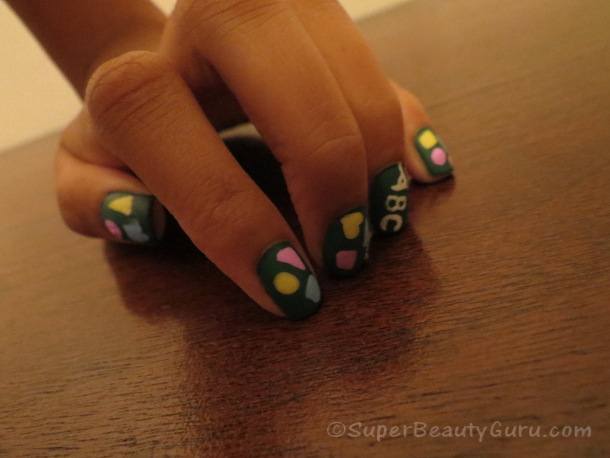
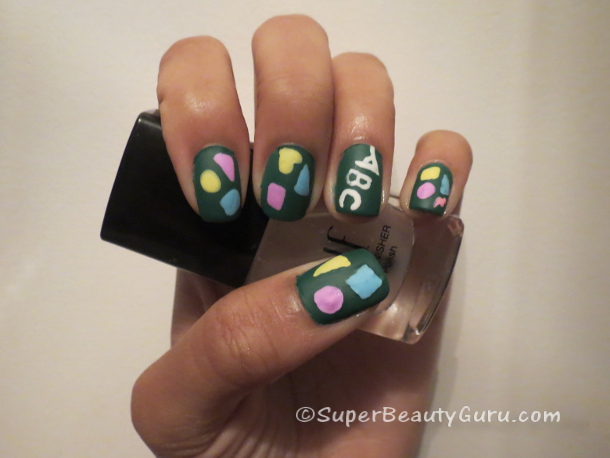
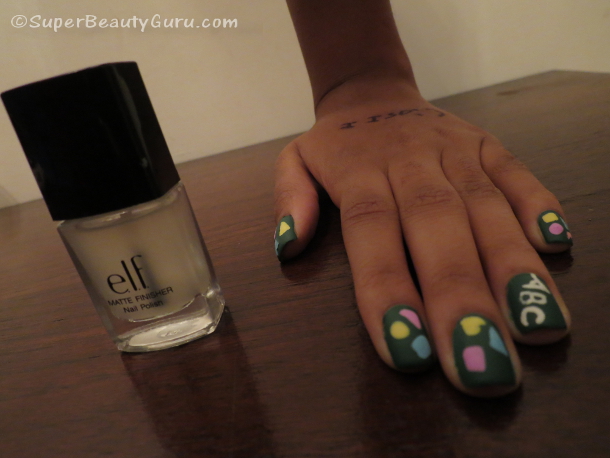
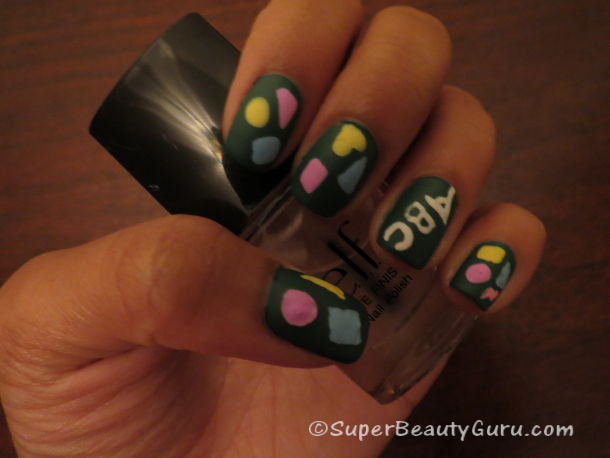
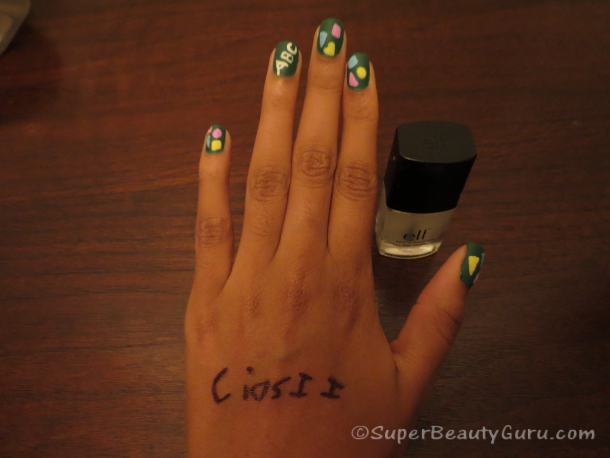
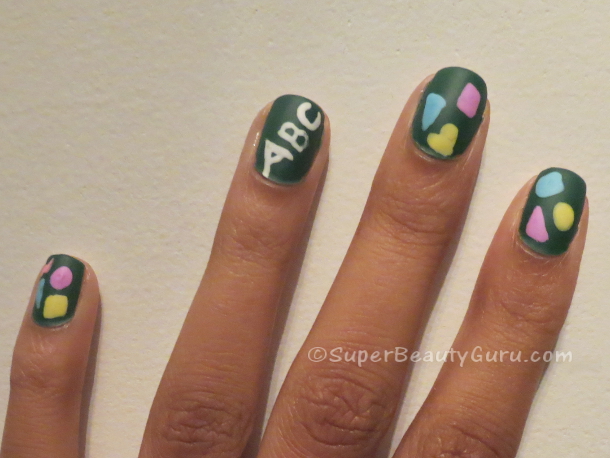
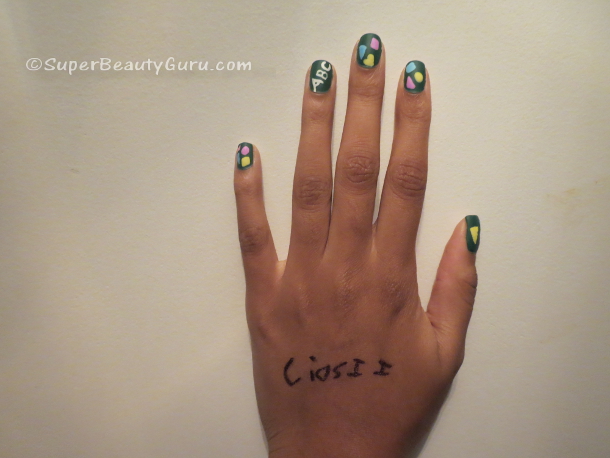
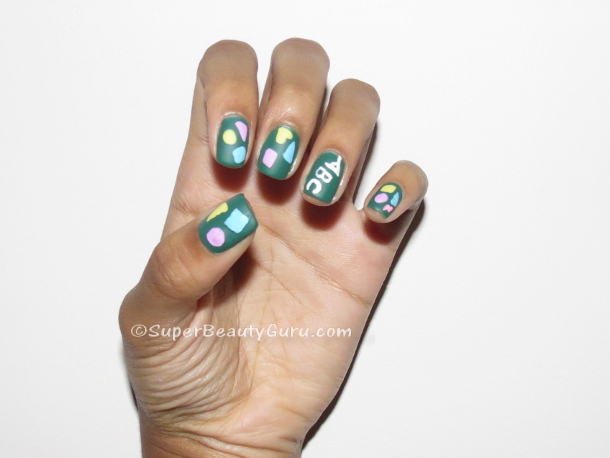
Here are the finished nails! They are perfect for back to school, and the matte finish is sure to impress your friends. And teachers, if your teachers look at your nails that is. Hope you guys all enjoyed this tutorial, and if you did, tell me in the comments down below. I also have more pictures at the end of this post for your enjoyment. If you like my nail tutorials, please follow my blog and YouTube, it would mean the world to me!
Products Used
-Wet n’ Wild Topcoat – Clear
-Orly Nail Lacquer – Lucky Duck
Subscribe by email if you like my style
Subscribe with: Feed Reader | Bloglovin’
Nail Gallery
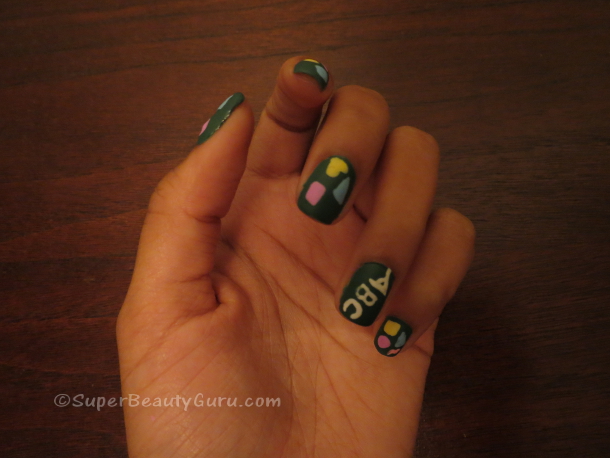
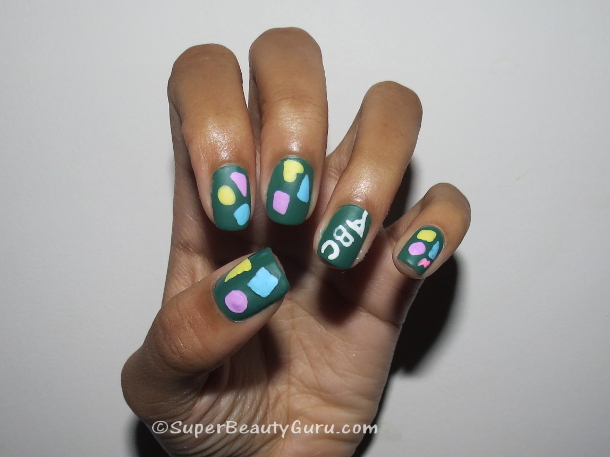
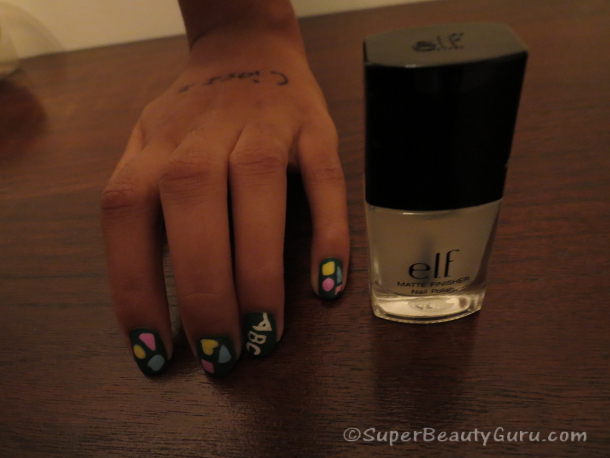
Here are some more chalkboard inspired nail design photos!
Related Posts:
Video Transcribed: Hey guys! Don’t these nails remind you of a chalkboard? I wore these in the beginning of the school year, since chalkboards remind me of school, so I’m gunna show you how to do them today. Isn’t it cool how I removed the shine to make it look more realistic? Anyways, this is how you do it. Start out with a base coat of nail polish to protect your nails, as usual. This will keep your nails stronger, and help prevent staining. If you don’t have a base coat, use a clear nail polish. Next get a green colored nail polish that looks similar to the color of a chalk board. This one from Orly was the perfect match, and I’ll have all the products I used listed on my blog if you want to know the names. Paint an even layer on your nails. I did two coats so it was perfectly even, but do however many you would like. Now get an assortment of pastel colors and use them to make shapes on your nails. You can use nail polish, but I used acrylic paint. Paint shapes on all of the nails except one for an accent. Using a tiny nail brush, I painted different shapes like circles, triangles, and squares. It’s easiest to go through your nails with one color at a time so you don’t have to switch brushes or clean it off between every use. I used purple, and did a different shape on each nail. After the purple, I got a clean brush and used a yellow to do the same thing. Just paint some shapes on your nails like you did with the purple. On one of the nails I decided to add a yellow heart and it came out really well. Now use a blue to add more shapes. You can paint whatever you want really, you don’t have to do what I did. It’s easier to tell that it’s a chalk board if you add shapes or anything else you would find on a chalk board, but you can do what you want. I also added a random pink zig zag. Just for fun. On the accent nail, I used a white paint to write the letters “ABC” on it. This nail really looks like a chalk board once it’s turned matte. If you can’t paint these letters with your non-dominant hand, hopefully you will be able to find someone who can help you. If you practice enough you will be able to do it with either hand and no problem, like me. Now it’s time to seal in your design with a top coat. Make sure that your design is completely dried before you add the topcoat, or else you will smudge and mess up the whole design. If you used acrylic paints like I did, make sure you only press down lightly to avoid smearing the paint. Let your topcoat dry completely. Once your design is completely dried, your nails will be shiny like this, so get any matte topcoat like this one from E.L.F., and evenly paint this over all of your nails. Once you paint this on, wait a couple of seconds and it will remove the shiny finish on the nails. Here is a comparison of the shiny nail to the matte side. You will still have the protection of the topcoat, but now the nails will look even more like a chalk board. Hard Candy and Essie also make a matte topcoat, so any of these would work. Now you are completely done with the design, and your nails look just like a chalkboard! This design is simple and easy to recreate, and the matte topcoat makes it more unique. Oh and by the way, I have a friend who really wanted a shout out so he wrote his channel name on my hand, so hi Conner! He does a lot of video editing and works with a team of other editors to make some cool stuff, so if you are interested in that kinda stuff you can find out more about it on his channel, CiosII, and I’ll have a link in the description box. So that’s it for the tutorial. Hope you enjoyed, and don’t forget to subscribe to my channel if you liked it! Thanks for watching, and I’ll see you in my next video. Bye!
Thanks for stopping by! Please subscribe to my blog if you like it! xoxo Amber C Johnson from Super Beauty Guru <3



It’s a nice blog you have over here! It’s very usefull infrmoation for me and I just want to thank you for that! If you post more threads as this one, I’ll follow your blog active!
thank you!!
Pingback: How to Create a Simple Rose Nail Design on Your Nails (Easy) - Super Beauty Guru
Pingback: How to Create a Simple Rose Nail Design on Your Nails (Easy) | Super Beauty Guru