
Posts by admin:
- Time – The first and most natural step in fading out any hair colour is using time. Time passes wether you like it or not, so there’s no stopping time from fading your hair colour. Fortunately, by the time you’re tired of it and ready to move on to another colour, time will have worked in your favour and made the fading process all that much easier!
- Salerm Color Reverse Treatment – This is the best method I’ve found so far to effectively and pretty quickly strip out any semi-permanent or demi-permanent hair dye. The treatment is called Salerm Color Reverse and is a two-step process. All you have to do is take an equal ratio of the two solutions, mix them together, and apply it to your hair. I let it sit for 20 minutes, shampoo it out, condition my hair, then let it fully dry and repeat the process the day after. This gives my hair time to rest in between treatments.
- Light Bleach Bath – A last-resort way to fade hair dye (well, last to just bleaching through it), is by using a bleach bath. A bleach bath is when you combine shampoo with hair bleach. Some people mix it with just the powder and others mix with the solution of bleach powder and developer- I’m not sure which way is more effective or damaging, so that’s definitely something to test in the future! You then spread this mixture on the are that you’d like to strip colour from, and it will remove the colour more gently than just bleaching through it. This is a lot less damaging than bleaching, and is a great step to try when there’s still that stubborn green clinging on to your hair after two rounds of the Salerm Color Reverse that just needs to go.
- Be Gentle When Processing – When you are doing any kind of processing to your hair, it becomes more vulnerable than it was before. This means that any extra tugging, pulling, or stress put on your hair will be more damaging than it would normally be. With the stripping product in my hair it feels more gummy or stretchy, so I’m careful to not tug on it too much.
This also goes for putting your hair up into a pony-tail while you wait for it to process. That’s a big no-no. - Deep Condition Beforehand – Deep conditioning your hair is a good thing to practice regularly, but especially a great thing to do before you do any type of process to it. Before stripping my hair, I used the Joico Moisture Recovery Balm and let it sit in my hair for an entire day to prep my hair for the process that was about to com its way.
- Use a Protein Treatment Afterwards – Using a protein treatment will strengthen your hair after the hair folicle has been opened up, invaded, and left porous and sad. To fill in the hair folicle with the proteins that it needs and help smooth and strengthen it again, I use an old favourite at-home protein treatment that always seems to do the trick. If you’ve never tried the Aphogee Two Minute Keratin Reconstructor, then you have a lot to catch up on!
- Give Yourself Extra Time – The fading process can take quite a while to happen. This can range depending on the dye and colour you have in your hair, but I’ve found that it takes two rounds of using the Salerm Color Reverse treatment or others similar to get out enough of the dye to be able to move forwards with another colour. If I wanted to get even more out to get a perfectly blank base, I’d need another round after that.
That being said, if you really want to fade out your hair colour, it’s going to take time. I’d recommend giving yourself a full weekend to do this so you don’t end up rushing or being disappointed in the job that you did! - It’s much less drying to your hair than shampooing every time you want to cleanse your hair
- It makes curls more curly and less frizzy (I can definitely attest to this one!!)
- Your hair retains its natural oils which are necessary for its health, and prevents dryness
- It makes detangling hair easier
- Helps maintain your hair colour better (if you have dyed hair)
- Keeps your scalp moisturized
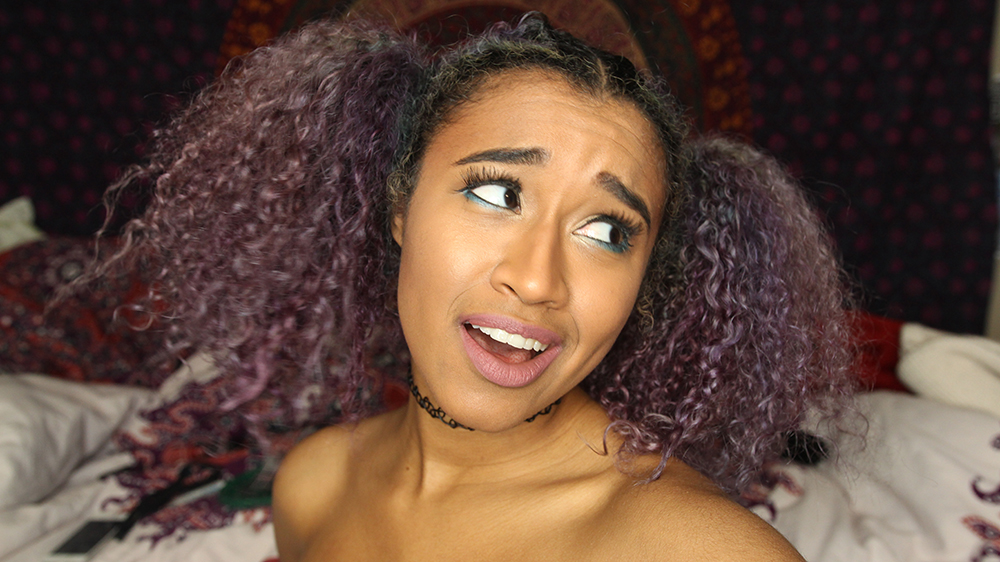
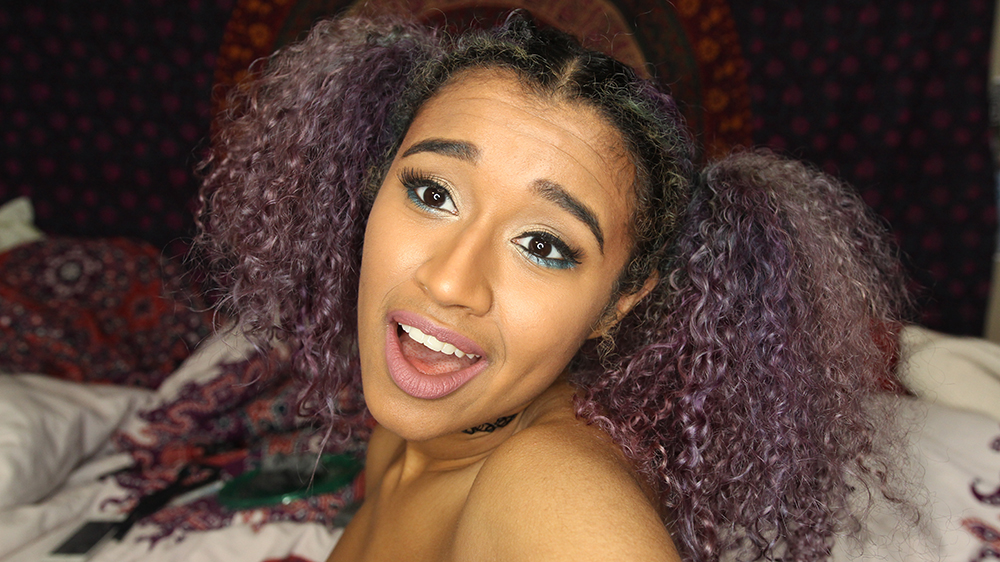
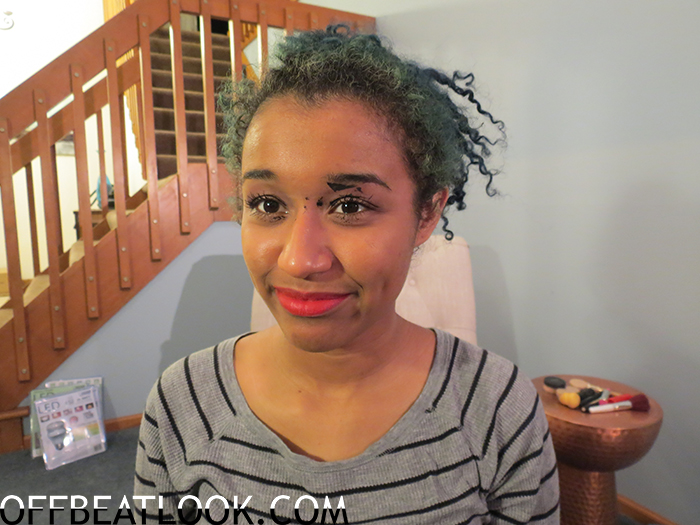
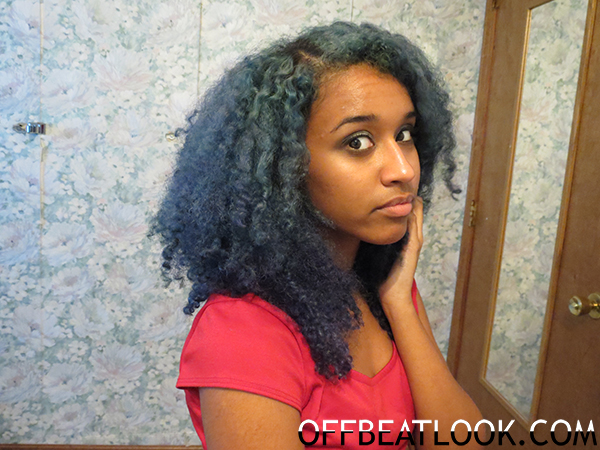
How to fade Green Hair Dye | Get Rid of Semi-Permanent Hair Dye
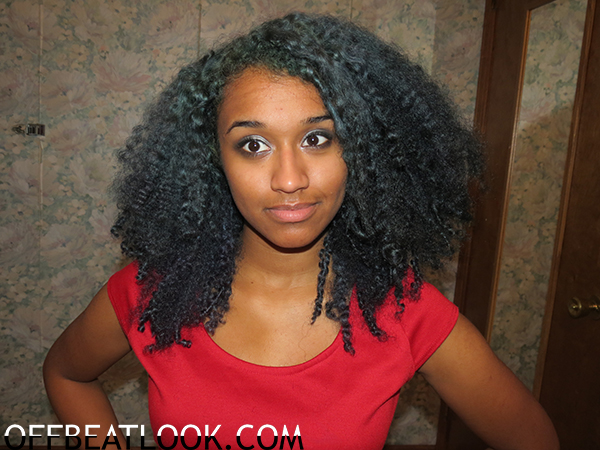
November 27th, 2016Fading or getting rid of semi-permanent hair dye, in this case green hair dye, can be quite the challenge. I’ve experimented with nearly all the methods for removing semi-permanent and demi-permanent hair dyes of various colours and brands, and this is the best way I’ve found it can be done.
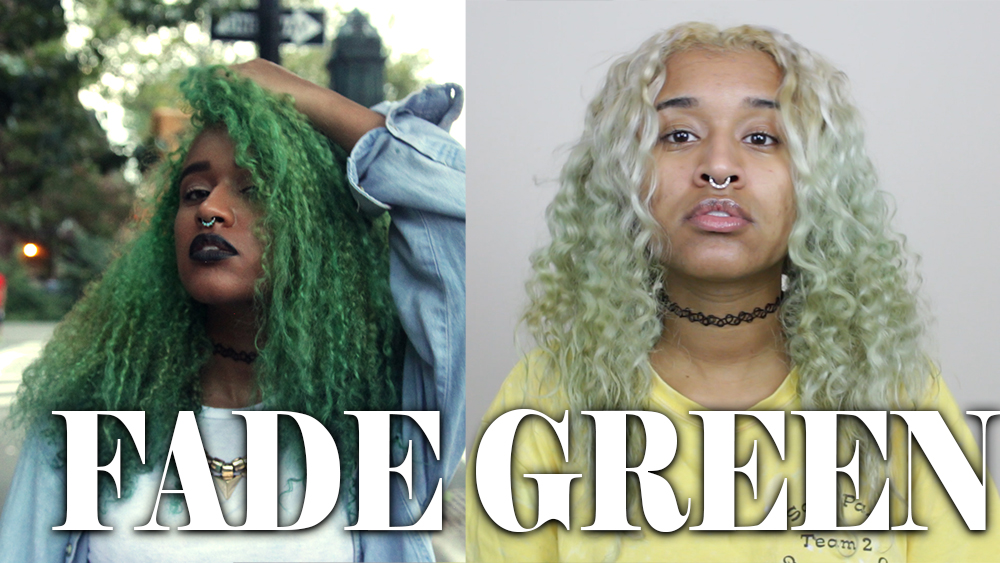
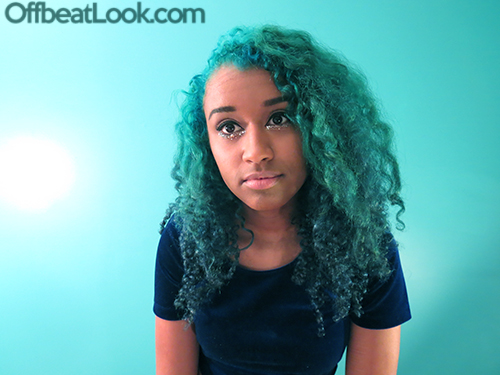
In this video I posted on my YouTube channel, I show you how I faded out the green hair dye I had in order to get it light enough to change to my next hair colour!
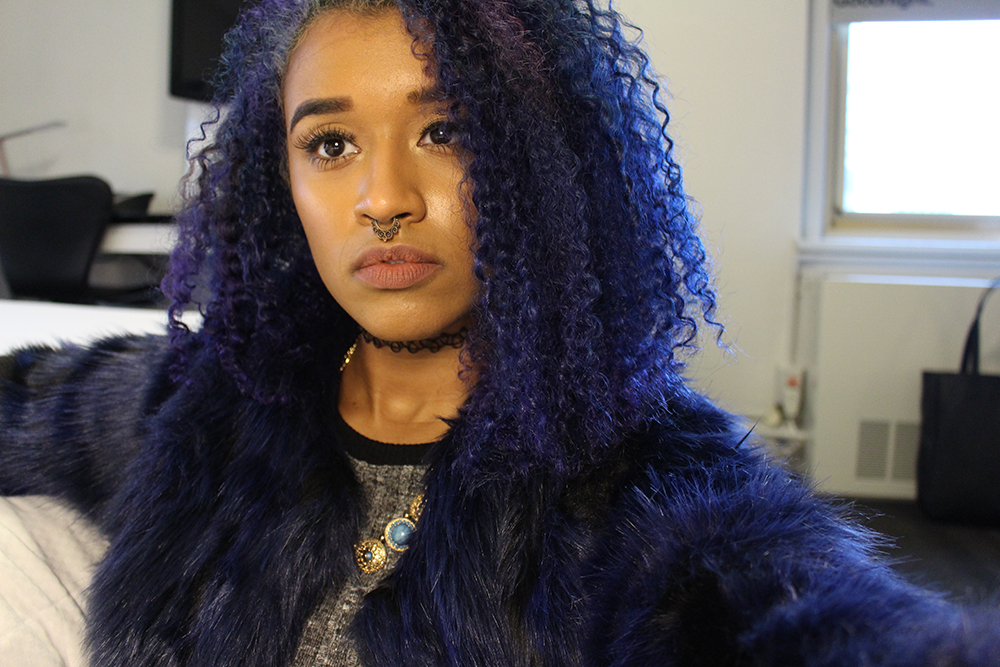
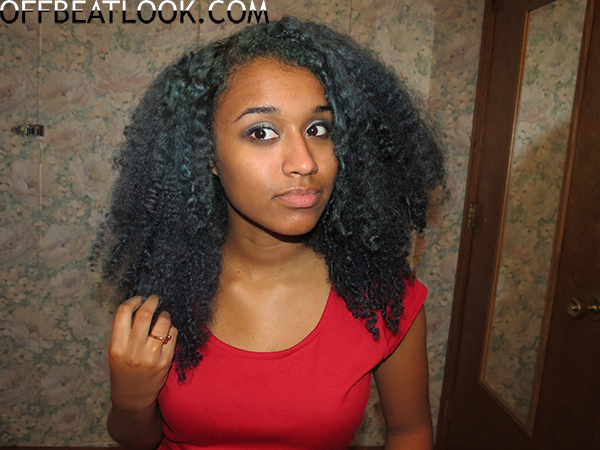
Disclaimer!! My hair looks very wavy and not curly in the photo of my hair with the faded green because I had just taken it out of french braids (you will see if you watch the video) and it was still somewhat damp. My hair did NOT lose its curl from this as you can see in my more recent videos and photos on Instagram!
How I faded out the Green Dye in my Hair
Here are all the steps that I used during the fading process for this particular hair colour.
Tips
Here are some tips for anyone who wants to fade green or any other semi-permanent hair dye colour from their hair.
That’s all you need to do to remove green dye, or any other semi-permanent hair dye from your lovely locks! Comment down below what your experience with stripping hair colour has been like, the products you’ve tried, and what works best for you. I’d love to know what your thoughts are and share experiences and I’m always looking for newer and better methods for hair colouring and stripping!
If you liked this post, please follow my blog via Bloglovin (or other methods) so you don’t miss any posts! I’m also very active on these social media:
Beauty YouTube Channel | Vlog YouTube Channel | Instagram | Twitter | Fashion/Beauty Tumblr | Personal Tumblr | Facebook Page| Pinterest
Thanks, and I love you!
xoxo Camille
How To Co-wash Your Hair and Why EVERYONE Should be Co Washing
June 13th, 2016Co-washing is a method that I’ve heard about for a long time in the natural hair community. I tried it long ago and didn’t like my results, but tried it again a few months ago and have been a believer ever since *cue “I’m A Believer” from the Shrek soundtrack*.
WHAT IS CO-WASHING?
For those of you who don’t already know what co-washing is, it’s pretty much washing your hair without shampoo. The term “co-washing” is short for “conditioner-washing” and debatably, “conditioner-only washing”. It is the same thing as “No-Poo Shampooing”. Before I knew this however, the term still made sense to me because I know that some people, me included, co-wash between shampooing so it sounded to me like a partnership between shampoo and conditioner that work together on their designated days to give you the most fabulous hair possible. I wasn’t wrong.
As for how to actually do it, co-washing can be done by just using conditioner and massaging it on your scalp and throughout your hair, or be done by using a newer method of co-washing. Conditioners have been around forever but clarifying conditioners are a newer invention created just for co-washing purposes. They’re pretty much conditioners that were made to gently cleanse your hair while conditioning at the same time, and are NOT meant to be confused with two in one shampoo and conditioners, which are actual GARBAGE and should NEVER be trusted!!
WHY YOU SHOULD CO-WASH YOUR HAIR
So now that you know what co-washing actually is, lets talk about why it’s important. Here are some of the benefits of cowashing and the reasons why I have converted:
WHO SHOULD CO-WASH THEIR HAIR?
Co-washing is big in the natural and curly-haired communities because these hair types require more maintenance and specific care in order to stay healthy. With curly and natural hair, it’s harder for the natural oils from your scalp to travel down the length of your hair, which tends to cause textured hair to be dryer. This is why people with these hair types don’t and shouldn’t wash their hair as often as those with straight hair and need to focus on conditioning more.
However, I believe that co-washing is useful for any hair type. I would recommend it especially for anyone who has hair that’s either natural, curly, wavy, frizzy, dry, permed, or colour treated. In these cases, the added moisture could be a huge make or break for your hair’s health and appearance. But no matter what type of hair you have, you definitely have something to get out of incorporating co-washing into your hair routine.
HOW OFTEN SHOULD SOMEONE CO-WASH?
The answer to this is up to you. Depending on hair type, people wash their hair different amounts, and I would recommend sticking to around that same amount of hair washing, but switch out every other shampoo day with a co-washing day instead. For example, I wash my hair twice a week since I have dry, coloured, curly hair, so I wash with shampoo at the beginning of the week to give it a nice clean, but it would be too harsh on my hair to subject it to that kind of detergent-stripping process again, so later on in the week, I co-wash it to give some extra moisture while I cleanse, detangle, and refresh my curls.
WHAT PRODUCTS SHOULD I USE?
I’ve tried out many products for co-washing my hair, so I gotchu, fam! Here are my favourites!
1) Pureology’s Smooth Perfection Cleansing Conditioner
This cleansing conditioner smooths your hair and improves elasticity. It’s also great for frizzy or colour-treated hair and leaves your scalp feeling clean and moisturized, which is what I look for in a cleansing conditioner. This is my favourite cleansing conditioner! It also comes in a larger size at a better price per ounce so I’d recommend trying it out and then if you love it, restock with the bigger size to get more bang for your buck!

2) SheaMoisture’s Coconut & Hibiscus Co-Wash Conditioning Cleanser
This is a cleansing conditioner by the brand Shea Moisture which is one of my favourite curly-hair companies. They have several formulas that have natural ingredients made to keep your hair as healthy as possible and never include sulfates that dry out your hair. This cleansing conditioner has coconut in it which is definitely a hair favourite!

VIDEO TUTORIAL
I have a Co-Washing Tutorial Video on my YouTube channel where I post videos about hair and other beauty related topics. You can get more information about the process of co-washing and how I do it by watching the video. If you like it, please subscribe to my YouTube channel for more videos like this one. Following my blog will also keep you updated with new methods, products, and styles to try out. If you want to follow my blog, I recommend using BlogLovin’ which is the easiest way to keep track of all the blogs you love.
I hope you guys were able to get some use out of this post. If so, let me know in the comments if you have or will try out co-washing, how you liked the products, what your favourite products are, or any questions you have about co-washing that I’d be glad to answer!
Beauty YouTube Channel | Vlog YouTube Channel | Instagram | Twitter | Fashion/Beauty Tumblr | Personal Tumblr | Facebook Page| Pinterest
Thanks, and I love you!
xoxo Camille
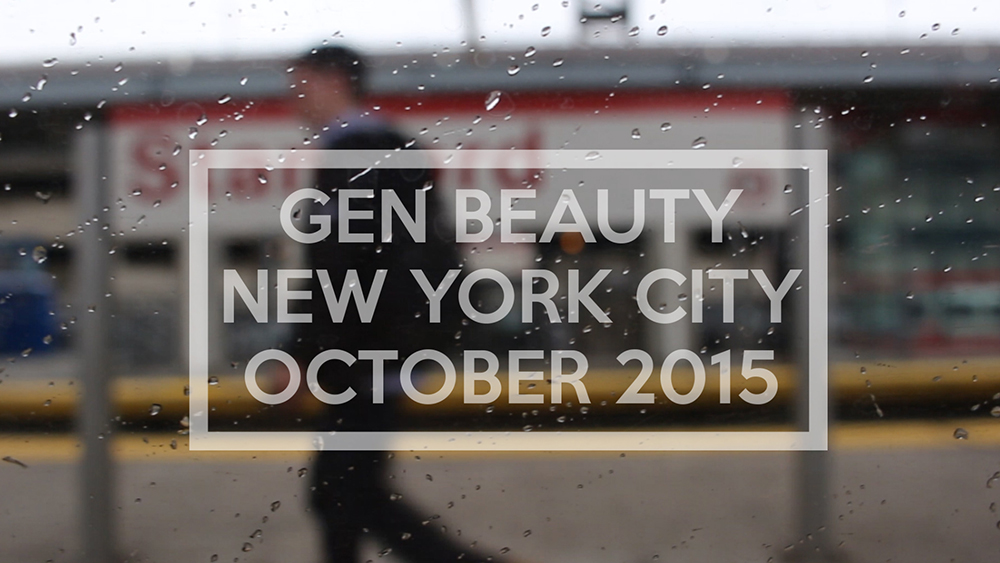
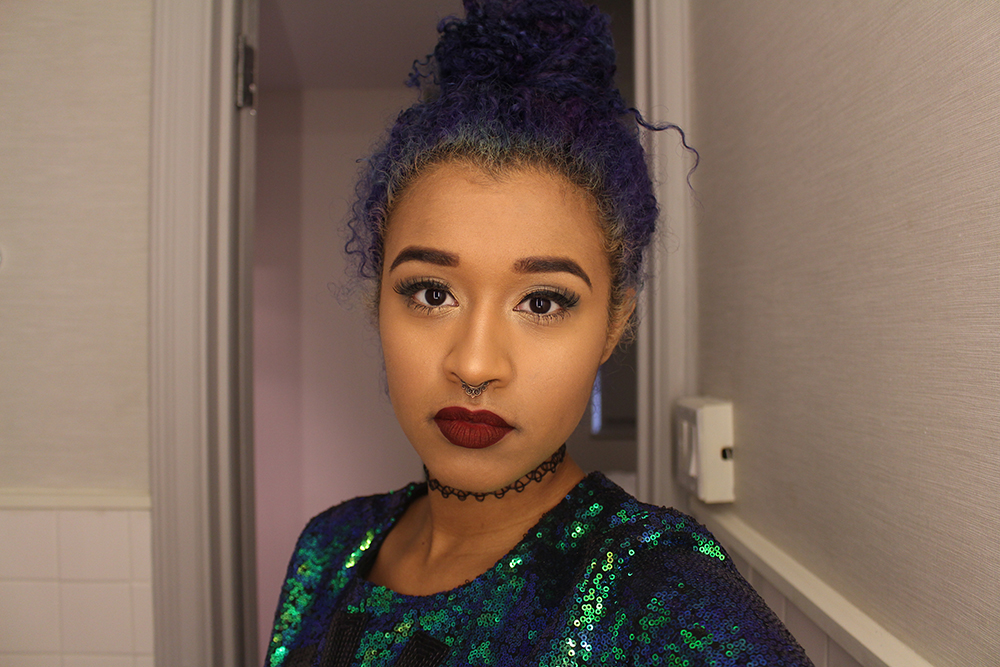
Generation Beauty Recap! Short Film of New York City
January 16th, 2016Hey, Chameleons! This post that recaps Generation Beauty from New York City last year (October 2015) has been a long time coming. It took me so long to finally post this because I was overwhelmed with hours and hours of video footage and tons of photos I needed to sift through but I finally sat down for four days and made my way through all of the footage. Here is the beautiful piece of art that I call my experience in New York City during my first Gen Beauty convention!
If you guys liked this video, please subscribe to my beauty youtube channel! I will be posting videos from future Gen Beauty’s not to mention my usual posting of all things beauty related!
For those of you who are unfamiliar with what Generation Beauty (commonly abbreviated as just “Gen Beauty” for short) is, then let me explain. Gen Beauty is a convention created by Michelle Phan’s company “Ipsy” that is on a Saturday and a Sunday and focused on beauty. People buy tickets to the event and receive a card that has tabs that you can rip off and exchange at the corresponding brand’s booth for whatever they are offering at the event. Most booths have long lines, but once you get there you hand in the brand’s tab off of your card and get a free beauty product or products.
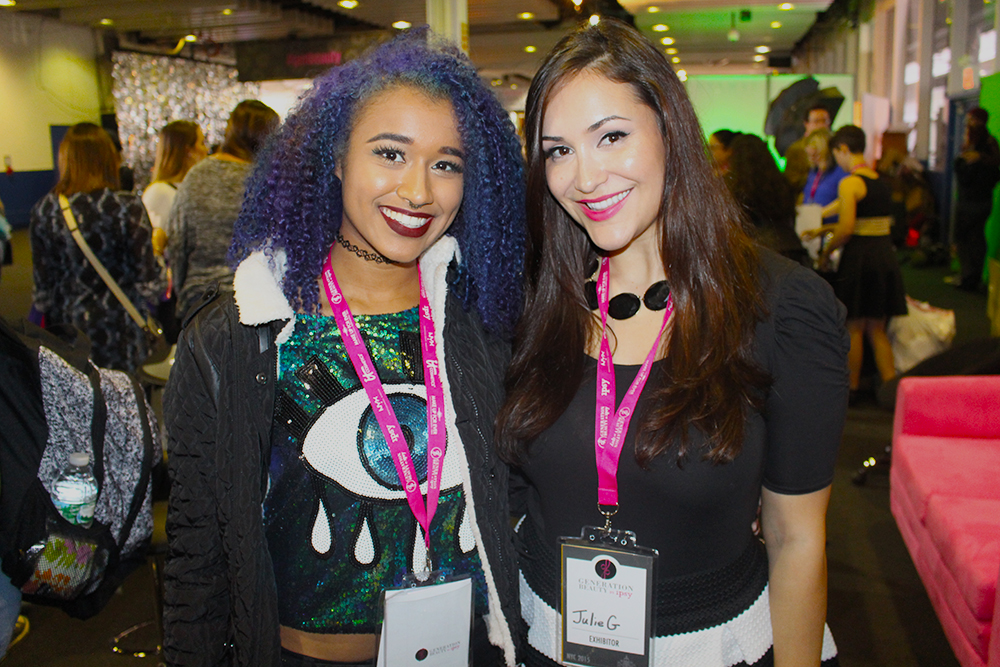
There are also other types of booths. Some were demonstration booths where you could watch someone explain and show how to use a product. Another was one where you could pick designs from a set and watch people print out exactly what you wanted on a makeup bag that you get to keep. Others are meet and greets of your favourite beauty gurus like Julie G at the Jessie’s Girl station, or Mally who had a photoshoot type setup where you could take photos with her.
Generation Beauty had up until this point always been held in L.A. but this was the first time it was in NYC. I was obviously excited because as an East Coast babe, this made it easier for me to be able to go, especially because it was during the school year.
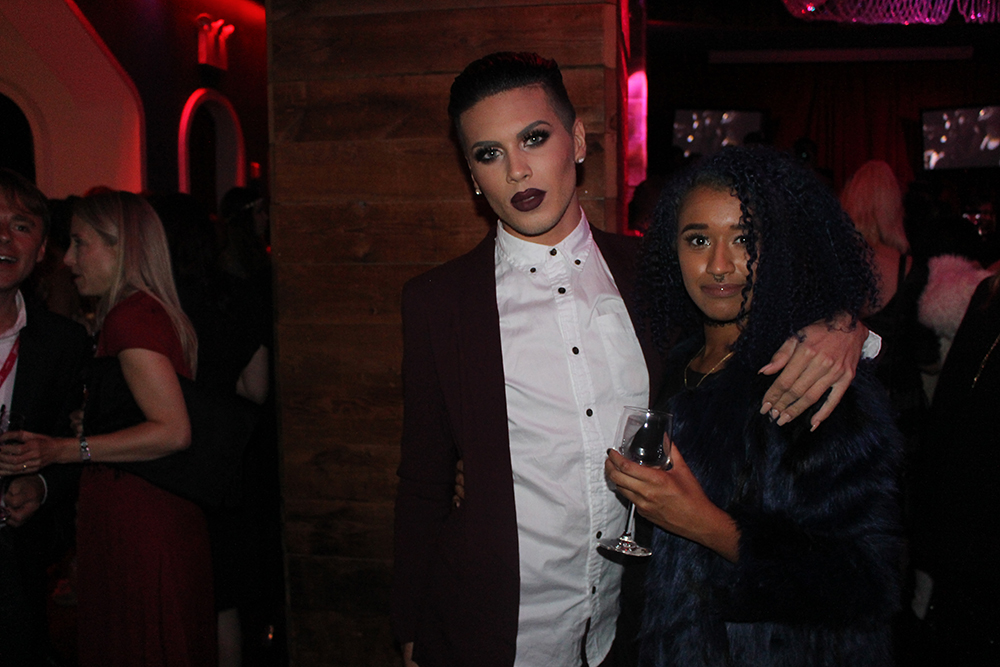
Because I am a beauty vlogger, I was given tickets to the event and invited to a cocktail party that was the night before that was just beauty influencers and beauty brands. In the video you can see Michelle and her Ipsy team making cute speeches and everyone partying and having a great time. Did I mention that it was open bar?
During this time, I met so many wonderful people. I ended up becoming great friends with Jennie (The Bargain Princess) and Linda (JaMexicanBeauty) and will be attending the next Gen Beauty with both of them in L.A. at the end of this month!

We got to meet Michelle Phan’s sister on the way out on the last day (She’s the second from the left in the maxi-dress)!
I don’t remember who took this photo but I’m still sad that they didn’t focus the camera :/
(Other famous YouTubers I got to meet!!)

This is the lamb gyro from the video. Just looking at it makes me so hungry omg.
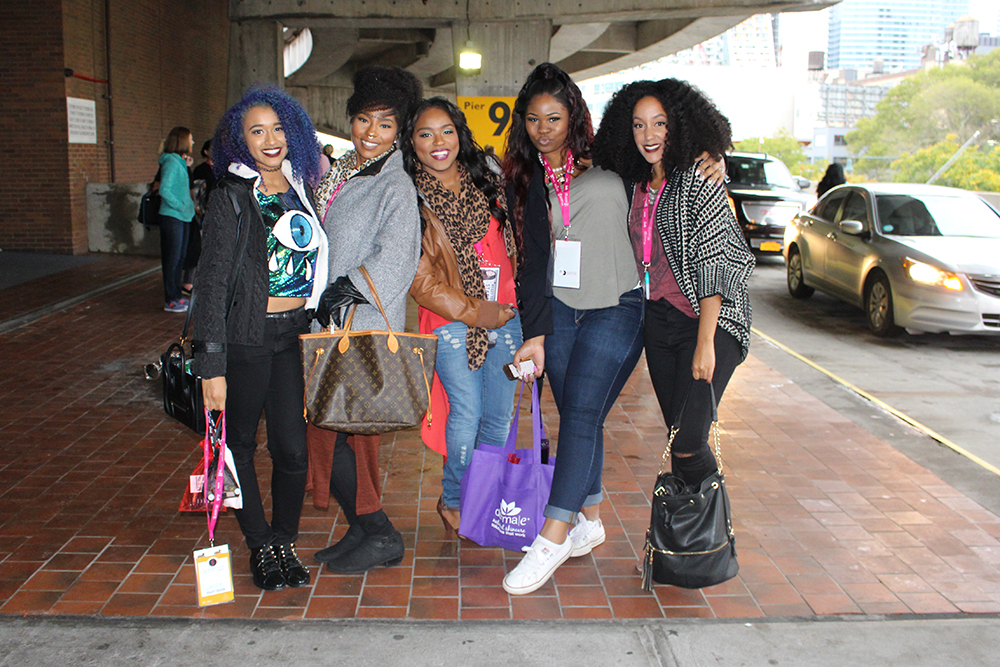
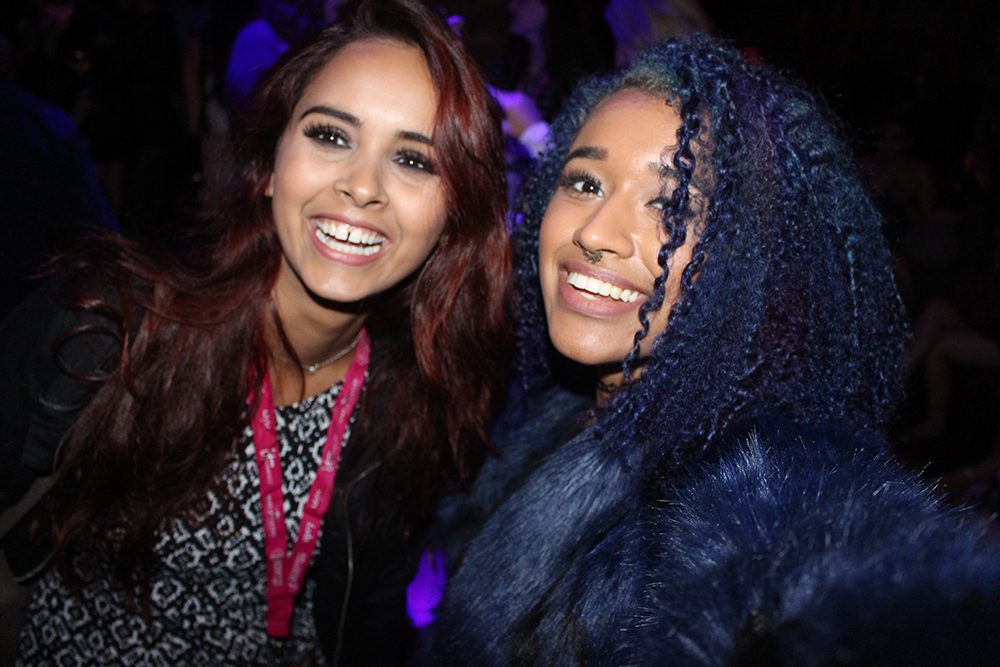
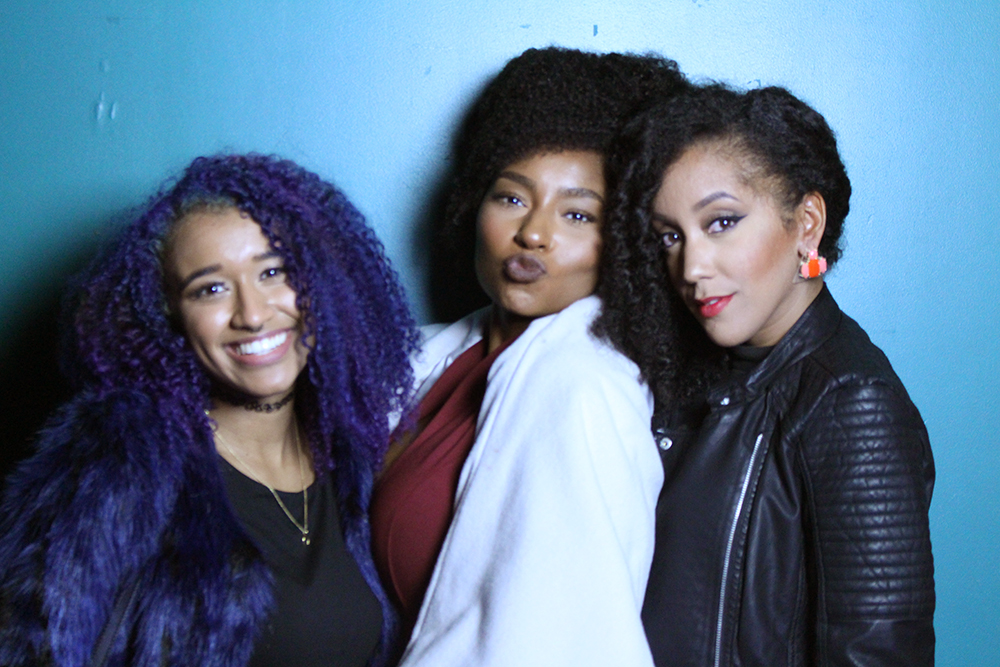
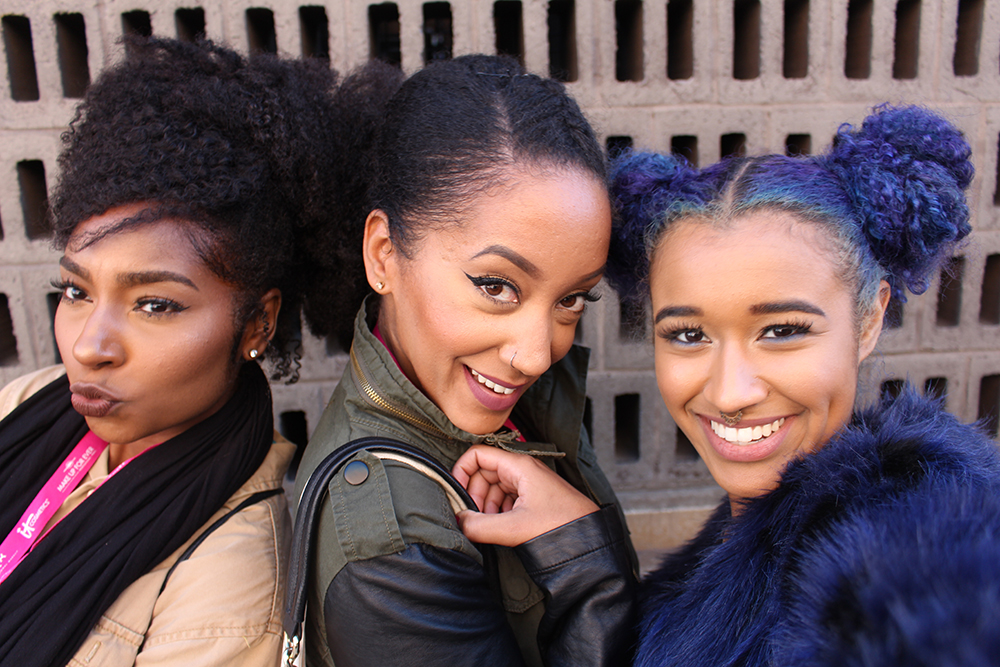
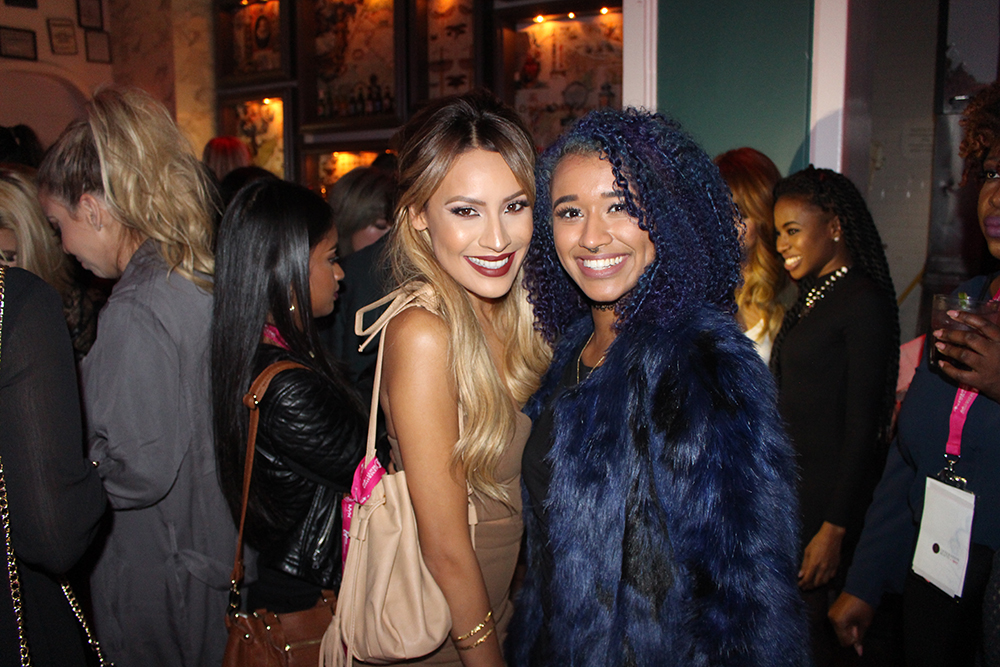
Some babes with melanin from the event!
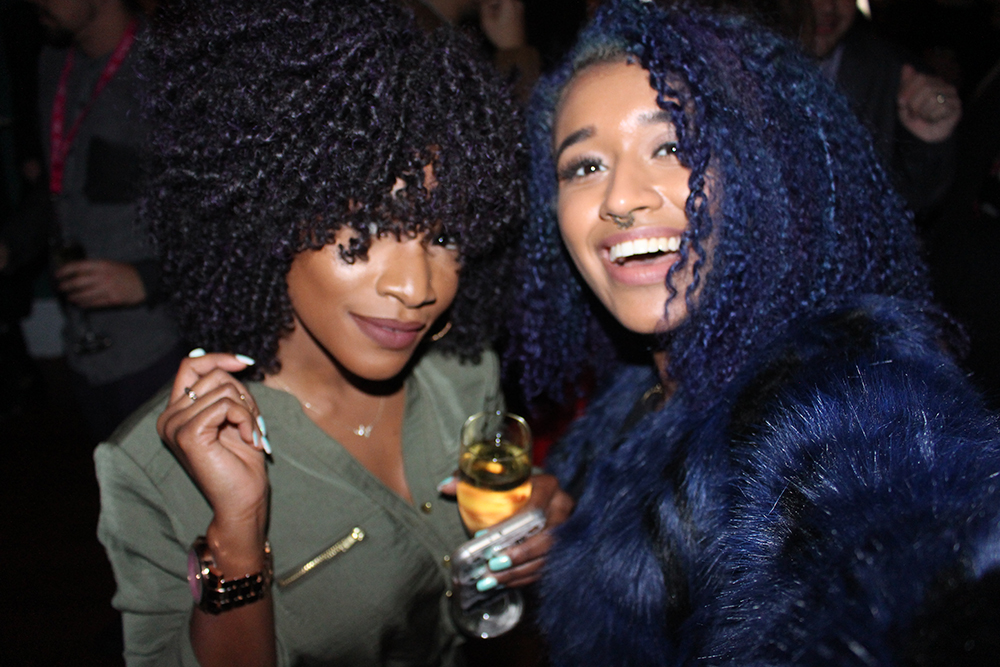
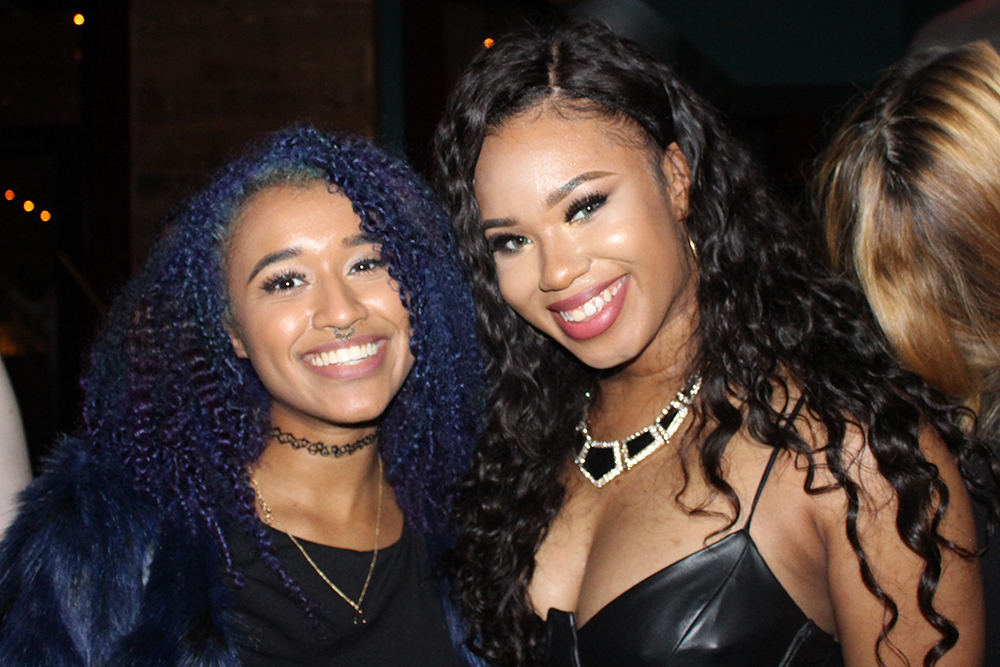

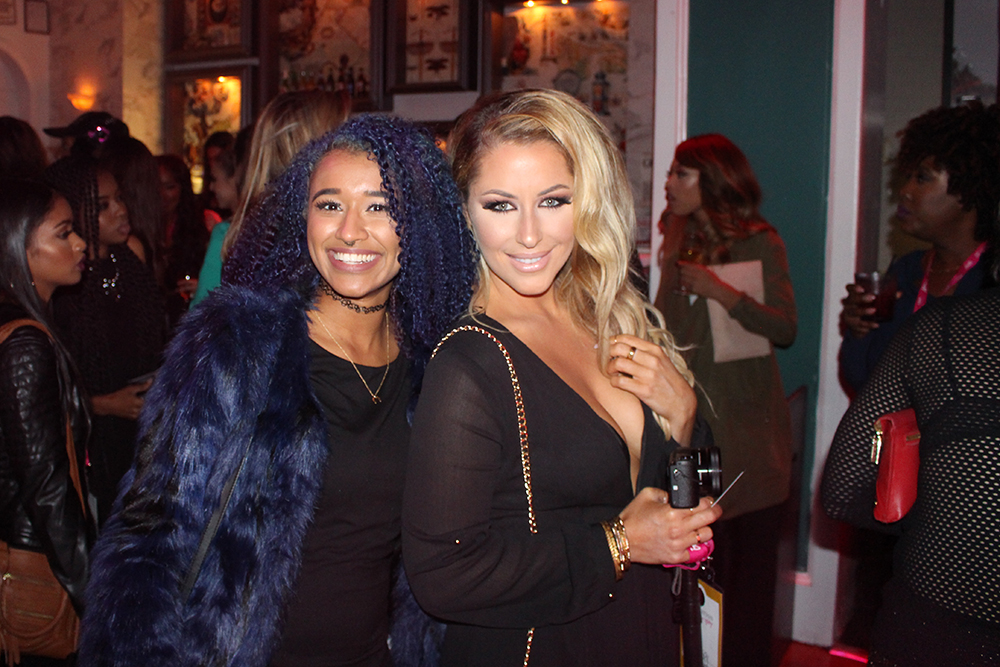
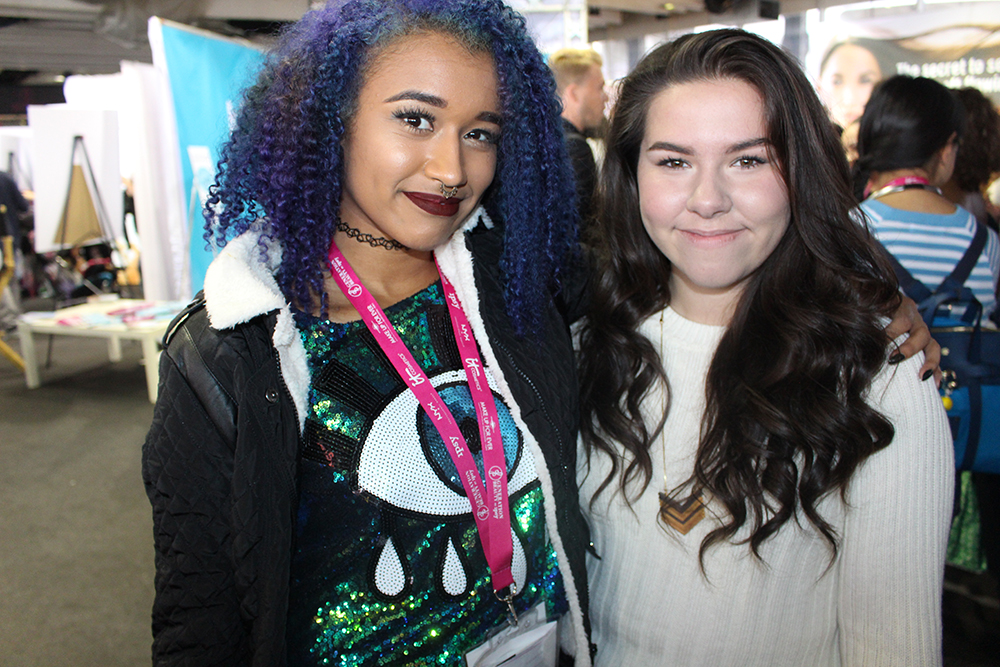
More lovely people I met and whose work is actually fantastic.

My view from the hotel! (I stayed at Row NYC)
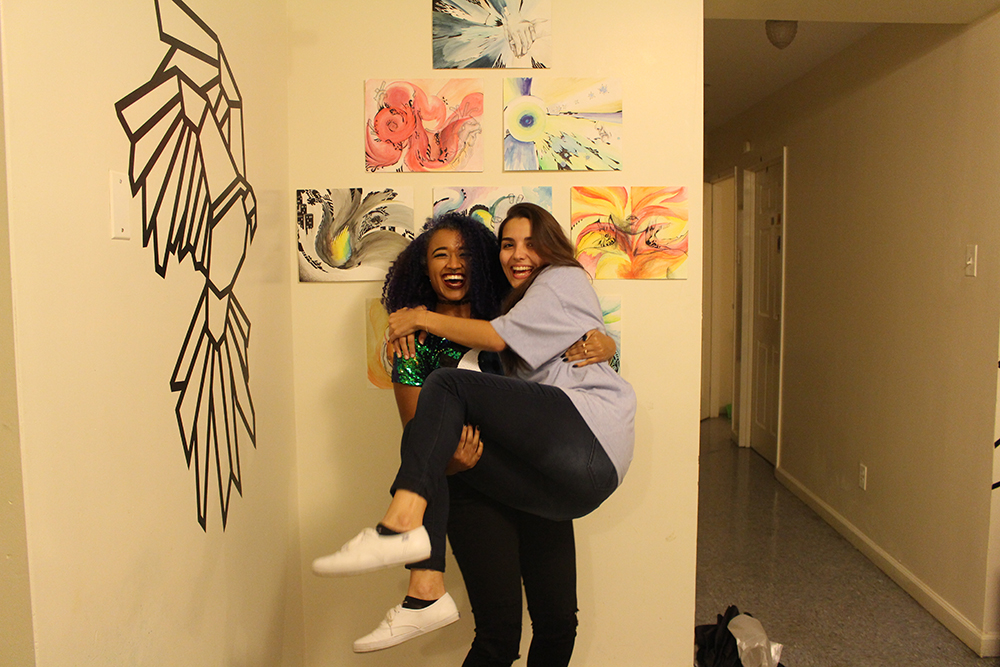
My lovely friend, Gaby who goes to NYU that I got to visit before leaving the city.

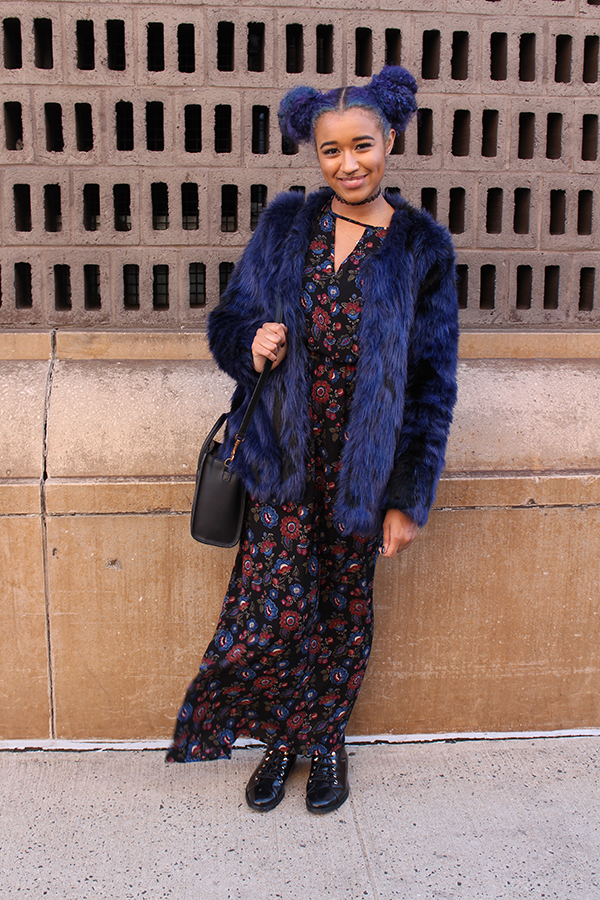
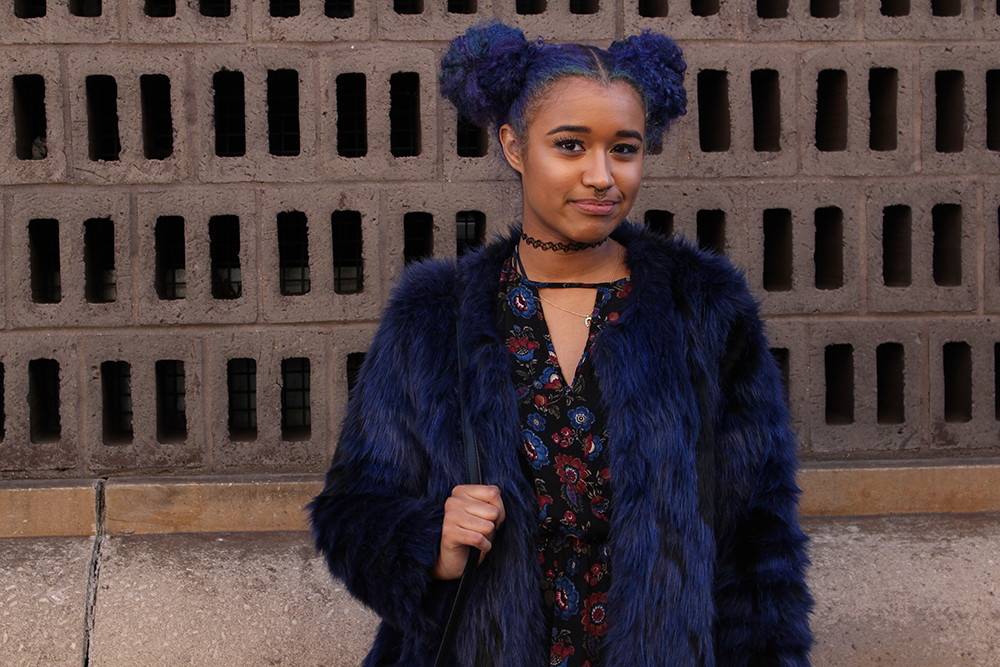
Just various photos of yours truly this weekend! 
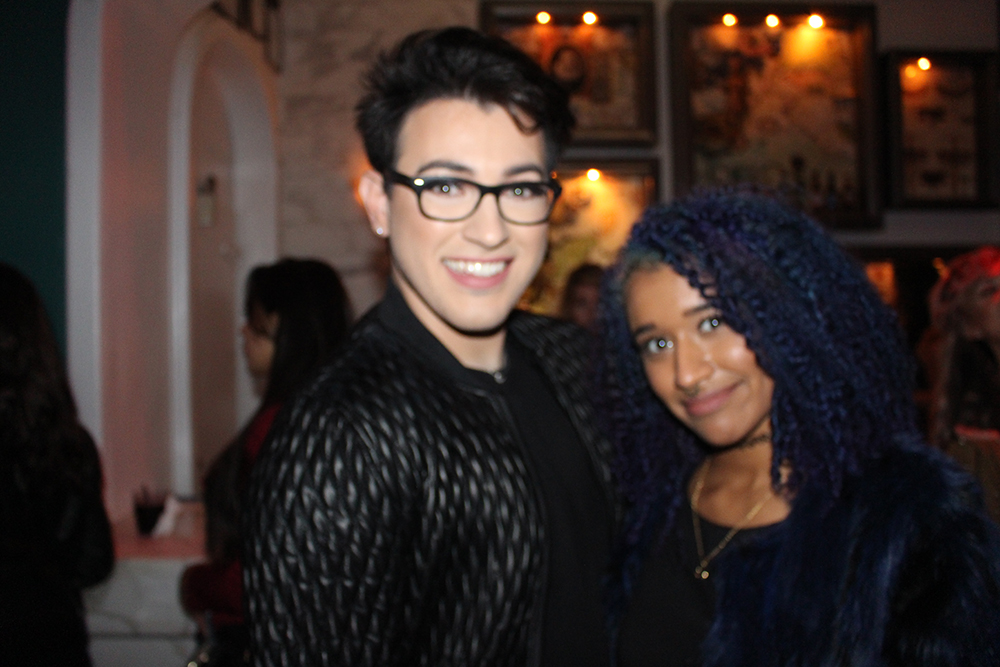
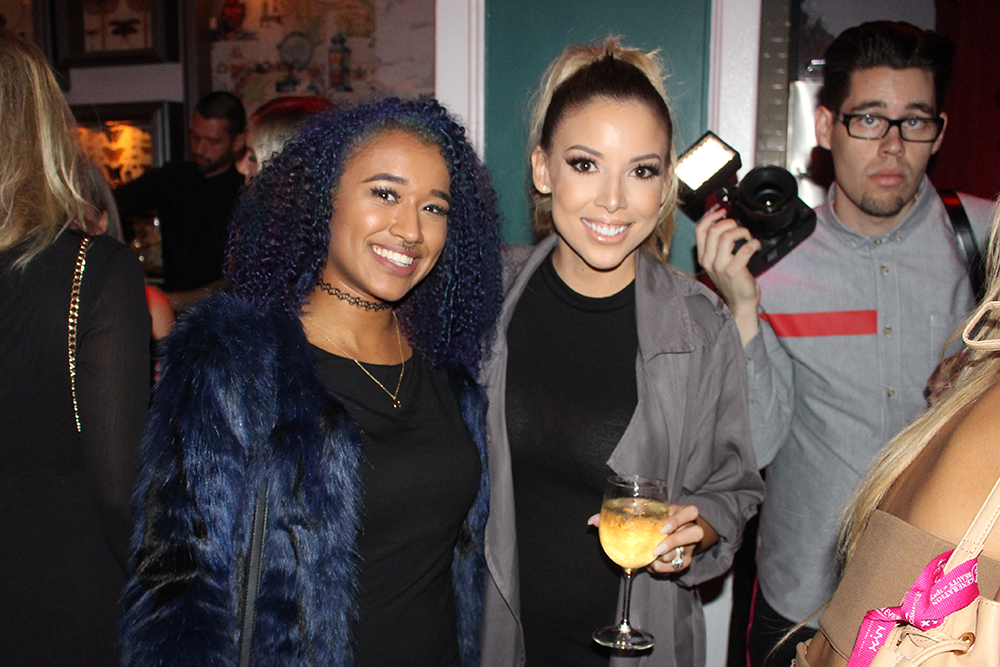
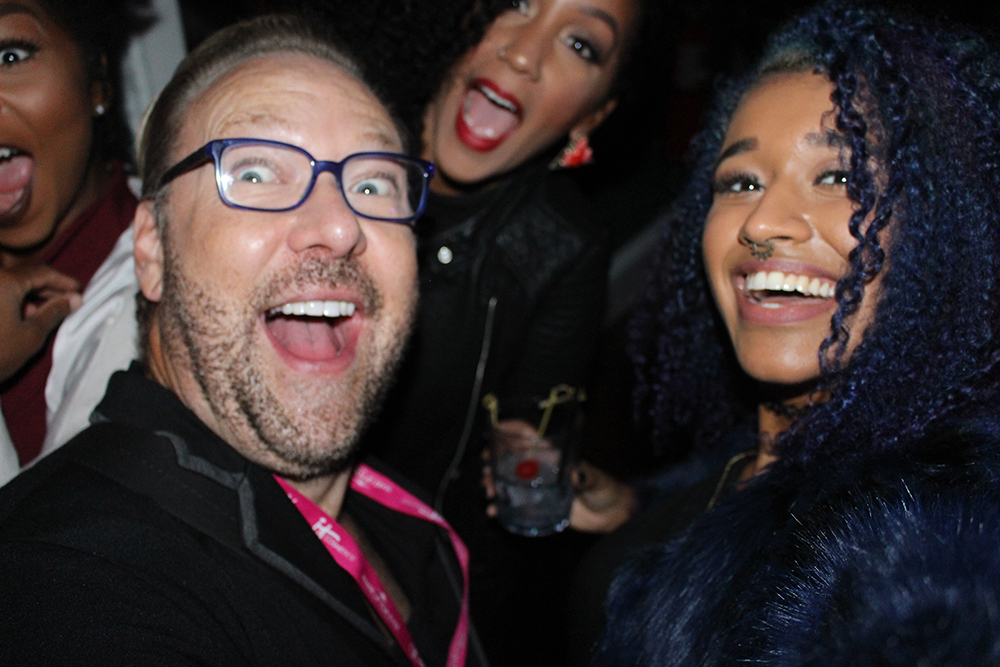 He photobombed us pretty badly but the next day we found out that he works for Cover FX and he gave each of us two bottles of the Cover FX Foundation Drops (which retail for $44/bottle!)
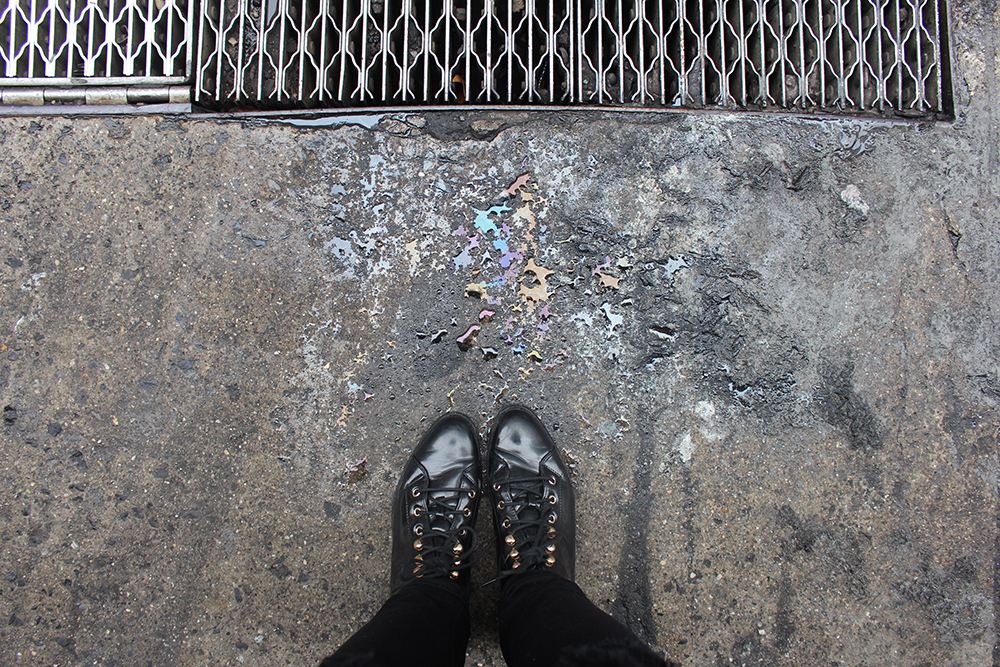
Aesthetic.
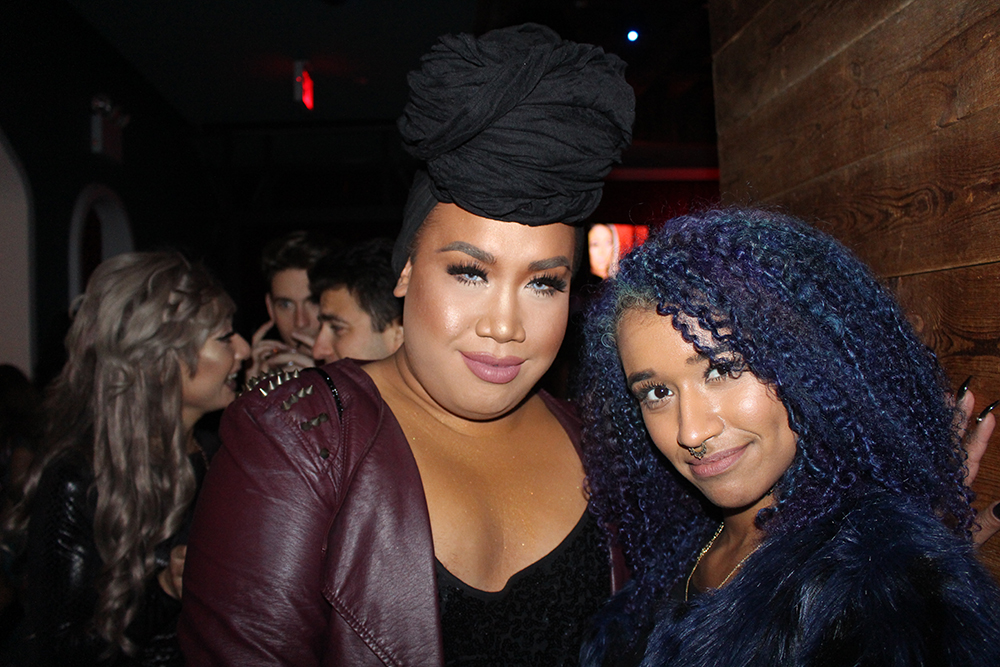
He congratulated me on my hair tutorials. Crazy that Patrick Star (the makeup artist) has even heard of me. It was great meeting him!
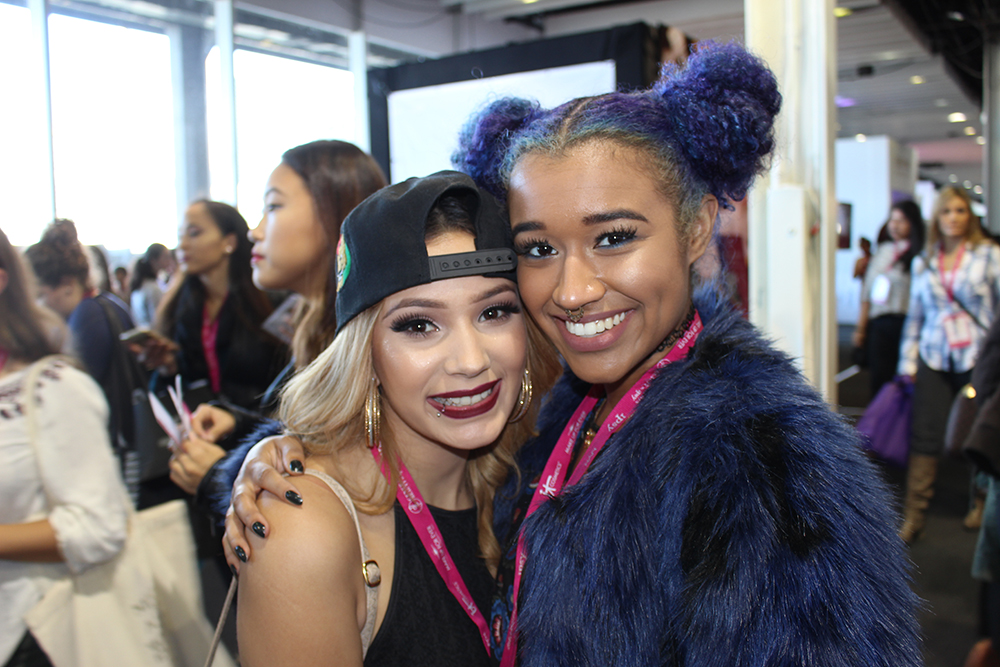
Pretty much the cutest subscriber in the world awhhh!!!
Overall it was such an amazing time and a great place for beauty bloggers to network, meet viewers (yall are so cute!), or for beauty-enthusiasts to get new products and run into some of their faves. Everybody gets a goody bag in the end and comes home with tons of photos and a smile on their face
Thanks for stopping by and reading this post! Follow me on my social media so you won’t miss any new videos/photos/or interesting posts by me, and you can always follow my blog via Bloglovin (or other methods) so you don’t miss any posts! (I also sometimes do giveaways on these sites, so that’s another good reason to follow!)
Beauty YouTube Channel | Vlog YouTube Channel | Instagram | Twitter | Fashion/Beauty Tumblr | Personal Tumblr | Facebook Page| Pinterest
Thanks, and I love you!
xoxo Camille
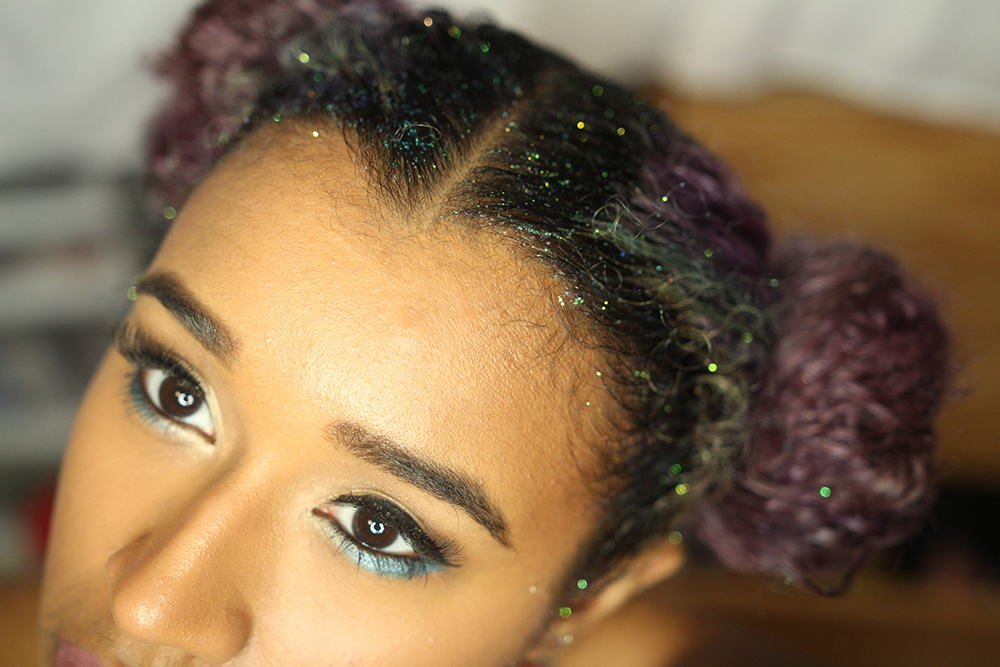
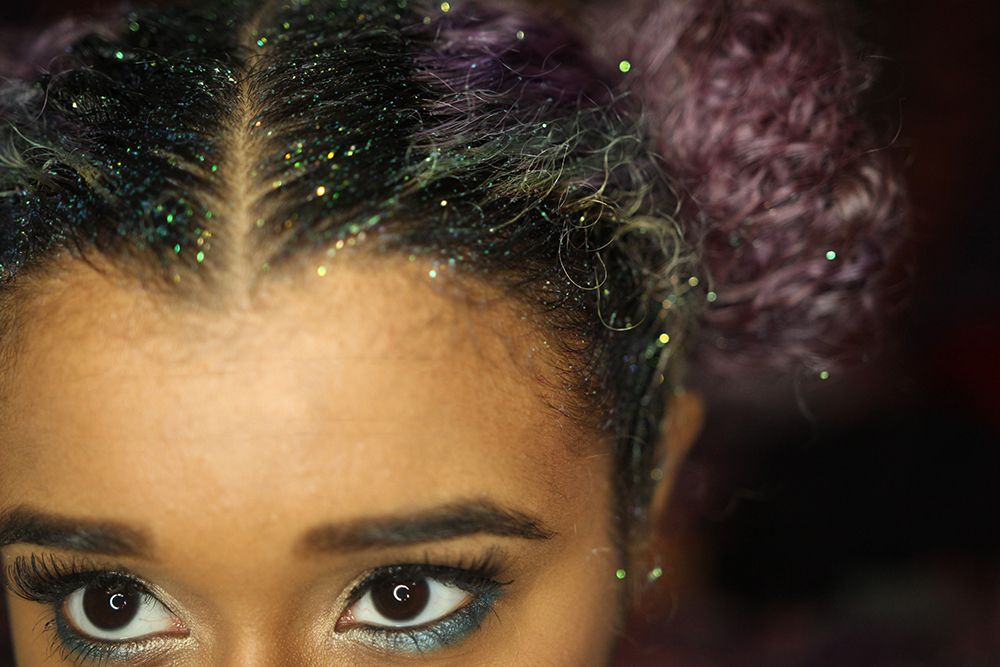
Glitter Roots Hair Tutorial
December 27th, 2015Hey there, Chameleons! I got a lot of requests to do a glitter roots hair tutorial on my Instagram of me wearing it, so here ya go with a tutorial! I have embedded a video that I posted to youtube here, but will go over some quick instructions and tips if you don’t have time for that!
Watch this video on my YouTube channel instead of on my blog.
Quick Instructions
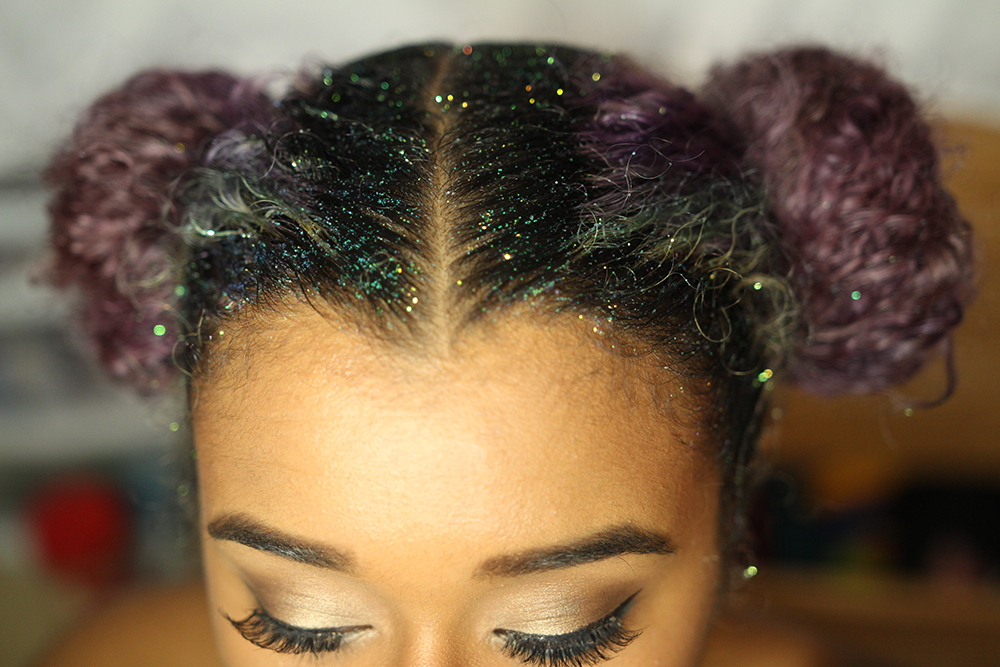
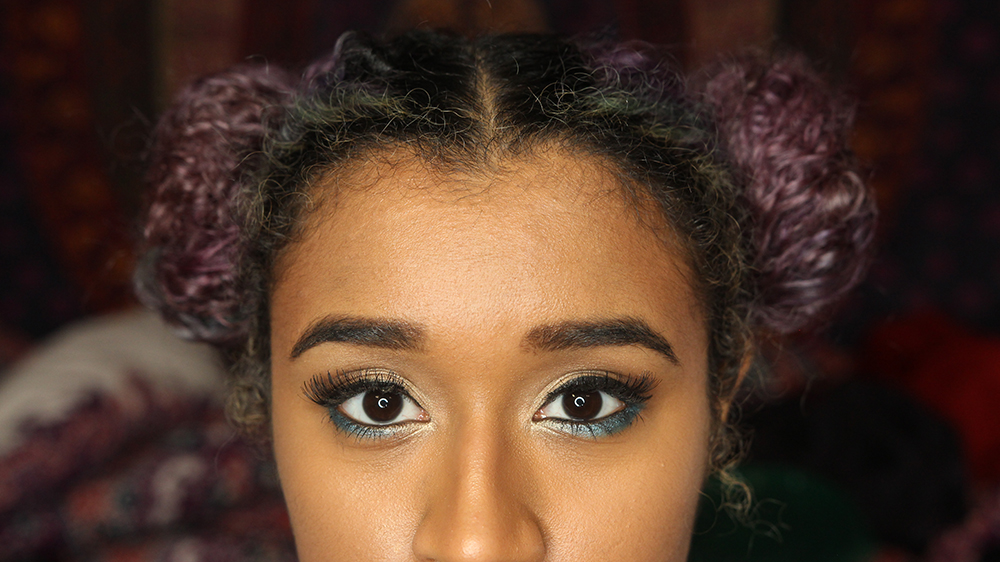
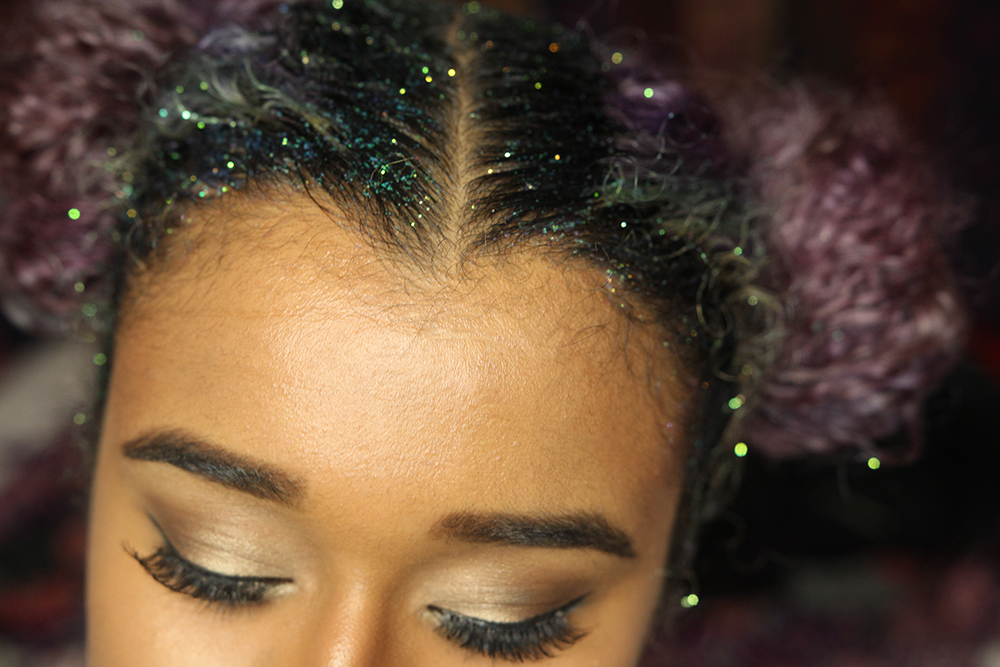
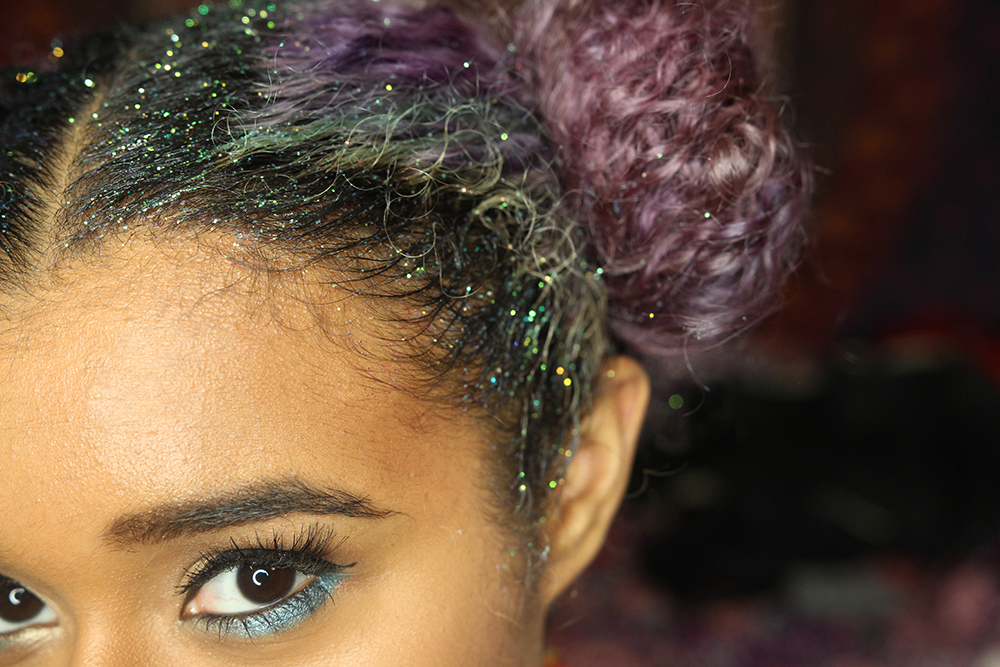
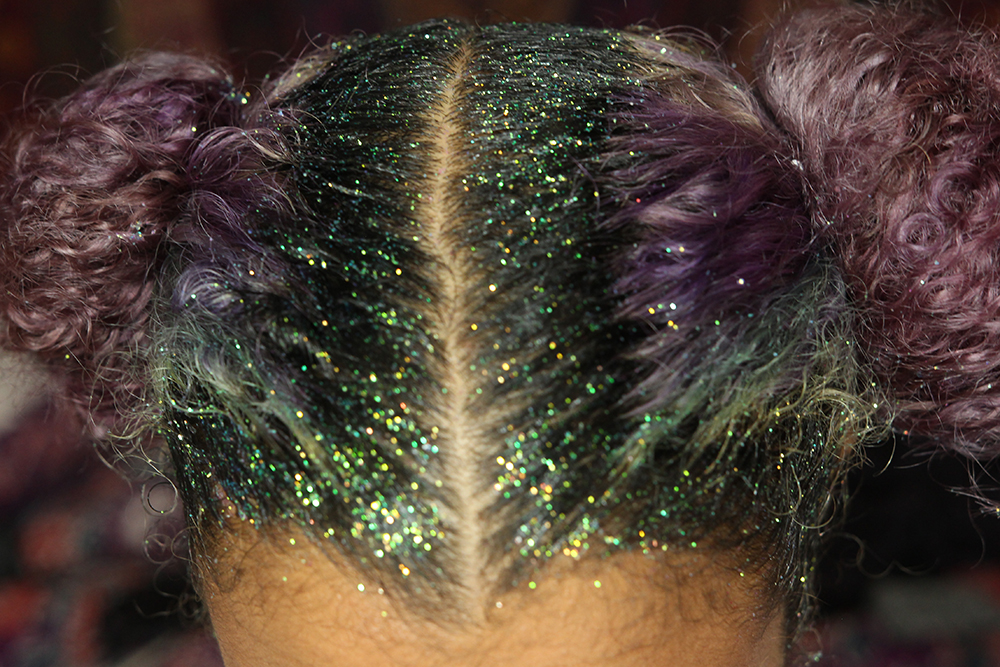
To get the glitter roots look, it is very simple. All you really need is some large glitter, something to part your hair with, some gel, hair scrunchies, and a winning personality. Here’s what my hair looked like before the glitter shenanagins: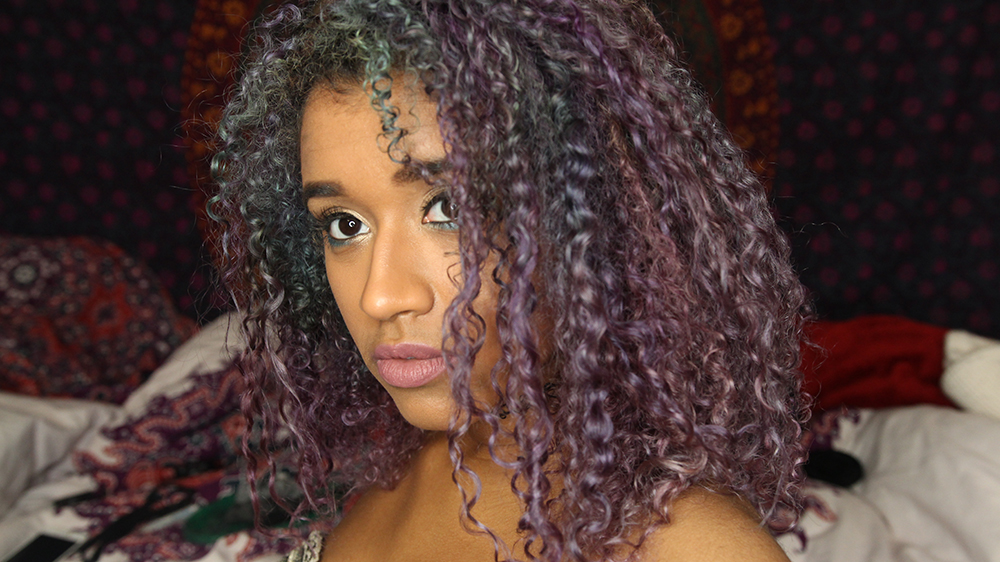
1. Part your hair down the center of your head, creating two even amounts of hair on either side of the part. Secure with hair scrunchies on both sides, making sure it’s even.
2. Twist your hair into buns on both sides and secure with bobbi pins.
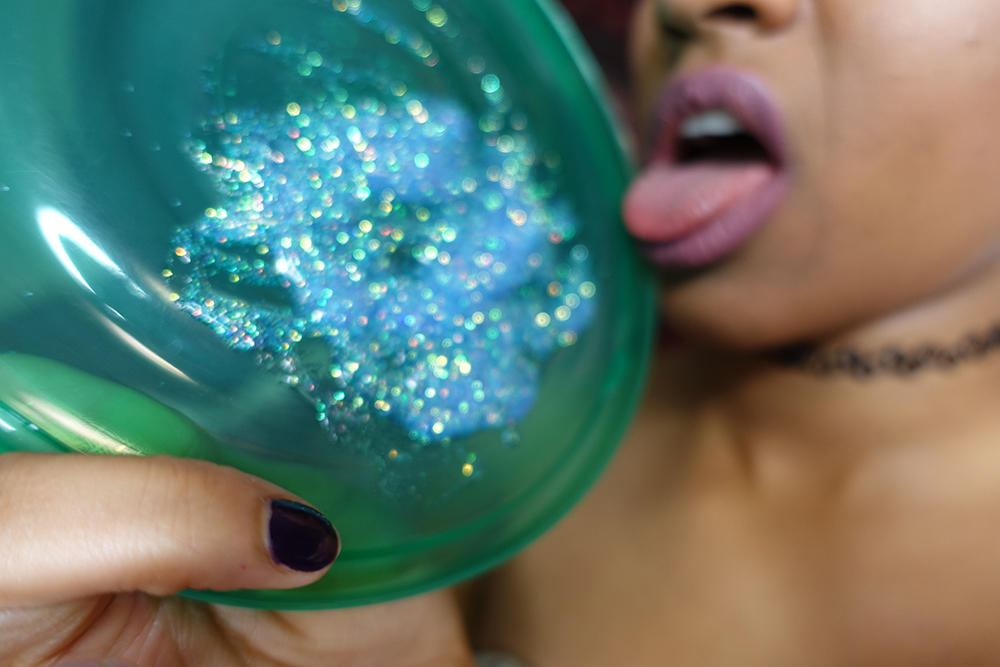
3. Mix some glitter into gel. I used glitter by Sally’s Girl that was a very good price and the perfect size for this type of look.

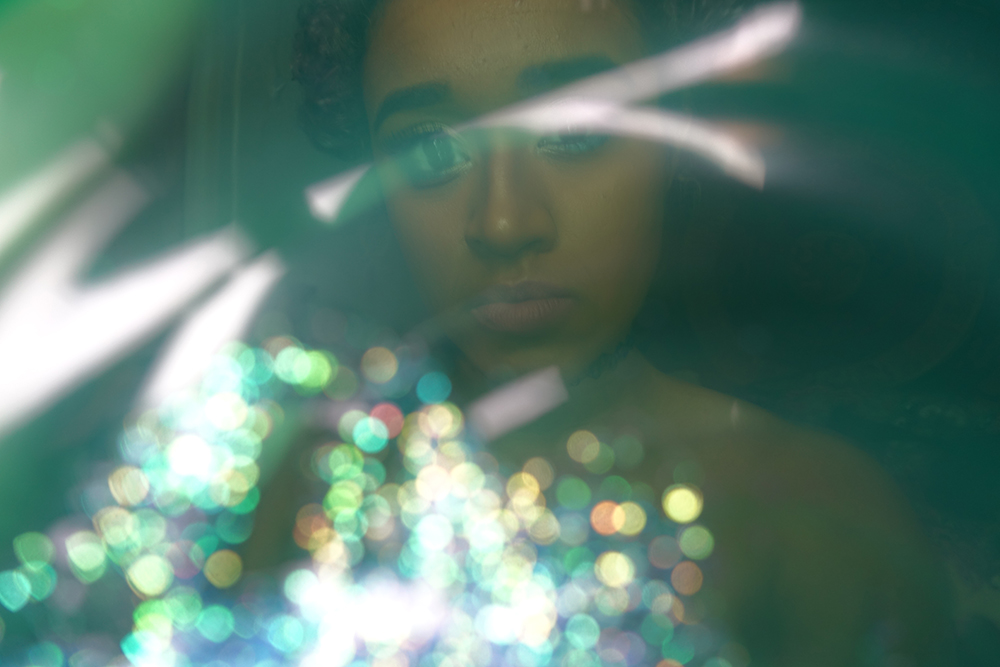
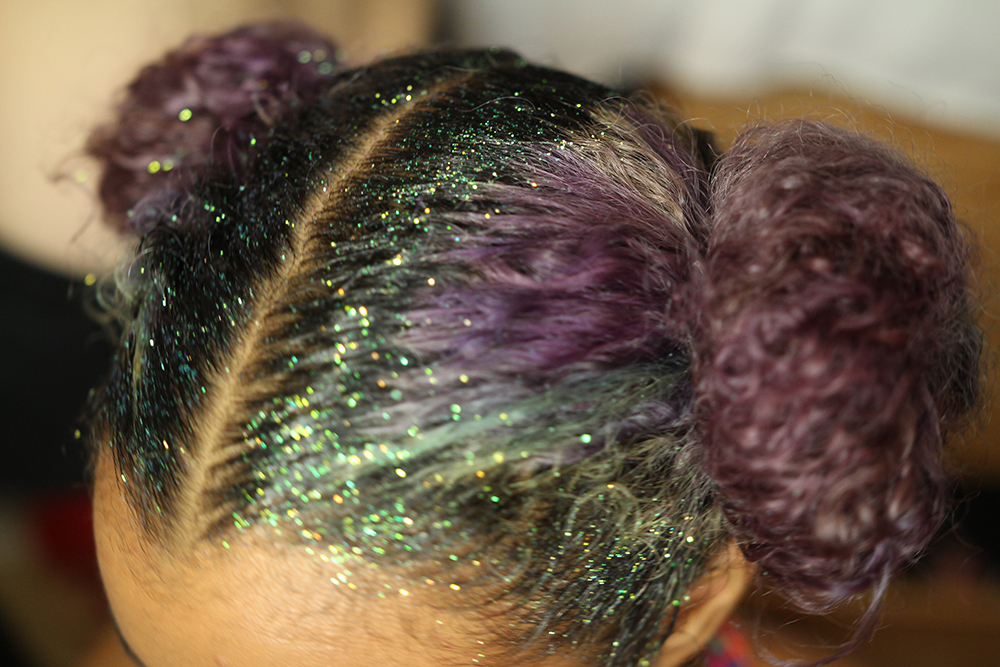
4. Using your fingers, dab the glitter mixture onto your roots and all the way around where they’re showing at the front. You can apply it to just your center roots if you please. Everything is up to you. Every thing you do in your life is up to you; you don’t need me to tell you what to do with yourself, you are completely capable of making your own life decisions by your own free will.

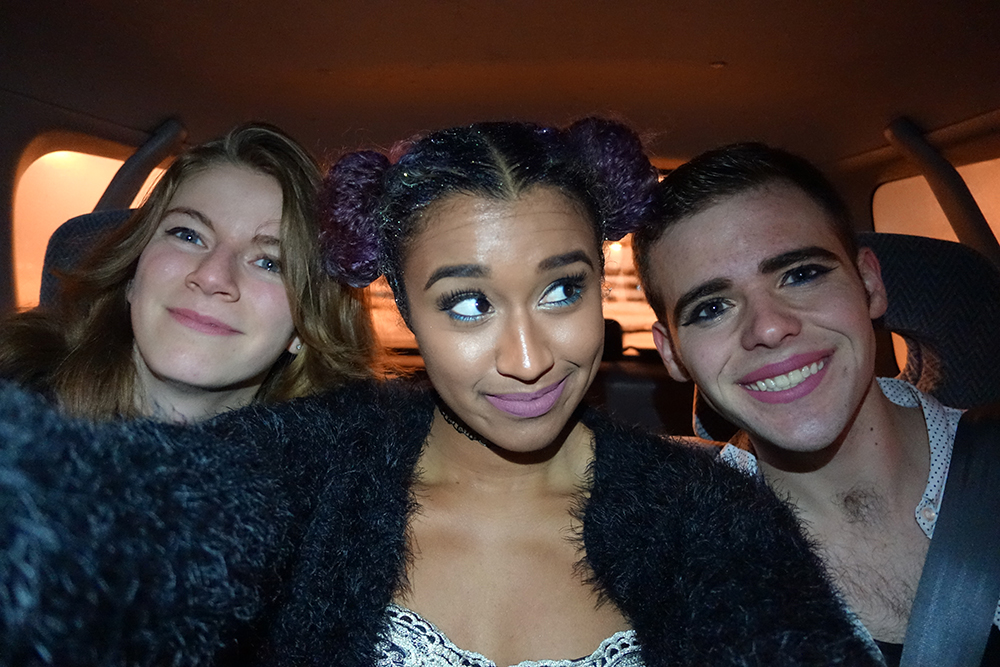
5. Let your hair dry and go somewhere cool with your friends!
More Photos!

Thanks for stopping by and reading this post! Follow me on my social media so you won’t miss any new videos/photos/or interesting posts by me, and you can always follow my blog via Bloglovin (or other methods) so you don’t miss any posts! (I also sometimes do giveaways on these sites, so that’s another good reason to follow!)
Beauty YouTube Channel | Vlog YouTube Channel | Instagram | Twitter | Fashion/Beauty Tumblr | Personal Tumblr | Facebook Page| Pinterest
Thanks, and I love you!
xoxo Camille
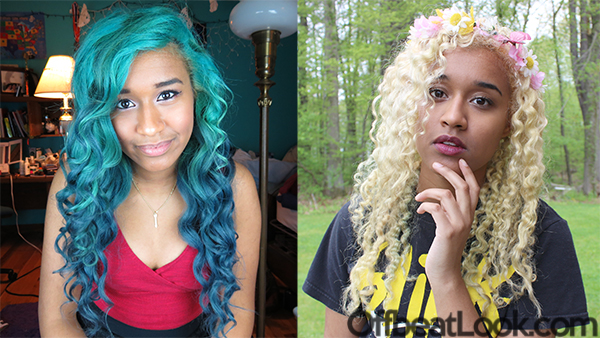
How to Fade Out Blue Hair Dye or Other Semi-Permanent Colors
August 4th, 2014The worst part about dying your hair (semi- or demi-permanent ) is when you want to change colors, but you need to get rid of the old one and it can be extremely painstaking, especially with the most stubborn color of all, which is blue. There are lots of different ways you can fade out your color, ranging from gentle ways that fade out a little bit to more extreme ways that will free you from you color once and for all. Here I’m going to show you how I got rid of the blue dye in my hair and got back down to a very light base so I could color over it.
Here’s a video tutorial of how I faded out my hair, showing all the steps that it took!
Subscribe to Offbeat Look on YouTube if you like videos like my How to Fade out Blue Hair Dye and Other Semipermanent Colors!

1. Let it naturally fade – Over time, if you don’t touch up your hair dye, it will fade on its own. If you know you want to change colors in a month, just let the dye fade as much as it will in that month without retouching it.
2. Wash your hair – The simplest way to get dye out is to wash it. Use shampoo that you normally wouldn’t use with dyed hair because now instead of fading your color when you don’t want it to fade, it’ll be doing you a favor. I recommend the Head and Shoulders anti-dandruff shampoo, or the Walmart version since it’s cheaper, or and harsh shampoo like that. You can also use dish soap to do the job. Wash your hair over and over to get dye out. This might not do much on blues, but it’ll help with other colors.
3. Vitamin C treatments – As you can see in the video, I went straight for the vitamin C treatment. Get some vitamin c pills, crush them into powder, and mix them with your dye-fading shampoo or dish soap of your choice. This is what really makes a difference and will be all you need for colors other than blue. I still started off with this though since it doesn’t damage my hair like bleach does and I wanted to preserve it for as long as possible. Use this to scrub the color out of your hair and leave it on for a while. Rinse and repeat until your color has faded.
4. Bleach bath – This is what you’ll probably have to resort to if you can’t get your color out, and with blue, that’s almost certain. It’s possible to fade with the other methods, but alone they’re not going to cut it. Mix your bleach and developer as usual, but dilute it with shampoo, at least match the amount of the bleach mixture with shampoo, and use up to twice as much shampoo to dilute it. Mix it all together and lather up your hair. Leave it on for a few minutes until you can see your color lifting, and then wash it out. This is less harsh than using straight bleach on your hair, but is still drying so make sure you condition very well afterwards!
Now your hair should be light enough to dye over it. If not, you might want to try the last step again, or bleaching through the color as a last resort. If you have more tips, comment them down below and share what you have to say!


– How to dye your hair teal to blue ombre
Thanks for visiting OffbeatLook.com by Camille Johnson; a blog on fashion, beauty, and everything in between.
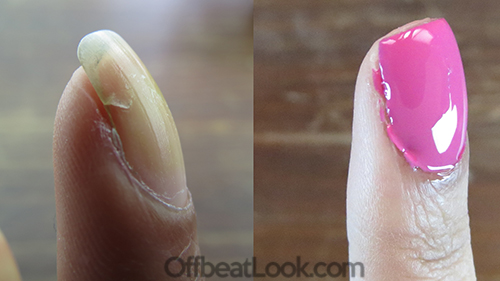
How to Fix a Broken Nail with a Teabag!
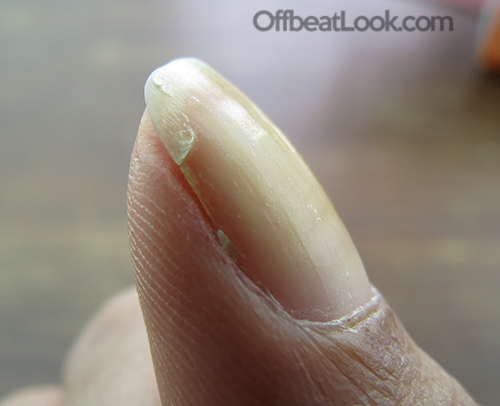
August 3rd, 2014Do you ever get cracks in your nail that you really wish you could fix so you don’t have to clip your nail all the way down? What about cracks that are too far down that you couldn’t clip down to it even if you wanted to? I used to get these all the time, I have since worked on getting my nails to become healthier, but I’m going to show you how I would fix these breaks using a tea bag! I always keep a tea bag with my nail stuff nowadays just in case I ever need to fix another crack! This is the before and after of my cracked nail:
Keep in mind that this is just a temporary fix, and if you have nails that keep breaking all the time, you should look into trying to strengthen your nails so this doesn’t happen that often. Also, my nails are yellow stained in this tutorial because of a yellow nail polish that I used from OPI. I even had a base coat underneath but it still stained my nails and trust me, I won’t be using that yellow ever again.
Another method that would work and probably be stronger is by using nail wraps, but everybody has teabags in their house so it’s much more convenient. Here’s a video tutorial of how I did this nail look!
Subscribe to Offbeat Look on YouTube if you like videos like Fixing a Broken Nail with a Tea Bag!

Here’s what my thumb nail looked like before, when it was cracked.
This is what my other nail looked like when it was broken, before I fixed it.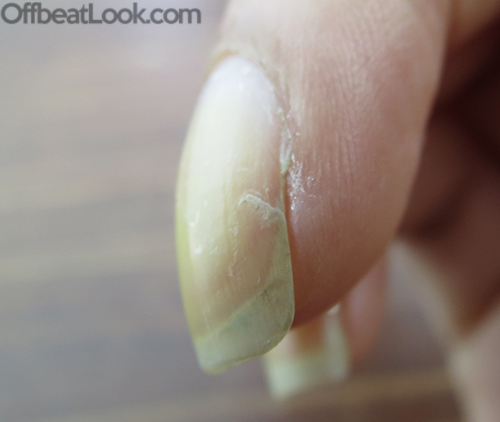
This is what my nails looked like once the patches of the tea bag were applied to them.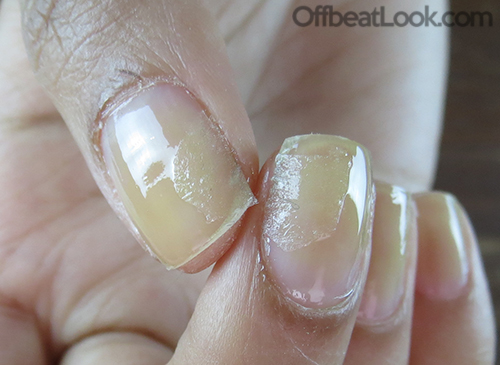
This is what it looks like with the tea bags and polish on top.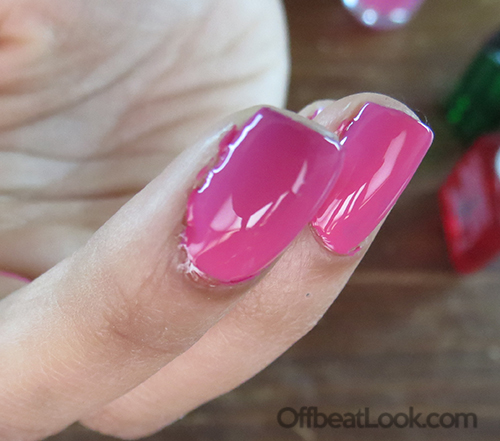
And here is the thumb, all patched up!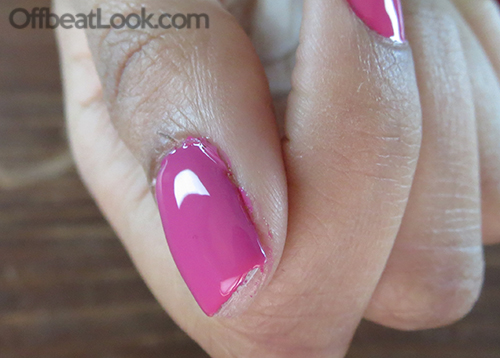
– Sweetheart Anti-Valentine’s Day Nails
Thanks for visiting OffbeatLook.com by Camille Johnson; a blog on fashion, beauty, and everything in between.
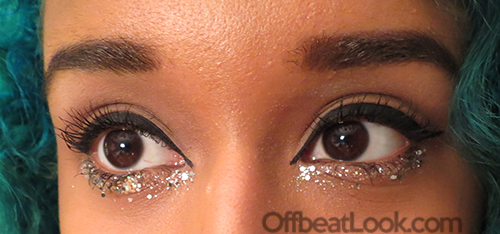
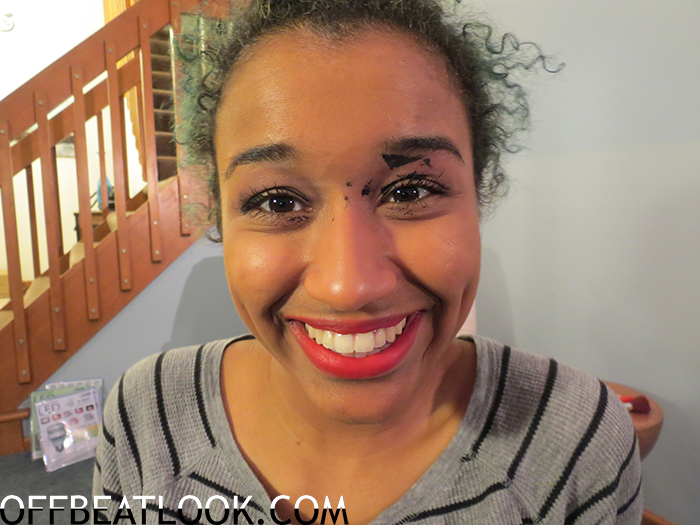
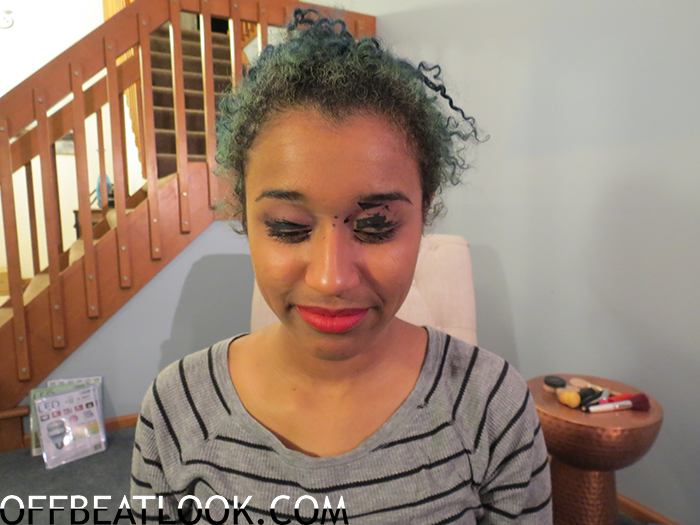
Chanel Spring 2014 Runway Makeup Inspired Tutorial
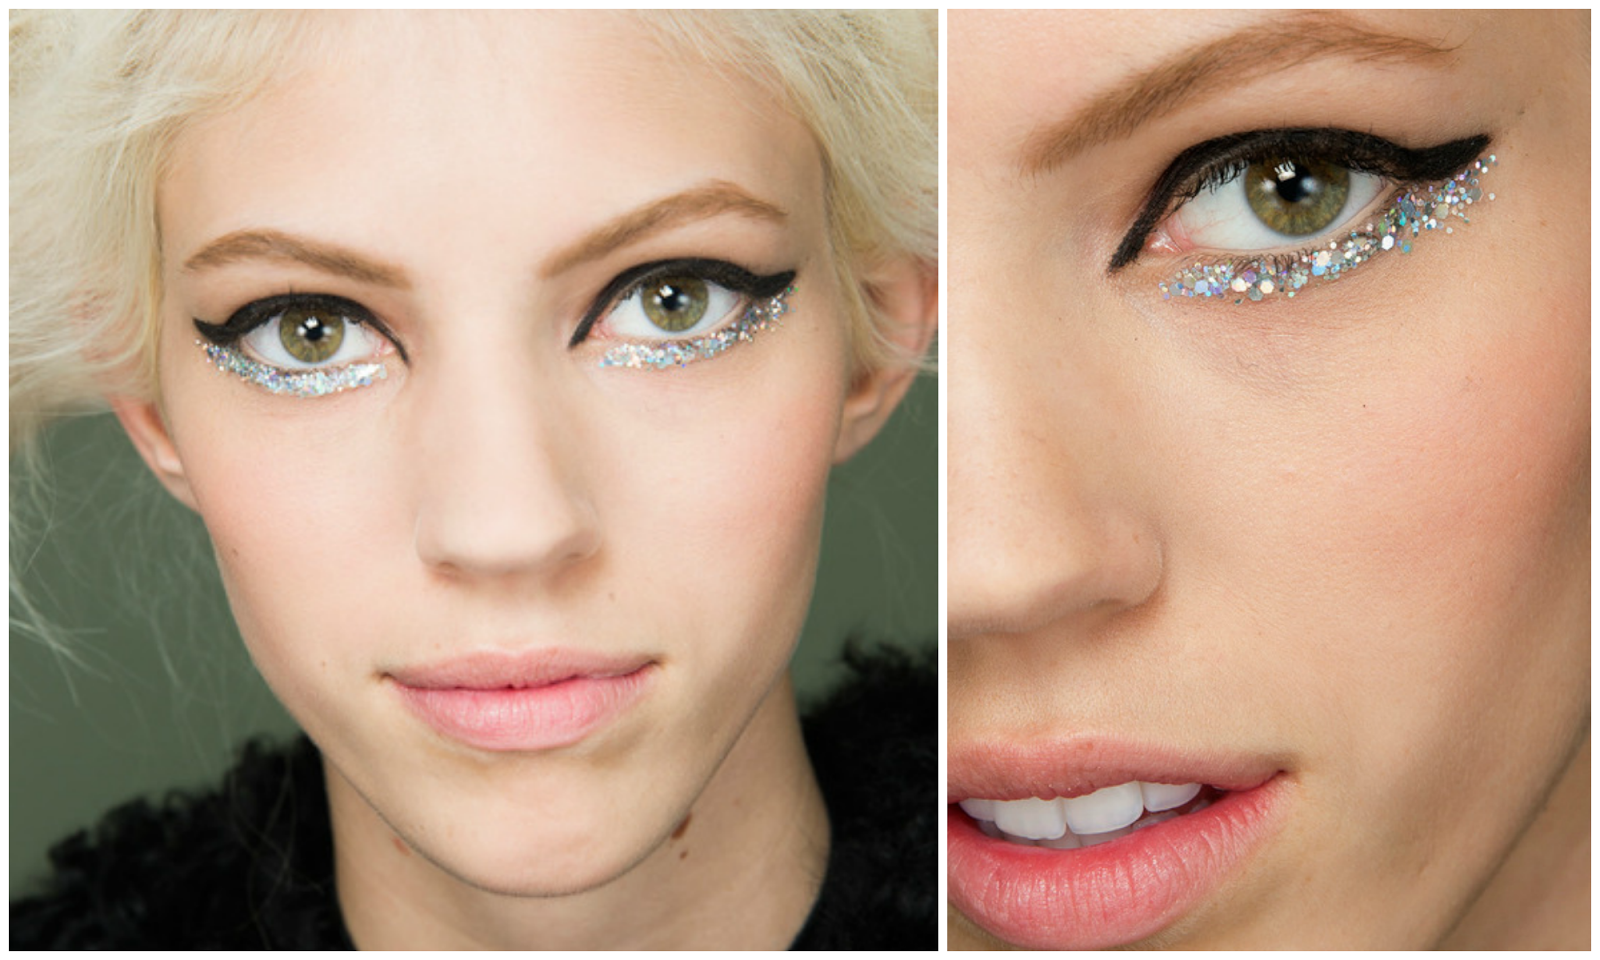
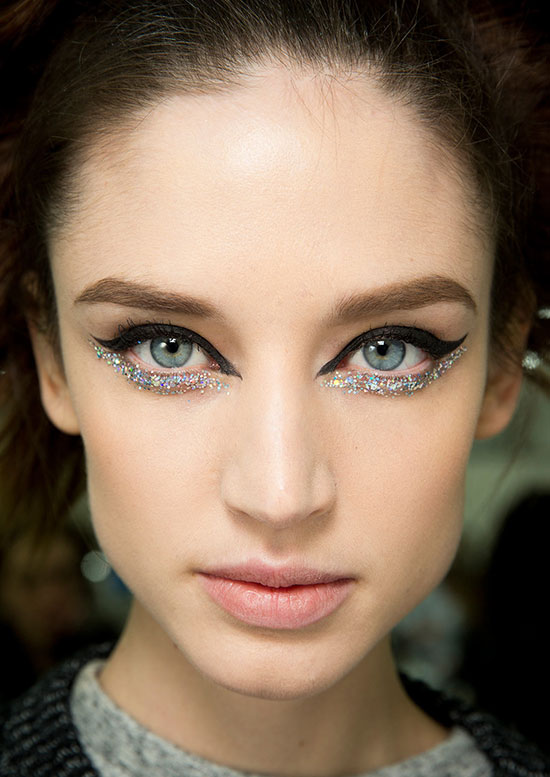
August 3rd, 2014I had been seeing so many photos from the Chanel 2014 Spring runway show on Tumblr, so I decided that it was time to recreate the models’ gorgeous glittery eyes. The look features silver glitter of various sizes underneath the lower lash line and thick black winged out eyeliner on top. I did my whole face to mimic the look that the models had, and I honestly love this look so much. I’d definitely wear it out and not just to a runway show! Here is what my makeup looked like.
And here is a photo of one of the models wearing the makeup.
Here’s a video tutorial of how I did this makeup look!
Subscribe to Offbeat Look on YouTube if you like videos like my Chanel Spring 2014 Makeup Look Tutorial!
Here are a few more photos of this glittery eye makeup. This one is of another Chanel model. I seriously cannot get over how beautiful this girl looks with this look on!
Here are most of the makeup products I used to create this makeup look, but if you want to see every single thing, watch the video embedded above. I accidentally left out a couple of things D:
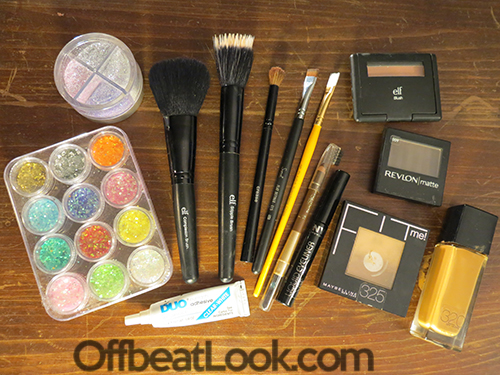
Here’s just one more photo of me wearing the makeup.
– How I dyed my hair this blue ombre color
– Not My Arms Makeup Challenge
Thanks for visiting OffbeatLook.com by Camille Johnson; a blog on fashion, beauty, and everything in between.
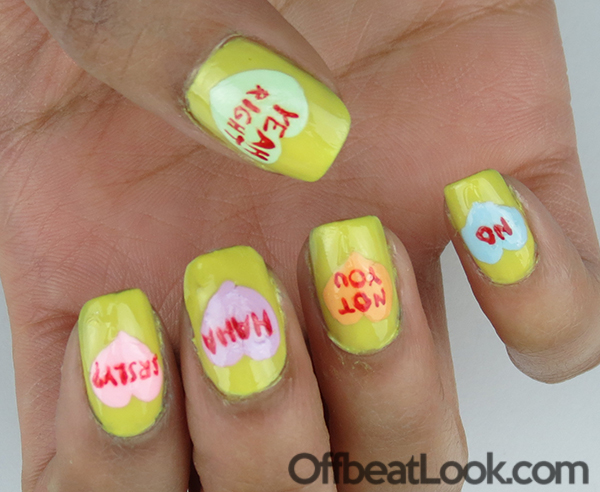
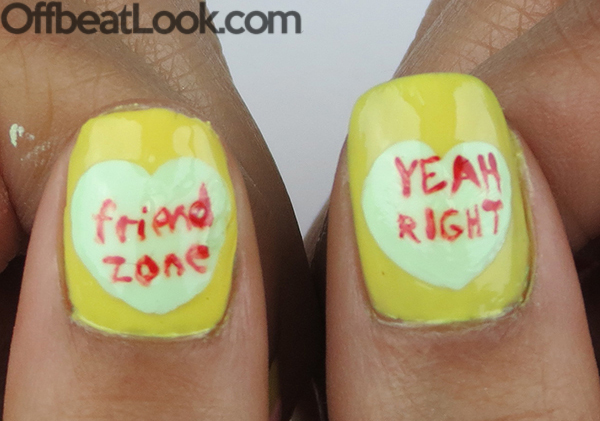
Sweetheart Anti-Valentine’s Day Nail Tutorial
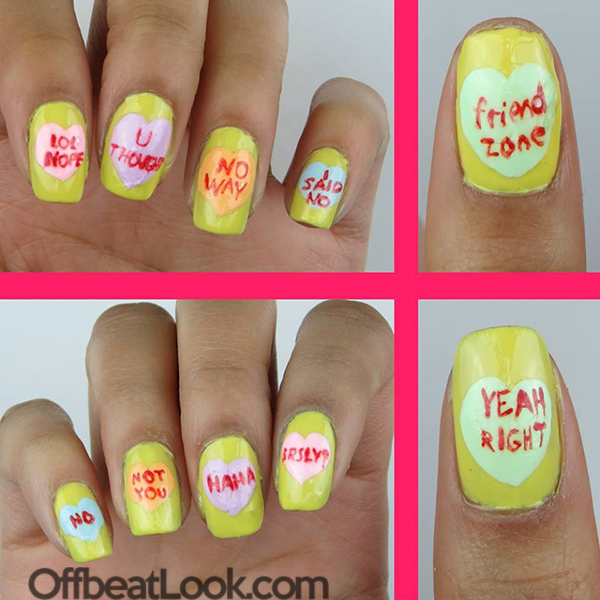
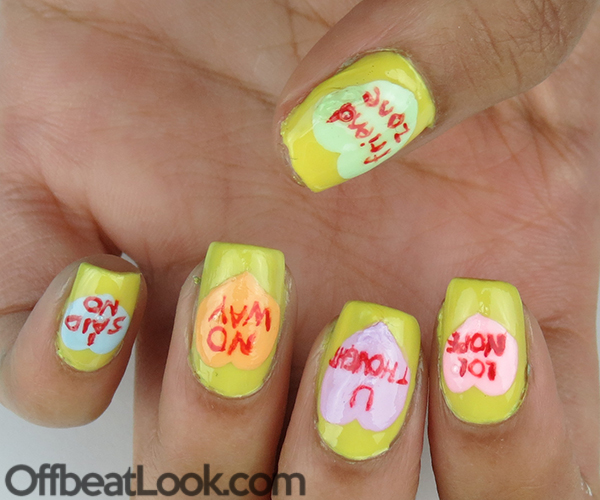
August 3rd, 2014Is Valentine’s day your favorite holiday? Mine either. I mean I guess it’s okay but I think it’s sorta over rated. There are good things about it, but for those of you who aren’t very into it, here’s the perfect manicure for you! (I know, I’m posting this in August, a bit late- or early depending on how you look at it- but I never got around to posting it and I’m trying to catch up on my blogging so here ya go!).
Here’s a video tutorial of how I did this nail look!
Subscribe to Offbeat Look on YouTube if you like videos like my Sweetheart Anti-Valentine’s Day Nail Tutorial!
What types of stuff would you paint on your hearts? Leave me a comment down below and lets see who has the most creative answers!
Thanks for visiting OffbeatLook.com by Camille Johnson; a blog on fashion, beauty, and everything in between.
Not My Arms Makeup Challenge! Two Funny Videos
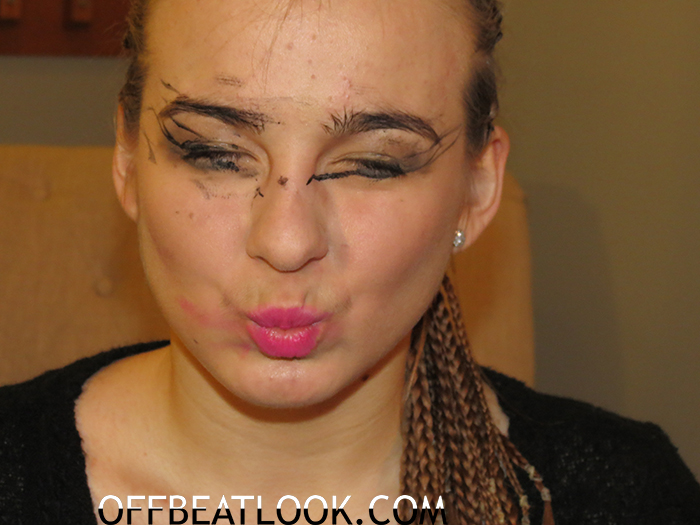
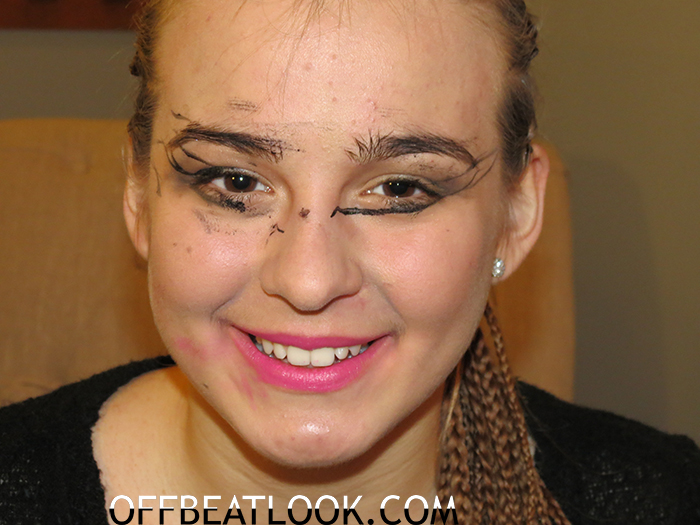
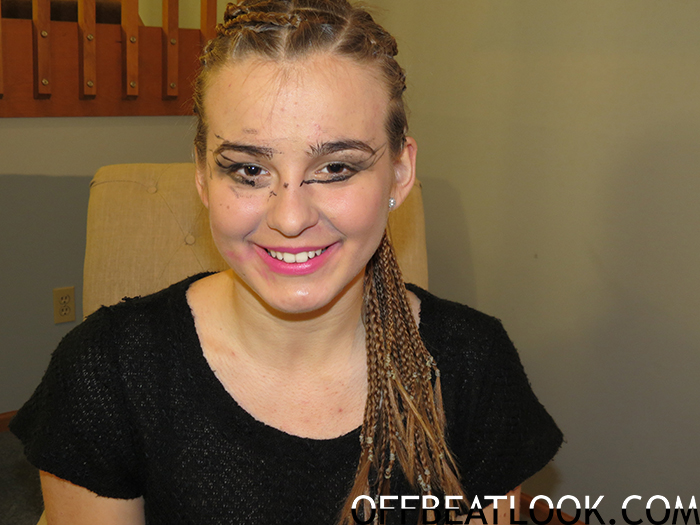
March 7th, 2014Hello my darlings! You may or may not know this, but the “Not My Arms Makeup Challenge” has been going around YouTube for a short while and I decided it would be fun to do it with my best friend, so we did! Basically, one person sits behind the other and puts their hands through a large shirt that the front person is wearing, and attempts to do that person’s makeup as best as they can. This challenge always ends up with ridiculous results, so I grabbed my best friend, Dominika, and my dad’s huge T-shirt, then gave it a go! We filmed it with her doing my makeup and posted this on my beauty YouTube channel, so here’s that video.
We also filmed it with me doing her makeup, and I posted this one on my vlog channel, and this is the video right here:
Here are some pictures of what each of us looked like after the damage was done (I really hope nobody uses any of this for blackmail when I’m older because I look absolutely horrid haha. No offense to your makeup skills, Dominika  )
)
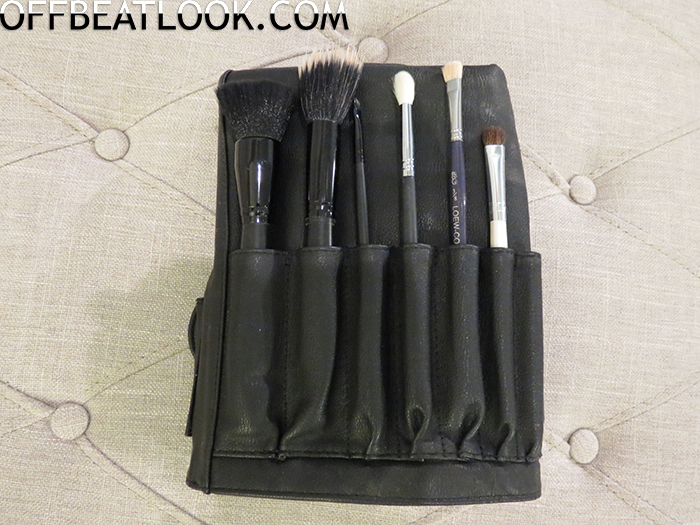
These are the brushes I used:
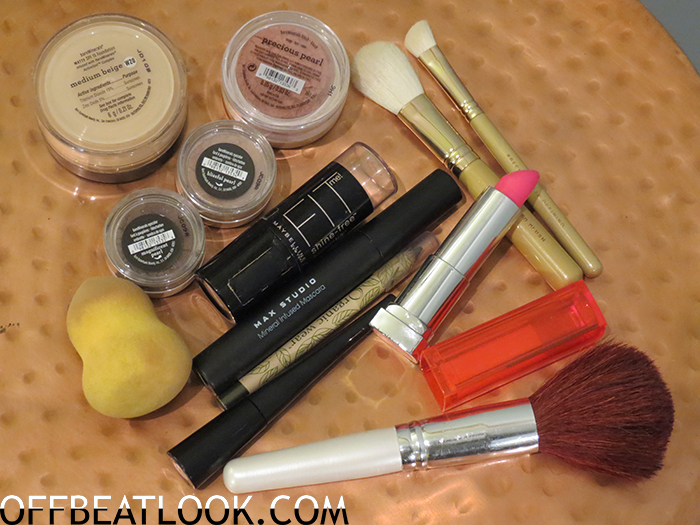
This is the makeup Dominika used on me

This is the makeup I used on Dominika:
Thanks for watching/reading this post! If you found it helpful, please subscribe to my YouTube channel, and my blog to stay updated with all the helpful posts I’ll be making in the future. If you want to subscribe to my blog via Bloglovin’ which is the best way to subscribe, the link is in the side bar. You can also subscribe to my monthly newsletter that I write and send out on the last day of each month with a quick summary of all of the important things I talked about during the month. The signup form for this is also in the side bar.
Subscribe to my beauty youtube channel and subscribe to my vlog channel if you liked the videos 
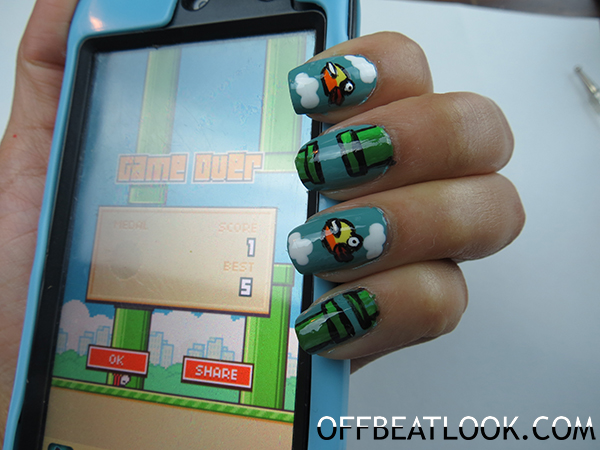
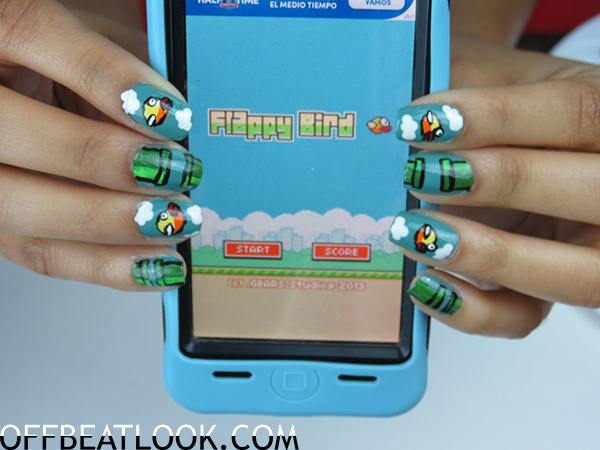
Flappy Bird Nail Design
March 7th, 2014Flappy bird. Enough said.
I’m sure you’ve all heard about the little flapping devil, since it’s been the number one app for a while, which is why I decided to paint it on my nails. This is a video I made a couple of weeks ago when the game was getting big, and a lot happens in that amount of time because since then, the game has been taken off of the app store and driven lots of people crazy because of it.
Regardless, here is my design, and an accompanying video of how I created it!
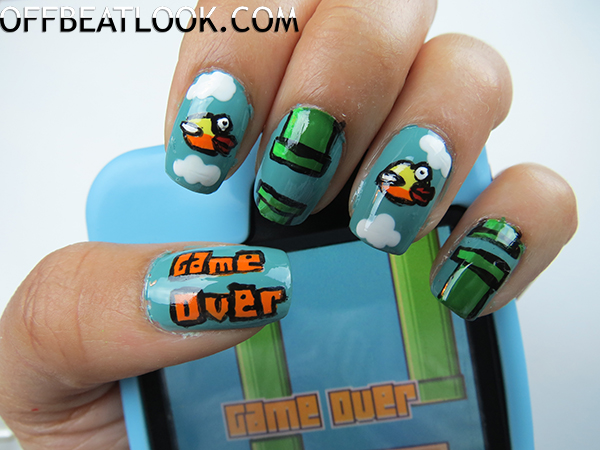
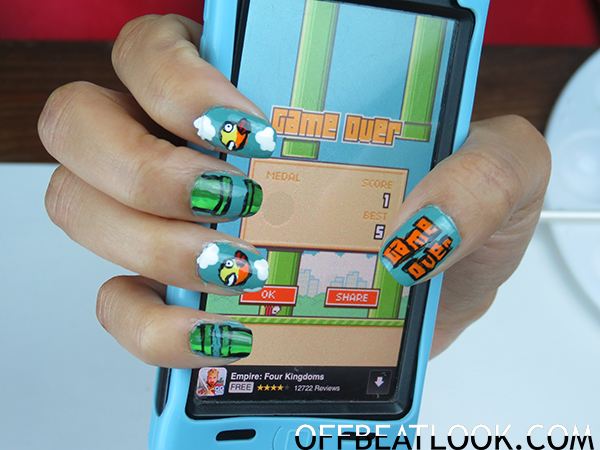
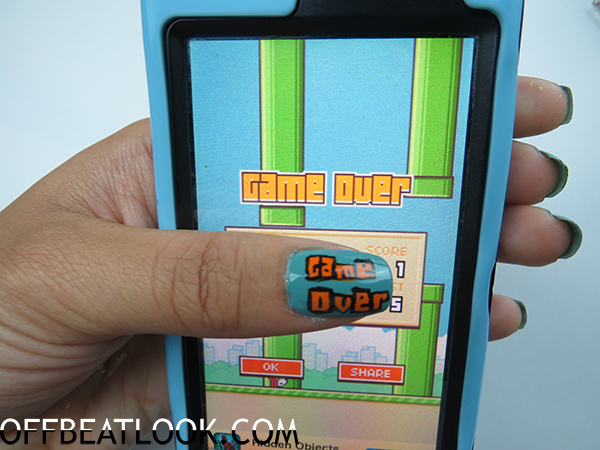
Here are some more photos of my nails. Enjoy!
Thanks for watching/reading this post! If you found it helpful, please subscribe to my YouTube channel, and my blog to stay updated with all the helpful posts I’ll be making in the future. If you want to subscribe to my blog via Bloglovin’ which is the best way to subscribe, the link is in the side bar. You can also subscribe to my monthly newsletter that I write and send out on the last day of each month with a quick summary of all of the important things I talked about during the month. The signup form for this is also in the side bar.
How to Cut Curly Hair
March 7th, 2014Hey there, ya curly-headed ladies/guys! The other day, I cut my hair, and being the fuzzy-headed freak that I am, I decided to film it and show the world how it’s done! I’ve been cutting my own hair since around 5th or 6th grade, and although it took a while, I figured out the best way to do it, and the perfect shape for my kind of hair.

It’s seriously a struggle having hair as curly as mine, so any curly-hair tips that you have are welcome in the comment section. My tip of the day is to cut your hair in layers. This is because with curly hair, volume is inevitable, and too much volume could make you look like a bobble head, and we don’t want that. This also helps us get rid of the triangular shaped hair that I hate, and frames one’s face better. Watch the video down below to see how I cut my curly hair!
Subscribe to Offbeat Look on YouTube if you like videos like How to Cut Curly Hair
Here’s what My hair looks like right after I used this method (note: It looks really voluminous because I had been messing around in it and separating all the curls, but once I washed it, it took on it’s less-big size and looks more rounded)
Here are some more photos:

Thanks for watching/reading this post! If you found it helpful, please subscribe to my YouTube channel, and my blog to stay updated with all the helpful posts I’ll be making in the future. If you want to subscribe to my blog via Bloglovin’ which is the best way to subscribe, the link is in the side bar. You can also subscribe to my monthly newsletter that I write and send out on the last day of each month with a quick summary of all of the important things I talked about during the month. The signup form for this is also in the side bar.
Have a great day, my darlings! Kisses
Thanks for visiting OffbeatLook.com by Camille Johnson; a blog on fashion, beauty, and everything in between.
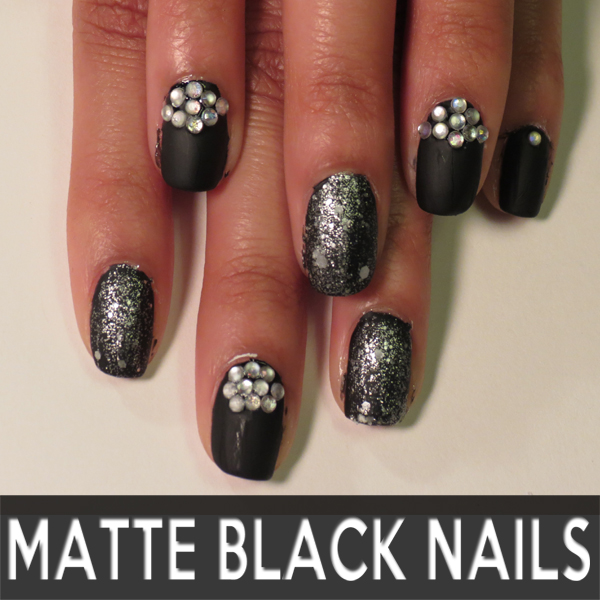
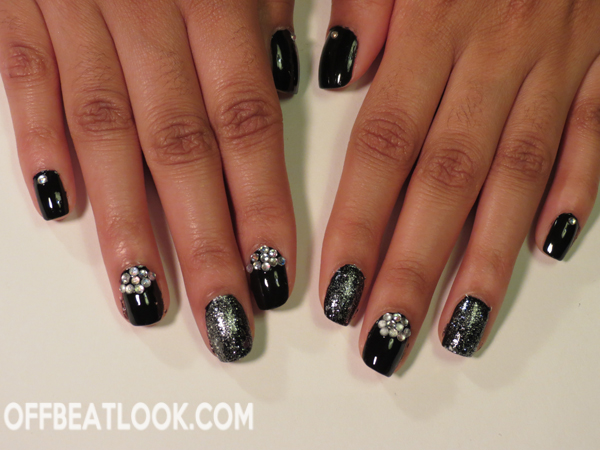
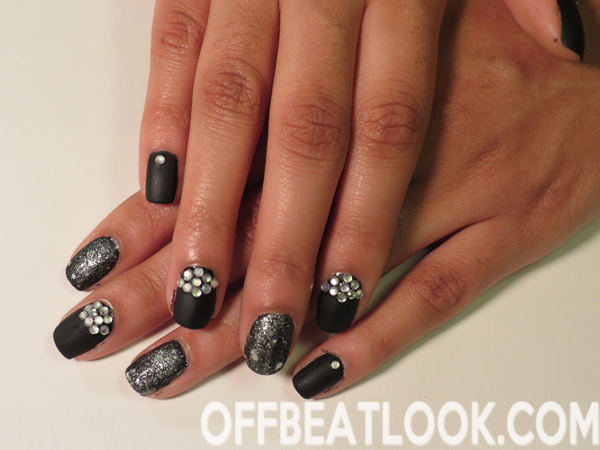
Matte Black Nail Design Tutorial
January 20th, 2014Hey there nail enthusiasts! Today I’m showing you a tutorial for how to do this matte black nail design that I created on my nails. In the video I show you how to use a matte topcoat and how to easily apply rhinestones with an amazing product that I found very useful. These nails are chic yet playful and I think they looked awesome. If you agree with me, please try them out and tweet me a picture! I’d love to see how yours turn out!
Subscribe to Offbeat Look on YouTube if you like videos like Matte Black Nails With Glitz

Here are a list of the products I used to make this nail design. I try my best to link to products as similar as possible if the product that I used isn’t available online.
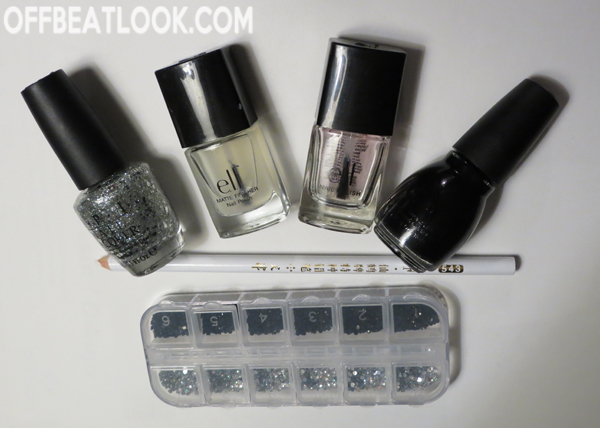
-E.L.F. Nail Polish – Clear [Eyes Lips Face (E.L.F.)]
-Sinful Colors Professional Nail Polish – Black on Black [Similar Item Here]
-OPI Nail Lacquer – Crown Me Already [Similar Item Here]
-E.L.F. Nail Polish – Matte Finisher Clear Nail Polish [Eyes Lips Face (E.L.F.)]
-Rhinestones – Silver [Born Pretty Store]
-Rhinestone Picker Pencil – Clear [Born Pretty Store]
*Coupon Code for Born Pretty Store: CJHX31 (10% off your ENTIRE purchase! not including sales)*
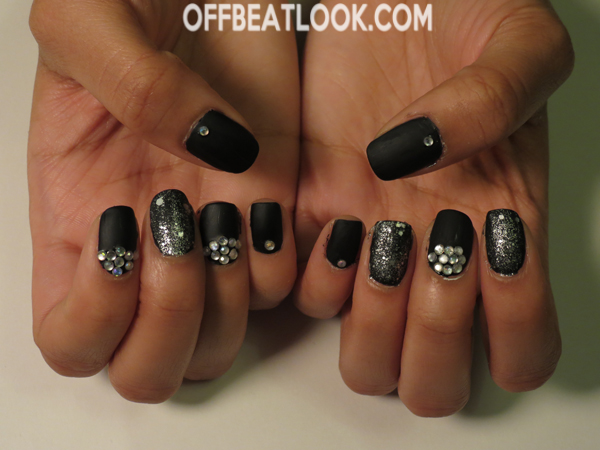
Steps:
1. Paint a clear coat on all of your nails
2. Once dry, paint a black coat on your nails
3. Add a second black coat
4. Put clear nail polish on the nails that you want to add the rhinestones to and use a rhinestone picker pencil to pick them up and arrange them the way you want them on your nails.
5. Paint clear polish around the stones to secure
6. Add glitter to other nails
7. Add a matte topcoat and let dry


Thanks for visiting OffbeatLook.com by Camille Johnson; a blog on fashion, beauty, and everything in between.
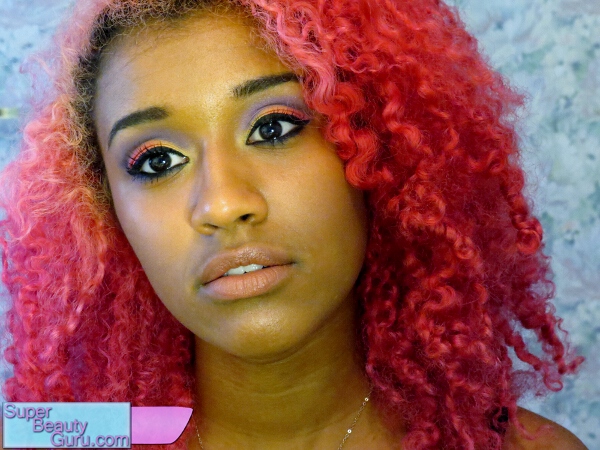
Summer Sunset Makeup Tutorial
September 1st, 2013Hey everyone! Today I’m going to show you how to create a colorful, summer sunset makeup look. This look is perfect for the end of summer, as it is a metaphorical sunset. You can also wear this look any time you want something bold or colorful.
If you cannot view the above video, click here for the tutorial on this look: Summer Sunset Makeup Tutorial – How to Apply Colorful Eye Makeup
Subscribe to my Fashion and Beauty YouTube Channel!
Photo Gallery
TALK ABOUT THE LOOK A LITTLE MORE HERE AND THROW IN A FEW KEYWORDS/PHRASES


Thanks for stopping by! Please subscribe to my blog if you like it! xoxo Amber C Johnson from Super Beauty Guru <3
Spring Outfit Of The Day: Bright Orange Maxi Skirt
April 25th, 2013Hey fashionistas! Today I’m showing you what I wore today for school. It’s a great Spring outfit, and it’s super duper colorful! This outfit has bits of hipster and punk influence, but is also pretty at the same time. It has a bunch of different bright colors (including my hair lol ^_^) that make it interesting and perfect for the warmer weather!
I made the skirt myself because I love maxi skirts and the fabric at the store was just calling my name! If you don’t know how to wear a maxi skirt, then this outfit will be a good example of how to wear a maxi skirt. It’s perfect to pair with a band tee and denim jackets. Top it off with some killer shoes and you have yourself an awesome outfit!

Here’s a video showing the outfit, and a list of places items were purchased:
How to dye dark/black hair pastel pink
April 7th, 2013Every girl who has dark hair always has trouble figuring out how to get light pink pastel hair, because let’s face it- it’s almost impossible to achieve exactly what you want. There are so many problems I, or other people, have encountered while trying to do this, but let me assure you, this process is possible, and there is a way for you to do it yoruself. I’ll tell you all about how I did mine, and show you how it came out.
This is what it came out looking like:

Floral Easter / Spring Makeup Tutorial Using Fimo (Crazy Makeup)
April 4th, 2013Hey everyone! Today I’m going to show you how to create this crazy, out-there Easter Makeup look. I used a few different colorful eyeshadows, and Fimo flowers to create this look, and I think it turned out awesome! This is a really crazy, outgoing makeup look, so if you’re daring enough to try it or something like it, I would love to see your look!

I did this for Easter, but it’s also the perfect spring makeup look as well. The flowers are starting to come out, and it’s the perfect time to put some on your eyes as well! Now I feel like putting some flowers on my nails…hmm that just might end up being an upcoming tutorial, because I have dried out flowers made for nails that I still need to try out!
Here are all the Steps and Products I used:
Easter Nail Tutorial – Eggs and the Easter Bunny
April 3rd, 2013Hey everyone! Today I’m going to show you how to create Easter Nails! This is the design I did this year for Easter, and I love it! I used pastels and made a few different Easter egg design inspired designs on my nails, and an Easter bunny on the accent finger. It’s the perfect look to do around Easter, if you’re looking for something to do with your nails.

Here are all the Steps and Products I used:
How to Get Rid of Semi Permanent Hair Dye
March 24th, 2013Getting rid of semi-permanent hair dye might be a challenge you face eventually, and there are a few methods to do so. They work on different levels, and some take longer than others, so it depends on a variety of different factors. Right now my hair is blue, and I want to remove all of the blue so I can dye it red, so I’ve been doing a bit of research on how to remove the blue so I can dye my hair red.
Wash Your Hair
The first method I want to talk about on removing some of your semi permanent dye is washing your hair. Different dyes stay on the hair for different amounts of time, and some will last for like 15-30 washes (or will say so on the box), and others will say they last for a few months. Regardless, if you are someone who just applied a semi permanent hair dye, rinsed it out, and got a terrible color that you can’t stand, there’s something you can do to remove some of the color at this early stage before it’s completely set in your hair.
You can wash you hair a bunch of times as soon as it happens to get out as much as possible. To make more of an impact, try using clarifying shampoos that are made to get rid of a lot of dirt and grease in hair–they will also get rid of some of the dye. Another technique you could use is adding baking soda to your shampoo to make it get more of the dye out by getting a deeper clean. Dish soap or detergent is also known to help. I would recommend washing and rinsing your hair like 15 times right after it happens to get the best results. Using hot water will also help get the dye out faster than cold water. After you do this, make sure you condition your hair, because all of that washing is bad for it. Maybe condition after every 5 to 7 washes as well to avoid getting your hair completely dried out.
Hot Oil
Using hot oil hair treatments, or a DIY at-home version will also fade color. The oil will counter some of the chemicals in the dye and make it fade. If you’re using a hot oil treatment, follow the instructions on the box, and when it’s in, wrap your hair up in a (warm) towel and let it sit for an hour. If you want to do the DIY version, you can just heat up some olive oil and use that in your hair.
Lemon Juice
You can use lemon juice in your hair to help because it’s a natural hair lightener. The citric acid in lemons will help get rid of some of the dye. I would recommend squeezing a fresh lemon and using that instead of the lemon juice that comes in a bottle, but either should work, I just would assume that the bottle is more diluted, but then again, that could be better for your hair. Leave this on for 10 – 20 minutes, with your hair in a shower cap or towel, then wash out.
White Vinegar
White vinegar also has an acidic property to it, and could be used the same way as the lemon juice. Leave this in for 20 minutes, then wash out.
All of these different options will only help your hair dye fade faster than it would if you didn’t do anything, but won’t make too much of a difference. They’ll only shorten the fading time. The most dramatic results will probably come from washing your hair multiple times, but will only work if it’s right after you put the dye in. For all of these methods, it’s important that you condition your hair very often to avoid drying it out. This next option is for those who want the color all out right away.
Hair Dye Remover
You can buy these at beauty shops like Sally’s Beauty Supply. There are some specifically meant for removing permanent hair dye, and some for semi-permanent hair color, so find the one for semi-permanent hair dye because it will do just that without damaging your hair as much as it would if you used the one for permanent color, and if you were to use a permanent hair dye remover, you would also run the risk of lightening your natural hair color. When you get your dye remover, follow the instructions on the box.
After using the dye remover, your hair should be the lightest shade it’s been, so if you bleached it until it was blonde before adding your semi permanent hair dye, then it should be blonde again. If it was a medium brown, then it should be a medium brown. If it was bleached blonde, then dyed a medium brown, then dyed red on top for an auburn color, don’t be surprised if it goes back to being blonde again. It will most likely return to a color somewhere between the blonde and medium brown, though.
This is the best option if you want good results, and fast! It’s not a solution as natural as the others, and it costs anywhere from $8 to $15 for a box of hair dye remover, but it’s the only way to get rid of most of the color right away. You can also go to a salon and ask them to do this for you if you have no idea what you’re doing and don’t want to potentially mess up your hair. After you do this, condition your hair a lot because it will need it!
Vitamin C!!
I’ve seen a lot of talk recently about using vitamin c, either the crushed powder type or the one that comes in tablets that you would manually crush (put in a plastic bag and hammer it to powder outside!), and using it to fade out hair dye. People would normally mix this withe either dish washing liquid, preferably a dish soap with a lemon scent because it’s the most striping with this citric acid, or mix the powder with shampoo. I’ve seen people use it with any shampoo, but especially with either a dandruff prevention shampoo, or any Head and Shoulders shampoo, mostly their dandruff one.
This has been proven over and over to get the hard-to-fade hair colors out of hair. It will work better on the semi-permanent dyes that are vegetable oil based like Manic Panic and I believe Directions as well, and it will be less effective on the ones that are more long lasting, or demi-permenant. It will get the color to fade out faster, but bleached hair tends to stain, so don’t expect it all to come out. I think this is the most effective method, depending on whether or not the hair dye remover works on your hair, which it might not. I used the One n’ Only Color Fix Hair Color Remover on my blue hair (Ion Color Brilliance Hair Dye) and it didn’t do a thing!! I left it on for an hour and nothing happened, so this is the method to try if that happens to you.
Last Step
After this, your hair should have most of the color removed from it, so the last thing you should be doing to it is bleaching it again, to lighten and remove the last bits of color, or dying on top of it to make it all one color. Keep in mind, after doing this treatment, your hair will be more porous, so it will absorb dye faster, so your next color might go on more intense, or stay in longer. You might want to wait a little bit so you can condition and do hot oil treatments to nurse your hair back to health before going crazy with the hair dye again. If you’ve ever done anything like what’s mentioned in this article, please comment down below and tell me what you did and how it went for you! Hope this helps
How to Create a Simple Rose Nail Design on Your Nails (Easy)
March 19th, 2013Hey everyone! Today I’m going to show you how to create an adorable, vintage rose print nail design simply and easily! This is a nail look I did about a year ago, but never got around to posting it. I love the color of the background and the red roses and think the contrast is just gorgeous. The colors go so well together, and I think this nail design would look good on anyone.
This look is perfect for Spring, and Spring officially starts TOMORROW! Yeahh! I’m so excited because I hate winter and can’t stand the boring, mundane clothing everyone wears, and the chilly weather and obnoxious snow. I’m ready for it all to melt and the flowers to start growing! Anyways, let’s get into the tutorial!

Here are all the Steps and Products I used:
Day to Night Winter Makeup Tutorial with Video
March 5th, 2013Hey everyone! Today I’m going to show you how to make a flawless and glowing face using makeup techniques that will enhance your dry winter-impacted skin. I’ll show you how to transform this full day look I created into a gorgeous, vampy night look, perfect for winter.
This winged liner and dark purple lipstick are the perfect paring for anyone who wants to make a statement with their makeup without reaching the line of crazy. It’s a nice look to wear to school if you’re one of those people who gets tired of doing the same look every day, and wants to change it up a bit.

Here are all the Steps and Products I used:
