Hey everyone! Today I’m going to show you how to create an Overlapping Triangle Nail Design.
This nail design is nice and colorful, making it great for the spring or summer, and it’s pretty simple to do! I know you guys like my simple nail tutorials so I think this one is a design you will like.
Here are all the Steps and Products I used:
If you cannot view the above video, click here for the tutorial on this look: Overlapping Triangle Nail Tutorial
Subscribe to my Fashion and Beauty YouTube Channel!
Steps
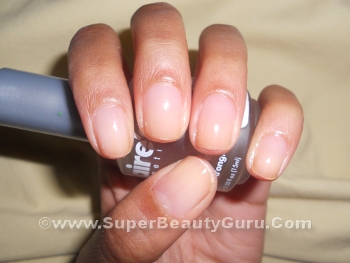
1) Apply a base coat to protect your nails.
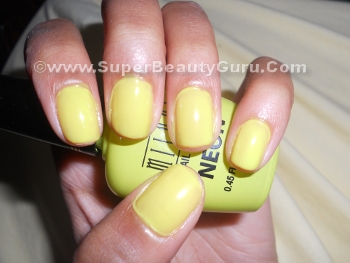
2) Paint them using a neon yellow or lime green. A pale color or white nail polish would also work just as well!
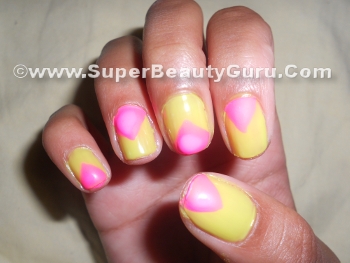
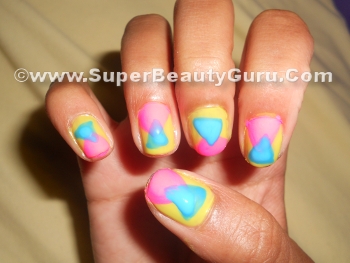
3) Paint a pink triangle on each nail with a nail polish or acrylic paint.
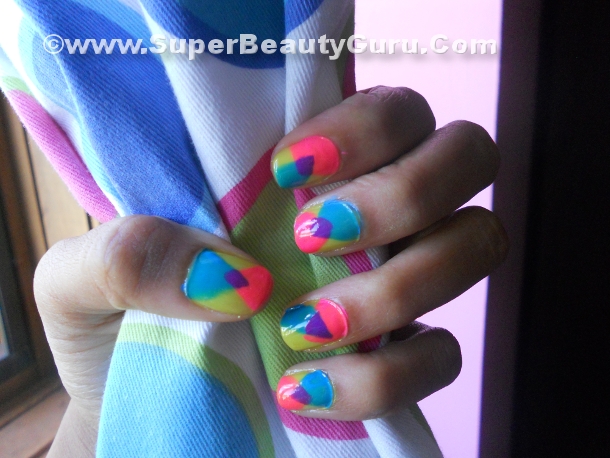
4) Paint a blue triangle one each nail, slightly overlapping some areas of the pink one.
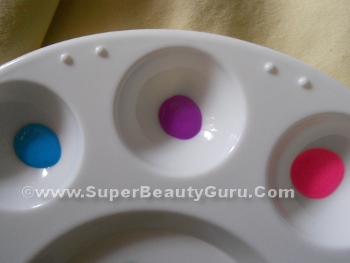
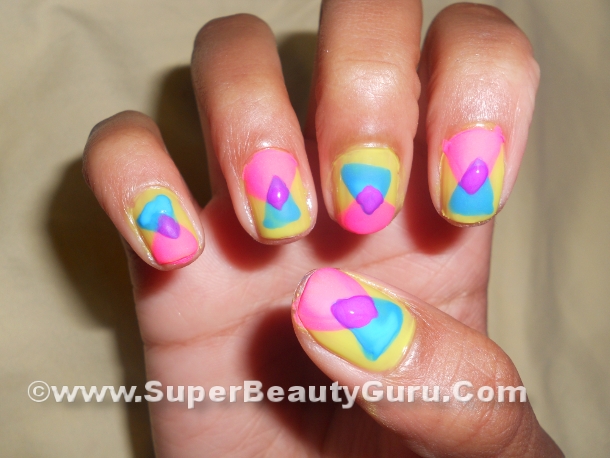
5) Emphasize the overlapping area by painting over it with a purple, which you can make by mixing the two colors together.
6) Add a topcoat to seal in the design, and you’re done!
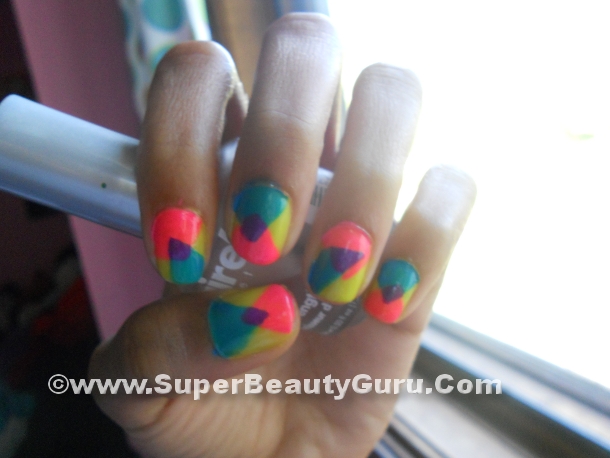
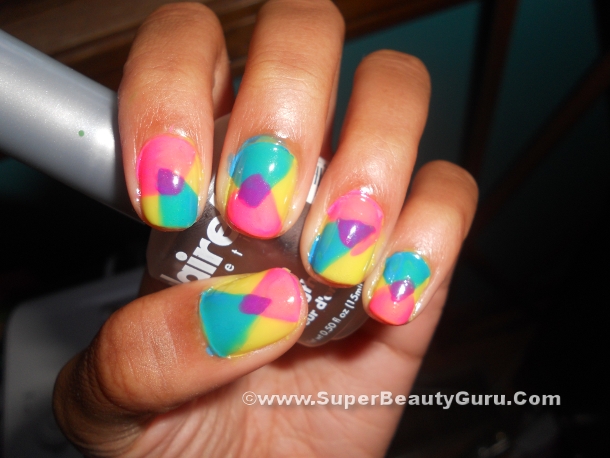
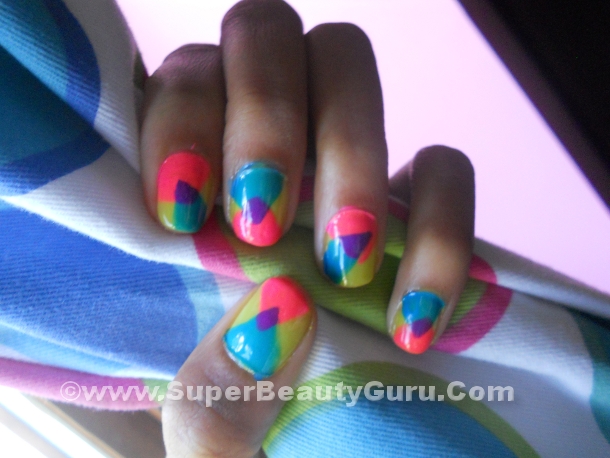
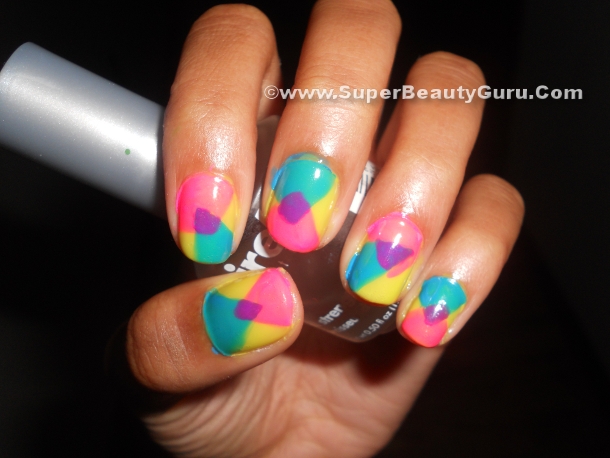
Nail Gallery
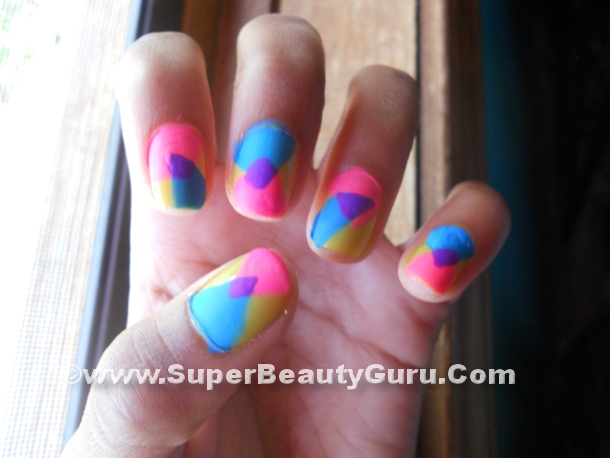
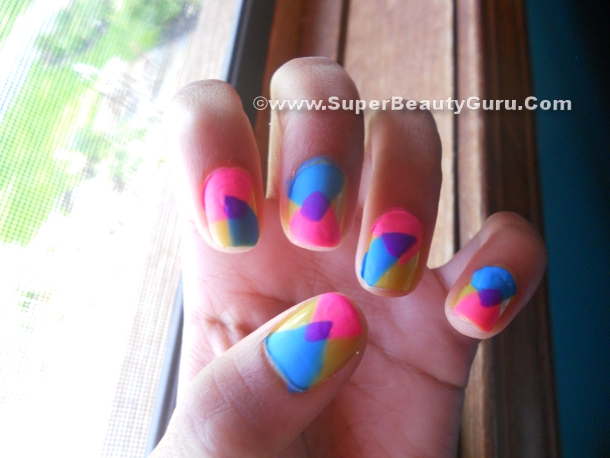
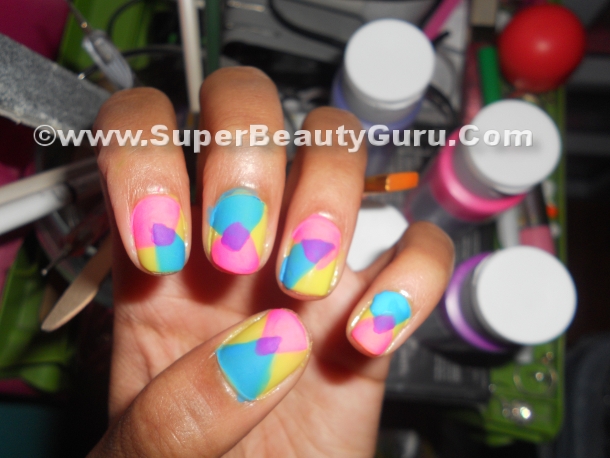
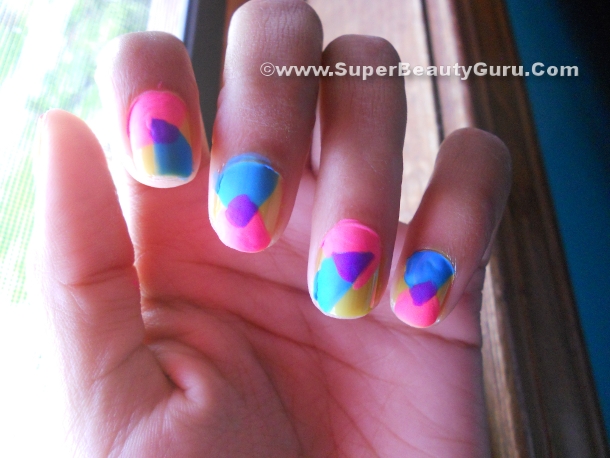
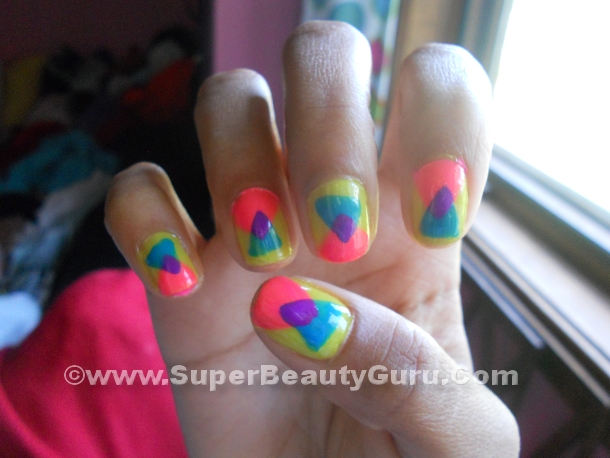
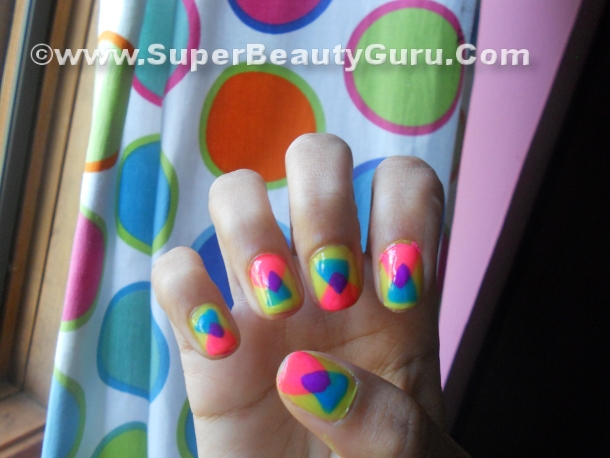
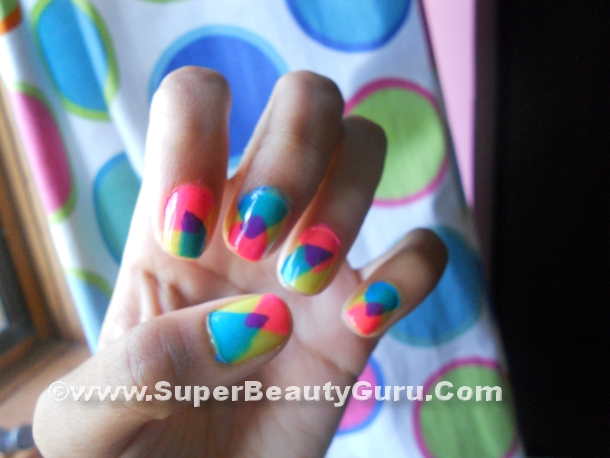
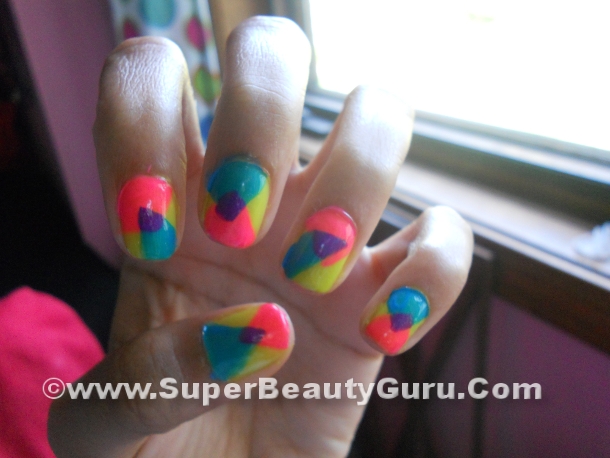
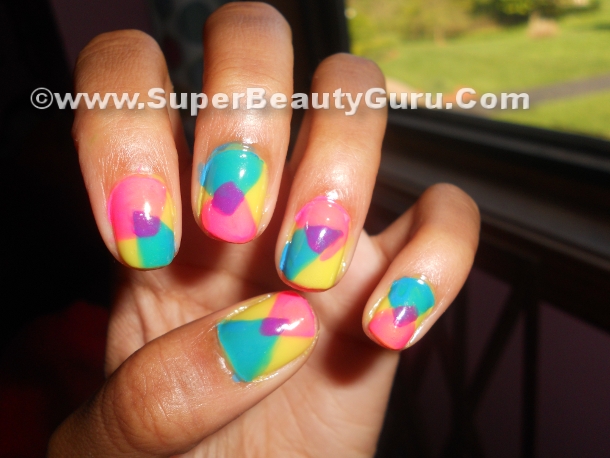
These nails are super colorful and bright. I also love the geometric pattern!
Video Transcribed:
Hey Guys! Today I’m showing you how to do this simple overlapping triangle nail design! It’s super colorful and creative and pretty easy too!
Start off with a base coat to protect your nails!
Next add a neon yellow or lime as the base color. You could also use a very pale color or white, either would work.
Next use a small nail art brush to paint pink triangles on each nail. Paint some at the tips and some at the base of the nails to give variety. You can use nail polish, but I used acrylic paint.
Now, use a blue nail polish or paint to paint another triangle, but overlap it on the pink one. You want it to be just on top so the tips or the side overlap, but only a small part.
When you mix pink and blue, you get purple, so to emphasize the purple, just mix the two colors together on a mixing plate, and paint over the overlapped area. It’s kinda like cheating with the overlapping, but whatever!
I kinda got carried away with photos, so don’t yell at me through the comments, just look at them. Now the nails are matte because acrylic paint dries without any shine, but once you add a topcoat, your design is now sealed in, and that paint isn’t going anywhere! Also you have a nice shine to your nails!
I took a bunch more pictures, so let’s admire them together! This is a very simple look, which you guys told me you liked in the last nail tutorial. I did this look like 6 months ago but never got around to turning it into a video, but I finally did, so here you are!
This will be one of my last photo nail tutorials because now I have a fancy new camera that isn’t stupid like my old one, so I will be doing video nail tutorials soon!
If you like my videos, please give me some comment love, and subscribe! Thanks for watching, and I’ll see you in my next video, bye!
Thanks for stopping by! Please subscribe to my blog if you like it! xoxo Amber C Johnson from Super Beauty Guru <3


Pingback: Double Platform Sneakers Review and Outfit - Super Beauty Guru
Thumb up!!!