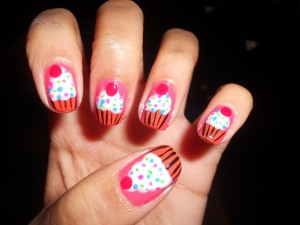
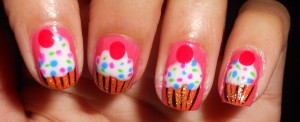
Hey Everyone! Today I am going to show you how to paint these adorable cupcake nail art designs on your nails! I think they are super cute, and when I wore them to school, I got a ton of compliments! I hope you enjoy!
Here are all the steps and Products I used:
If you cannot view the above video, click here for the tutorial on this look!
Subscribe to me on YouTube!
Steps:
1) Apply a base coat to protect your nails.
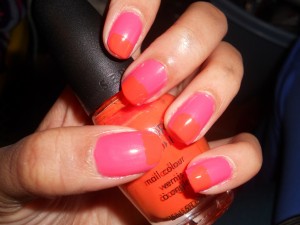
2) Paint your nails a medium pink.
3) Add orange trapezoids on the bottom of each of your fingers.
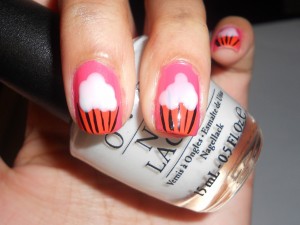
4) Use a thin brush to apply black lines on the trapezoid, outlining it’s shape and creating the crinkled look that cupcake paper has.
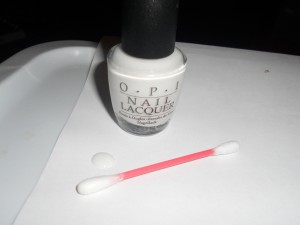
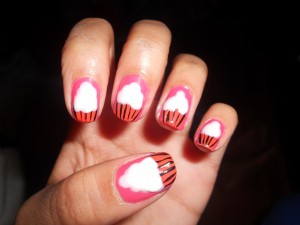
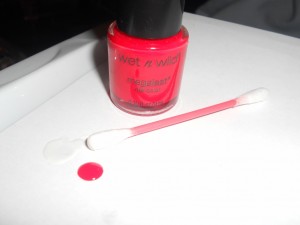
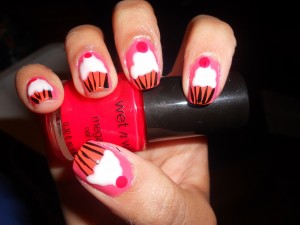
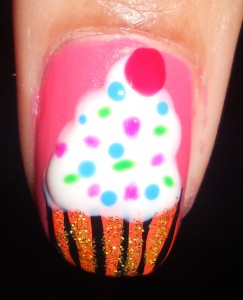
5) Use a dotting tool or a Q-tip to dot on white nailpolish for the frosting on top of the cupcake. Make it lumpy and fluffy!
This is one layer on the right, and two layers on the left.
6) Use either a dotting tool or the other end of the Q-tip to dot on cherries on top of the cup cakes.
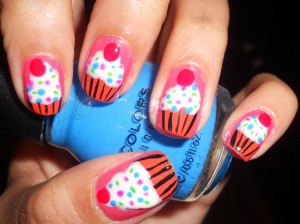
7) Add your sprinkles! I used purple, green, and blue, but you can use whatever colors you want!
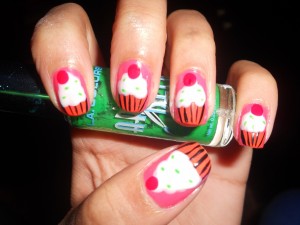
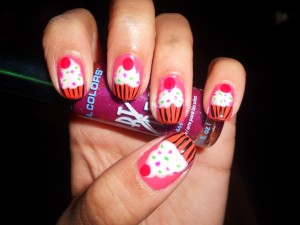
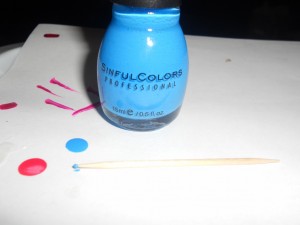 I used a toothpick for the big bottle of nail polish
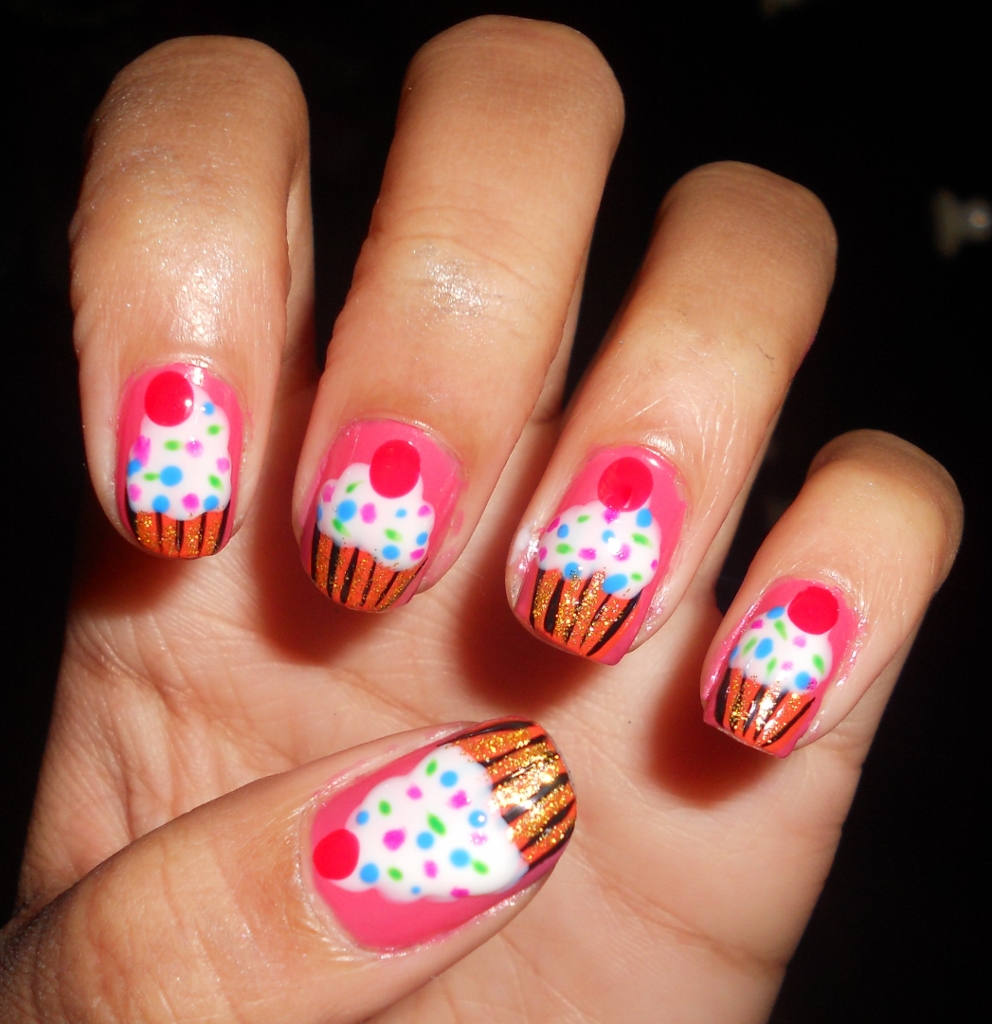
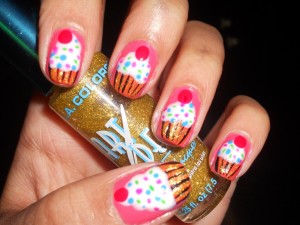
8) Add a gold glittery nail polish in between the black lines to amp up the cuteness factor!
9) Now you’re done! Add a top coat and let it dry.
Products Used:
-Sally Hansen Continuous Treatment Base and Top Coat – Clear
-O.P.I. Nail Lacquer – Chapel of Love
-Sephora by O.P.I. Nail Colour – Hi Def
-Rue 2-way nail art brush and pen – black
-O.P.I. Nail Lacquer – Funny Bunny
-Wet n’ Wild Megalast nail color – Red Tape
-L.A. Colors Nail Art Deco Nail Art Lacquer – Magenta
-L.A. Colors Nail Art Deco Nail Art Lacquer – Green
-Sinful Colors Professional – Fly Away
-L.A. Colors Nail Art Deco Nail Art Lacquer – Gold Glitter
I want everyone to be able to enjoy my videos, so for the hearing impared, this is what I said in the video:
Hey Everyone!
Today I’m going to show you how to create this adorable cupcake nail design.
This look is simple to recreate and really cute.
So here’s how you do it.
First paint your nails with a medium pink, then add an orange trapezoid at the bottom of each finger.
Next use a thin black nail art striper to create dimention in the cupcake foil.
This makes it look like the cupcake paper is folded, like it is in real life.
Next use a dotting tool or a q-tip to make the frosting on top of the cupcake.
You will also need an opaque white.
As you can see, the cupcake on the left has two coats of the white, making it more opaque, while the cupcake on the right only has one coat, and you can still see through it.
Add as many coats of white as you need to make it solid.
This is what my nails look like with 3 thin coats.
Make sure the cupcake whites look fluffy and lumpy for a better effect.
Now use the other side of the q-tip to dot on red cherries on top of each cupcake.
The cherries really pull together the look, so I wouldn’t skip this step.
Now here’s the fun part, you can choose as many colors as you want for sprinkles.
I used a green and a purple nail art striper polishes to get little dots.
If you want to use nail polish from a normal sized bottle, you will need to apply it with either a small dotting tool, or a toothpick because it’s brush is too big.
I think this blue looks great with the purple and green, so I used the toothpick to apply it.
After using those three colors, my nails looked like this.
For added glamour, you can add some gold glitter in between the black lines on the cupcake paper.
I think it makes the look so much cuter!
Here is the finished look!
I hope you all enjoyed this tutorial and found it helpful.
All the products used in this tutorial will be listed on my blog, and I will link it down below, so don’t forget to check it out!
If you want to see more videos like this, don’t forget to subscribe, or like my facebook page.
If you decide to recreate these cupcake nails, please tweet me a picture because I would love to see how it turns out!
Thanks for watching and I will see you in my next video. Bye!
Thanks for stopping by! Please subscribe to my blog if you like it!
xoxo Amber C Johnson from Super Beauty Guru <3



Pingback: cake supplies