Hey everyone! Today I’m going to show you how to paint a tribal-inspired nail design on your fingernails! This is one of the most complicated nail designs I’ve ever done, so I’m not gunna lie and say it’s super easy, but if you have a steady hand, it won’t be hard! All you need is patience and time, and a bunch of colors and you can do this! So let’s get started!
NOTE: THE WATERMARK IS OUTDATED, AND THESE PHOTOS BELONG TO SUPERBEAUTYGURU.COM, THE OLDER VERSION OF THIS BLOG IS NO LONGER ACTIVE.
Here are all the steps and products I used:
If you cannot view the above video, click for the tutorial: Tribal Print Nail Tutorial – How To Paint Tribal Print On Your Nails Subscribe to my Fashion and Beauty YouTube Channel!
Steps: 1) Apply a base coat to protect your nails.
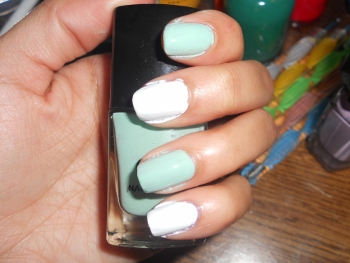
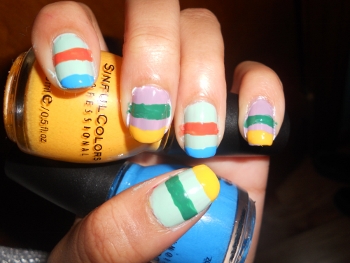
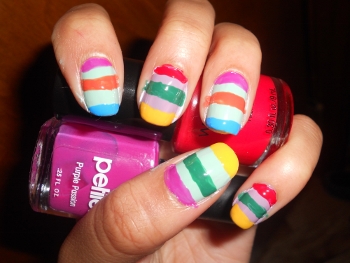
2) Paint your nails with white and mint colored nail polishes, alternating colors.
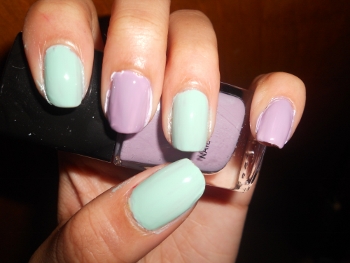
3) On top of the white, paint your nails with a lavender colored nail polish.
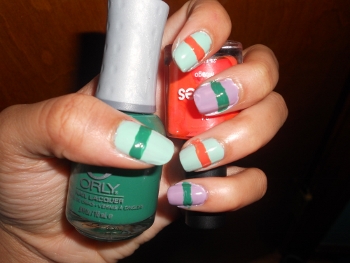
4) Use an orange and teal to create wide stripes in the middle of each nail.
5) Use yellow and blue to paint your tips.
6) Paint a stripe at the base of your nails with red and purple nail polishes. As you can see, this design has many colors.
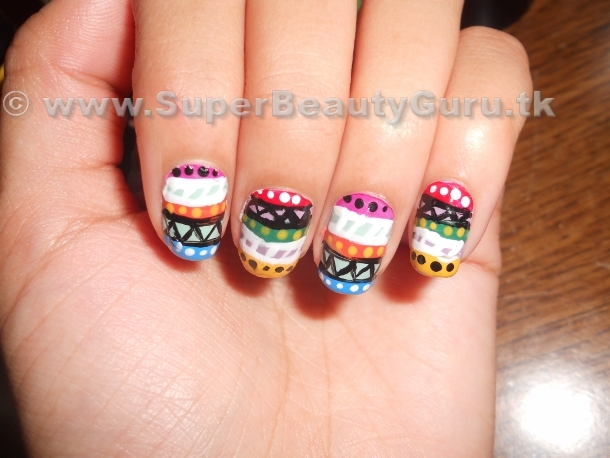
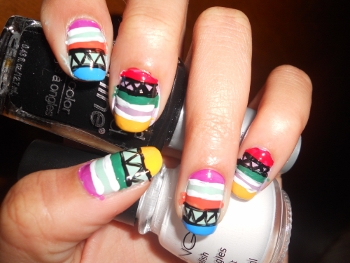
7) Make parallel lines with white, and again with black. Then make small black lines to create a triangle pattern.
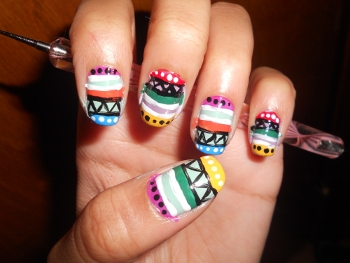
8) Make black and white dots on the tips and bases of your nails. On every other finger, alternate the position of the dots.
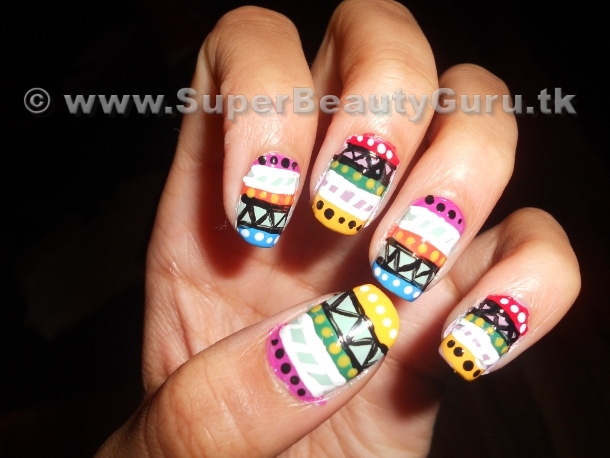
9) Create diagonal lines between the white to make the pattern shown below.
10) On the middle band, use a color with a lot of contrast– I chose yellow, and make a line of dots with a dotting tool. That’s it for the design!
11) Lastly, apply a clear topcoat to keep your design lasting as long as possible!
Nail Gallery
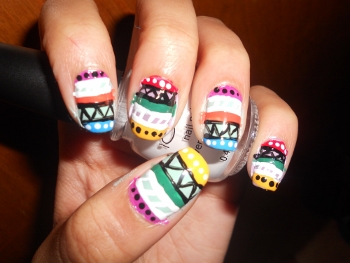
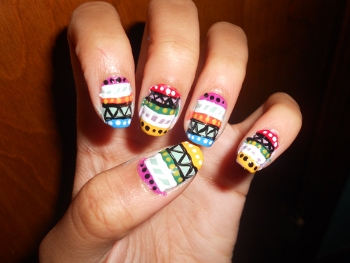
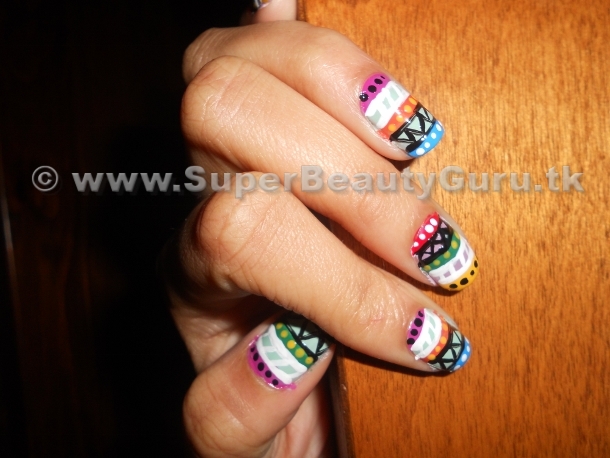
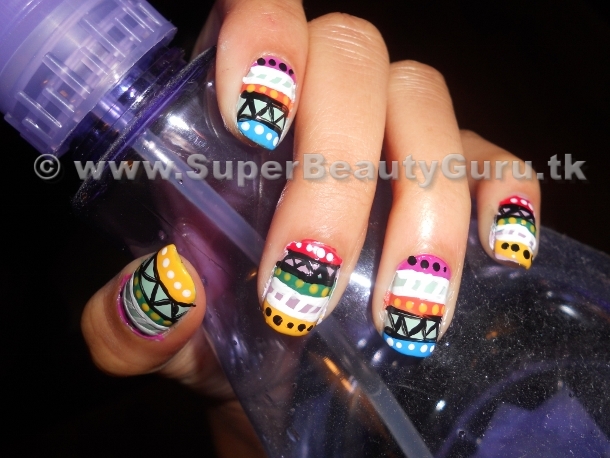
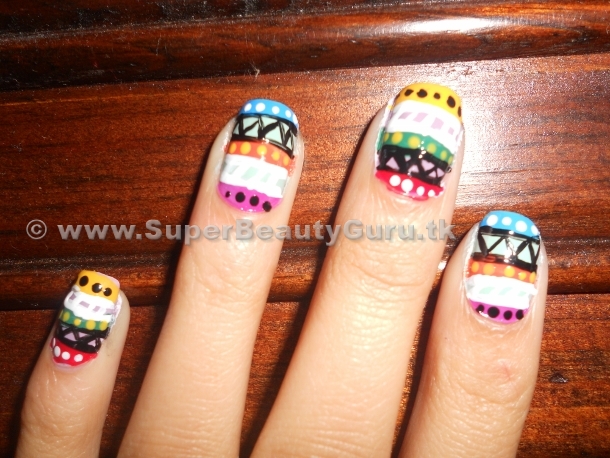
I love this nail art because it is complex, colorful, fun, and super trendy right now. Enjoy these large pictures below of my work:
Products Used:
-Sally Hansen Continuous Treatment Base and Top Coat – Clear
-Ton of colors — ton of brands lol
I want everyone to be able to enjoy my videos, so for the hearing impared, this is what I said in the video:
Hey guys! Today I’m going to show you how to paint a tribal-inspired design on your finger nails! This design is very trendy right now, and I got tons of complements when I had my nails like this. Keep in mind this design did take me an hour to do, so if you’re not patient, this look is probably not for you, but you can still watch the tutorial to look at the pretty pictures. Okay, so here’s how you do it. After your basecoat dries, paint half of your fingernails white, alternating with a mint green. Now paint over the white with a lilac color. I used the white to brighten up the lilac because mine was too sheer without it, but you don’t necesarily need that step. Paint a thick stripe somewhere near the middle of each nail alternating with a teal and orange. Now paint your tips with blue and yellow. Pair the yellow with the teal and the blue with the orange for contrast with the cool and warm-toned colors. At the base of your nails, alternate between red and purple. Now, use a thin nail brush and make two white parallel lines like these between the stripes of color, and do the same with black. Fill in the black lines with diagonal line segments to form triangles. Between the white lines, make diagonal parallel lines to make this pattern. Use a dotting tool to make black and white dots on top of the solid colored bands. Next, choose a contrasting color to dot allong the middle band. I picked yellow because it shows up well against the teal and the orange. After this all you need to do is dip a q-tip into nailpolish remover and clean up the excess polish around your nails, and add a top coat once everything’s dry. After a lot of fun bright colors, and an hour of time, this is what the look ended up looking like. If you have the patience to do this, go for it! Tweet me a picture if you end up trying this out, my link is in the bottom bar. There will be a list of all the products used on my blog, so check it out if you’re interested! Thanks so much for watching and I’ll see you in my next video. Bye!
Thanks for stopping by! Please subscribe to my blog if you like it! xoxo Amber C Johnson from Super Beauty Guru <3
I have the biggest pleorbm keeping polish on my nails. The last color I put on what a matte gray, but being a pianist…my nail color chips so easily, so most days my poor little ol nails are bare:(. Your nails on the other hand are so so pretty! I love the spectrum of warm fall colors you chose. I have to even say…seeing this loveliness makes me want to get motivated and paint my nails like this:) Have a good week Chantilly!