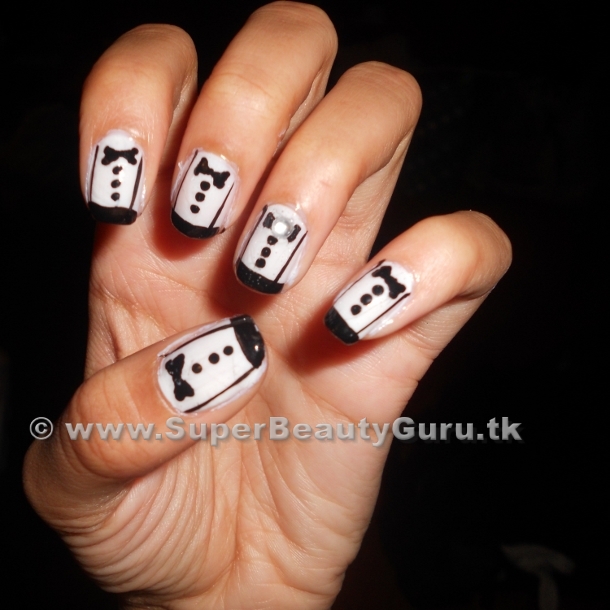
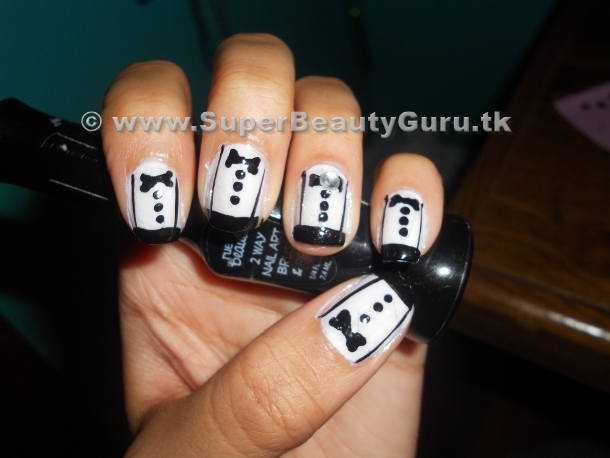
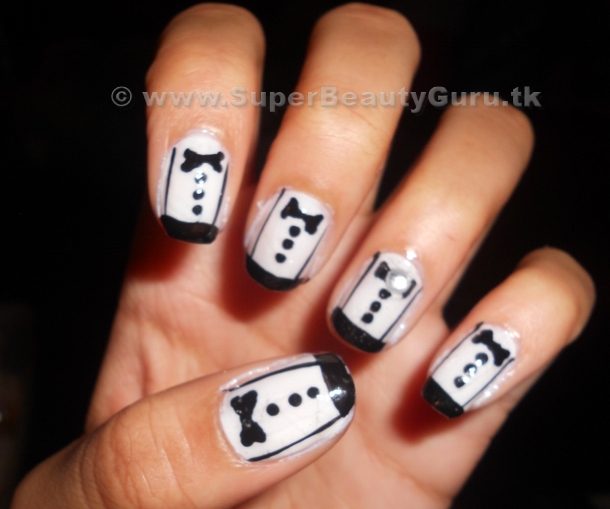
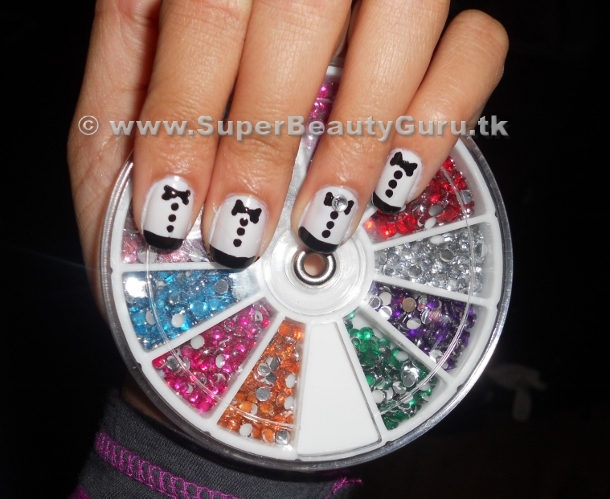
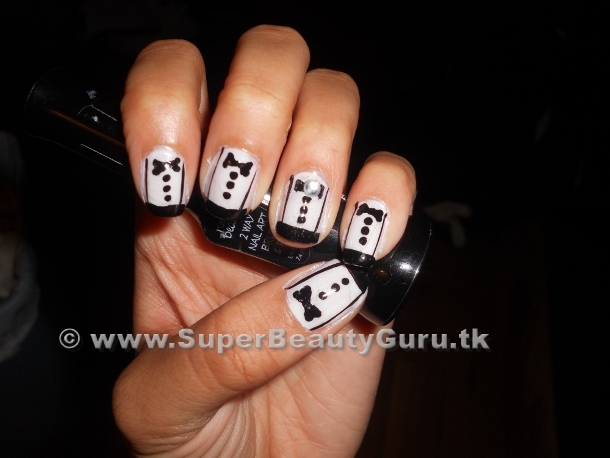
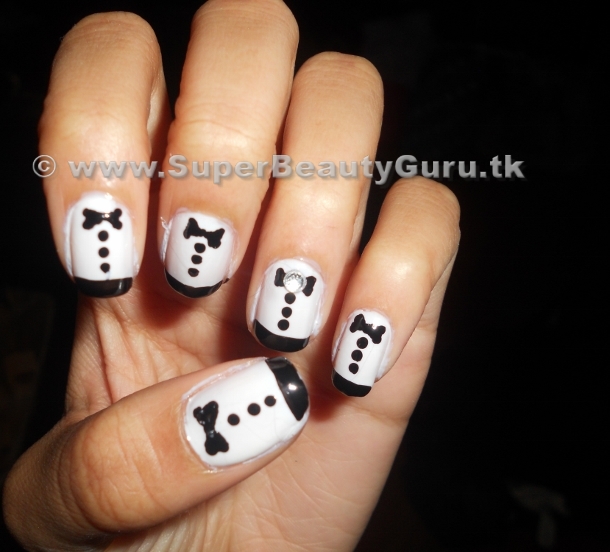
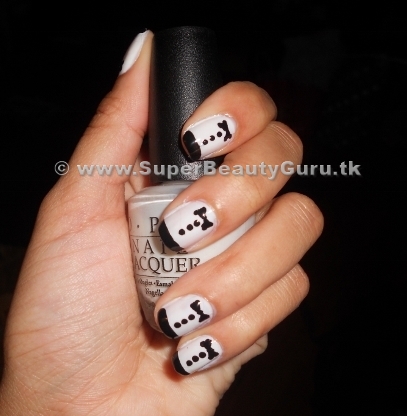
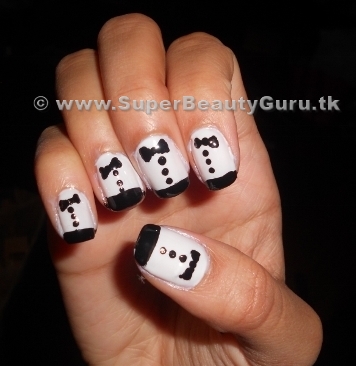
Hey everyone! Today I’m going to show you how to create black and white tuxedo nail designs. This look is cute and innovative and is a pretty simple nail design to create. I wore this to school with a white blouse, black skinny jeans, a black bow-tie and suspenders and everyone loved it! You obviously don’t have to dress to match your nails like I did, but the design is super cute!
NOTE: THE WATERMARK IS OUTDATED, AND THESE PHOTOS BELONG TO SUPERBEAUTYGURU.COM, THE OLDER VERSION OF THIS BLOG IS NO LONGER ACTIVE.
Here are all the Steps and Products I used:
If you cannot view the above video, click here for the tutorial on this look: Tuxedo Nail Tutorial: How To Paint Tuxedo Nail Designs
Subscribe to my Fashion and Beauty YouTube Channel!
Steps
1) Apply a base coat to protect your nails.
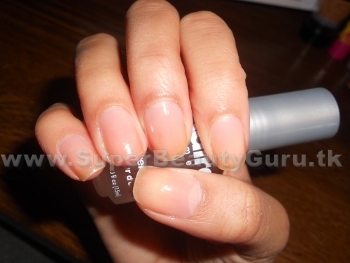
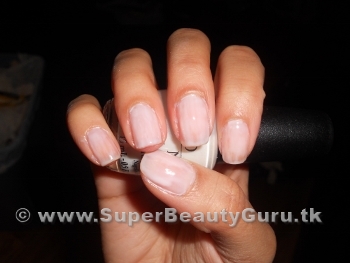
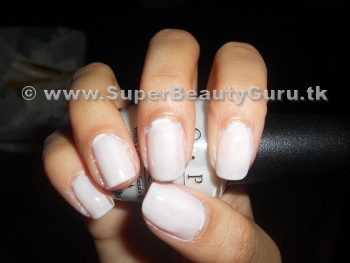
2) Paint your nails white. I like this transparent white color better than a stark white nail color, but it requires a few coats for a good enough opacity for this look. This is one coat.
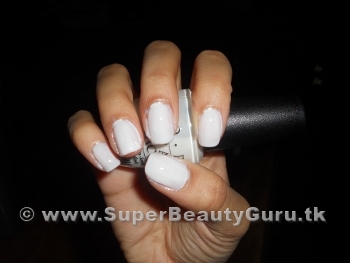
Two coats.
Three Coats. Make sure you let these dry.
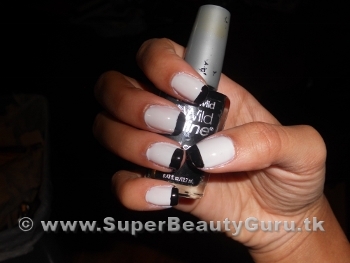
3) Paint your fingernail tips black. I free-handed this, but if you need to you can use tape to get straight lines, but you would need your nails to dry completely first.
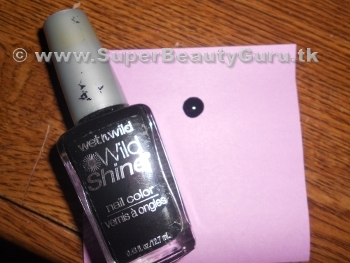
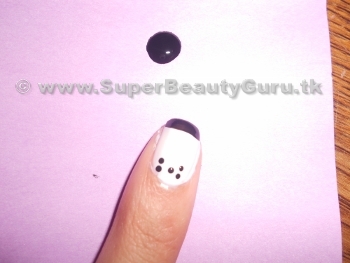
4) Dot some black nail polish on a sticky note or paper and use a toothpick to dot out the outline of your bow. Dot where your middle and corners are going to be.
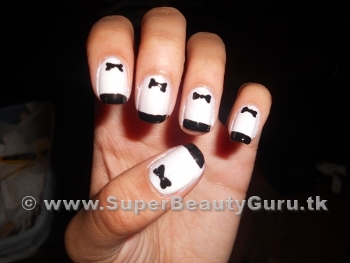
5) Next, fill in the bows.
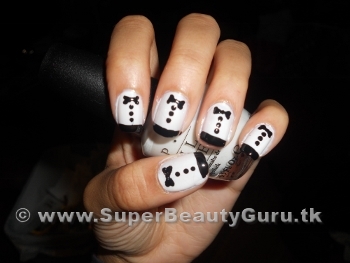
6) Use a dotting tool to get perfect dots for the buttons.
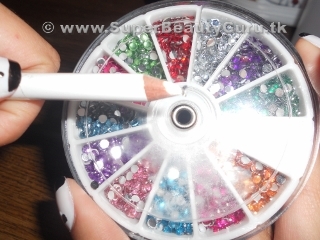
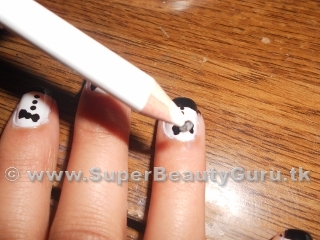
7) Add a drop of topcoat on the middle of the bow on your ring finger, then place a clear or a black rhinestone on top.
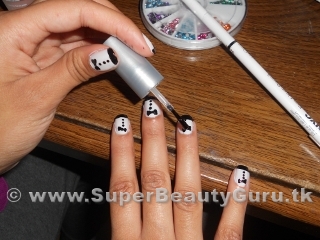
8) Add vertical stripes with a nail striper for suspenders.
8) Now add a topcoat and seal in your design. You’re done!
Products Used
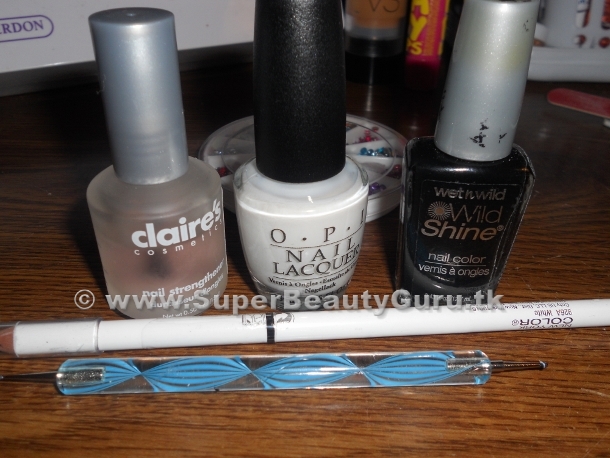
And if you decide to add the suspenders, these are all the products needed:
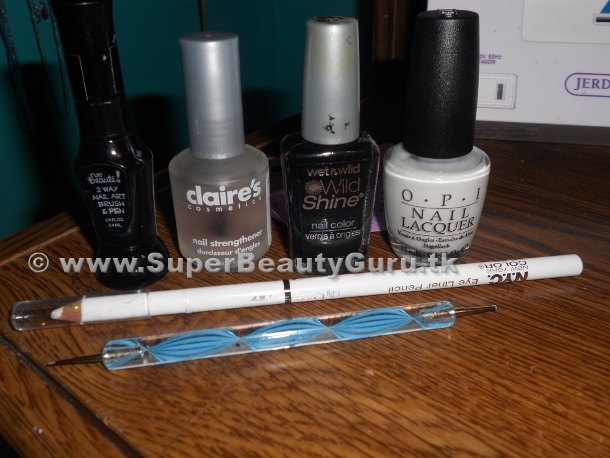
-Claire’s Nail Strengthener – Clear
– Wet n’ Wild – Black Creme
-OPI – Funny Bunny
-Rue 21 Two Way Nail Art Brush and Pen – Black
-Rhine Stone Picker-upper pencil
-Dotting tool
Nail Gallery
Hope you all liked these tuxedo nails and could follow the step by step nail tutorial. Here are more pictures of the look.
Video Transcribed:
Hey guys! Today I’m going to show you how to create tuxedo nails!
I did these back in January, and I’ve been so busy, but now you get to see them.
I got tons of complements on these, and I’m sure you will too if you try them out!
Here are all the materials you will need, and now, I’ll show you how.
Start out with a basecoat as usual, to protect your nails.
Next use a white, this one is kinda transparent, but that’s why I chose it.
I really like the transparent white look.
This is one coat, two coats, and a third one.
Now get a black nailpolish, and paint the tips of your nails.
I freehanded this part, but you can use tape if you have trouble making straight lines.
Now dot some black on a paper or sticky-note.
Use a dotting tool or toothpic to dot out the outline of a bow.
Make four dots and a middle.
Now connect the dots and fill in the bows.
Now, get a dotting tool, and make three dots down the center of the nail.
These are the shirt buttons.
Now for added glam, put a little bit of clear-coat on your ring finger,
then get a rhinestone, and use a rinestone pencil or dry eyeliner pencil to pick it up.
Next, put it in the middle of the bow on your ring finger.
If you like this design, you can stop there, and add a top coat to seal it all in.
But if you have a black nail striper, you can add two parallel verical lines for suspenders.
Seal that with another topcoat, and you’re done!
I loved this design so much, that when I wore it to school I wore a white blouse with a black bowtie and black suspenders to match it.
I hope you all like this design as much as I do!
If you try it out, tweet me a picture! I’ll even retweet it for you.
Don’t forget to check out my blog for more photos of this design!
The products used will be listed on my blog as well.
Thank you so much for watching, and I’ll see you in my next video, bye!
Thanks for stopping by! Please subscribe to my blog if you like it! xoxo Amber C Johnson from Super Beauty Guru <3
Hi Amber! ^-^ I’ve tagged you in a “11 questions tag.” I hope you’ll have fun with it! 😀 http://glittergirlc.wordpress.com/2012/04/05/11-questions-tag/
Thanks for tagging me! I’m working on it right now! 😀
That is super cute! I am definitely going to try out soon, looks fab!
Thanks Mimi! 🙂
Thank you!! You should send me a picture if you do!