Posts by admin:
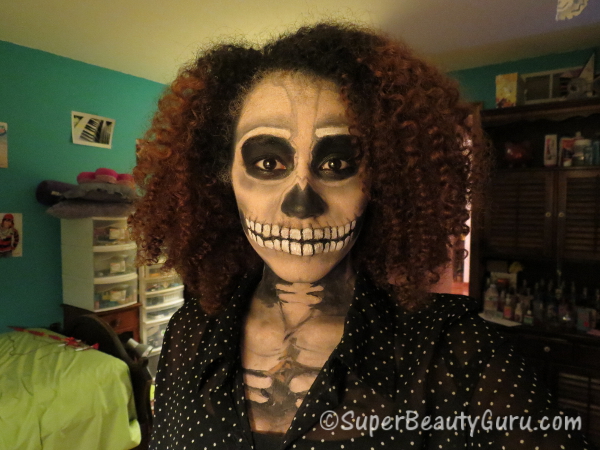
Skeleton Makeup Tutorial Halloween Costume
March 3rd, 2013Hey everyone! Today I’m going to show you how to create a realistic looking skeleton makeup look.
This is a great look for Halloween, and was actually what i was this Halloween. It’s super scary and will be useful if you like scaring people or freaking out your friends! I scared my friend Kaitlyn really well when she came to my house and I jumped out at her. The skeleton makeup is very detailed and included a skull and a chest of ribs. The finished look is pretty amazing in my opinion!
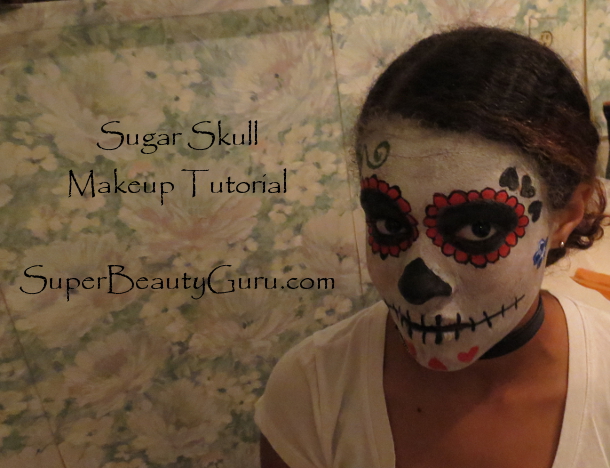
Sugar Skull Day of the Dead Makeup Tutorial (Dia de los Muertos)
November 22nd, 2012Hey everyone! Today I’m going to show you how to create a sugar skull makeup look.
This makeup is perfect for Halloween, and is a really good costume because if you don’t want to have to buy a costume, you can just paint your face to make you look like a sugar skull, then you’re done!
Here are all the Steps and Products I used:
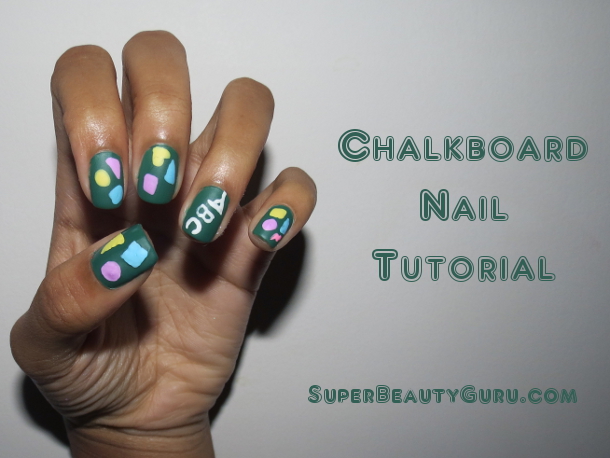
Chalkboard Nails: Chalkboard Nail Tutorial
October 4th, 2012Hey everyone! Today I’m going to show you how to create Chalkboard Nails! I wore this nail design in the beginning of the school year, I just started my junior year of high school, and it was a great design to start the year with. Whenever I think “chalkboard” my mind instantly associates it with school, so that’s why I wore this as my back to school nail look.
The coolest thing about this tutorial is that it makes your nails look just like a chalkboard because of the color (Lucky Duck by Orly), designs, but most importantly, the matte finish. I used a special nail polish that gives any design a matte finish, which removes the shine from the nail polish and makes it look exactly like a chalk board.
Here are all the Steps and Products I used:
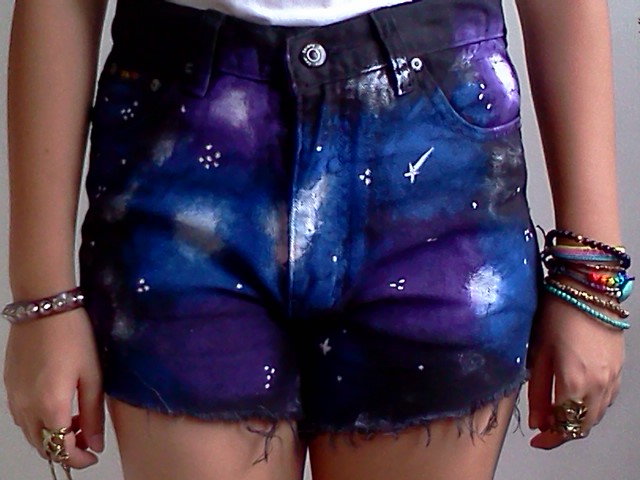
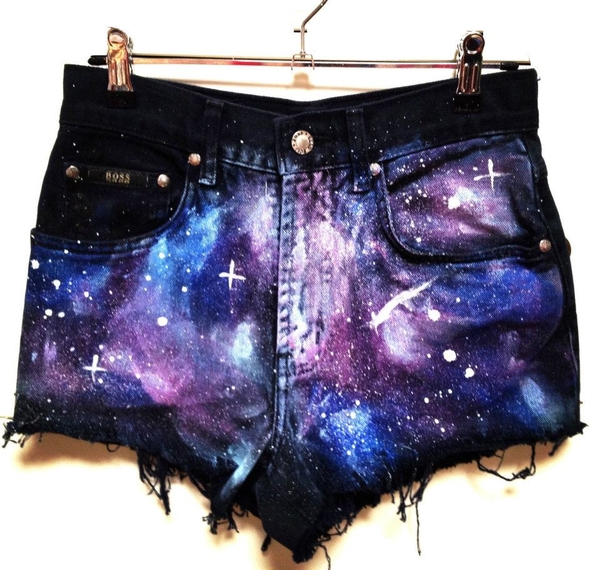
How to Make Galaxy Shorts DIY
August 22nd, 2012Hey everyone! I have been loving the galaxy clothing trend I’ve seen lately online (and by lately I mean like 10 times a day for the past year) and I really want to try it out for myself. One of the best ways to wear this galaxy trend is on your shorts. I love the print on leggings, shorts, shirts, shoes (the Jeffery Campbel Galaxy Print Lita’s are to die for!) and I love the galaxy print nail design!
Here are a few pictures of the trend that I am talking about (note that these are NOT my shorts, I found these pictures on tumblr):
(source)
(source)
Here’s a tutorial on how to turn a pair of regular black denim shorts into a pair of these awesome galaxy printed ones!
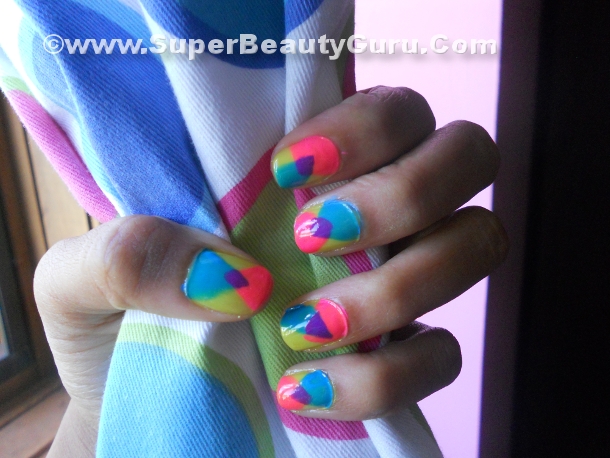
Overlapping Triangle Nail Tutorial
August 6th, 2012Hey everyone! Today I’m going to show you how to create an Overlapping Triangle Nail Design.
This nail design is nice and colorful, making it great for the spring or summer, and it’s pretty simple to do! I know you guys like my simple nail tutorials so I think this one is a design you will like.
Here are all the Steps and Products I used:
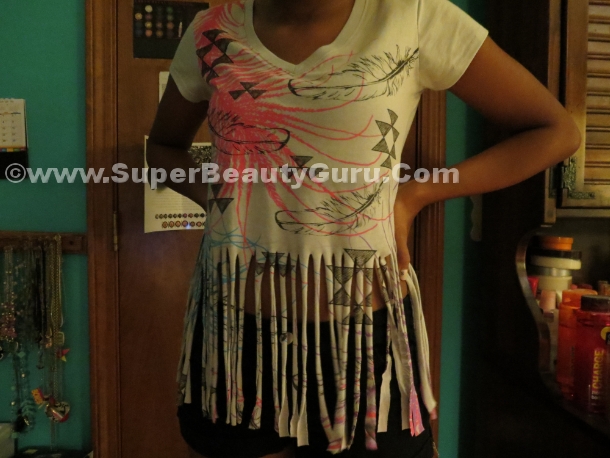
How to Fringe a Shirt DIY
July 30th, 2012Hey everyone! Today I’m going to show you how to create a fringed shirt out of a regular t-shirt.
This is a really simple and easy do it yourself clothing modification tutorial. I show you how to turn a regular cotton shirt into a cool fringed top. If you have a shirt laying around that you don’t wear because it’s pretty loose on you, this is a great way to get some use out of it. All you need are a pair of scissors and some spare time and you can get really creative and transform your old shirt into something new. The fringe trend is really cute, so I encourage you to try it out!
Here are all the Steps and Products I used:
Read the rest of this entry “
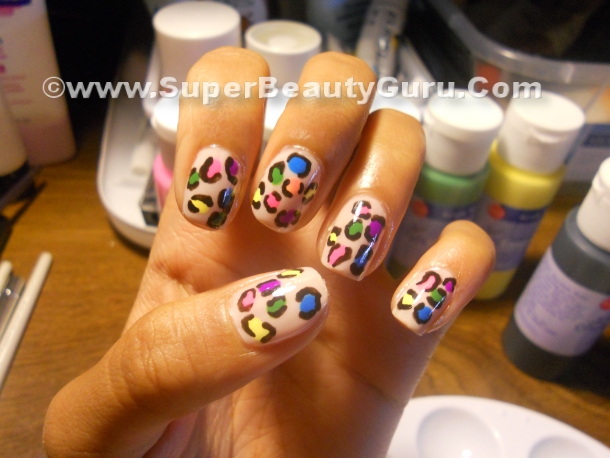
Colorful Leopard Print Nail Tutorial: How to paint a leopard print manicure
July 25th, 2012Hey everyone! Today I’m going to show you how to create a colorful leopard print nail look.
This nail look is great for whenever you want to jazz up your nails but you don’t have much time. This look is also very simple, so if you don’t have great nail designing skills, you could easily do this design. It only takes a few minutes to achieve this look, so it’s a great look to do in a pinch! The colors are great for any season, everyone loves color in spring and summer, and everyone needs color in fall and winter when most things turn gray. The video tutorial for these nails is super short and to the point. It really doesn’t take much time at all to do these nails, so I hope you try them out!
Here are all the Steps and Products I used:
Read the rest of this entry “
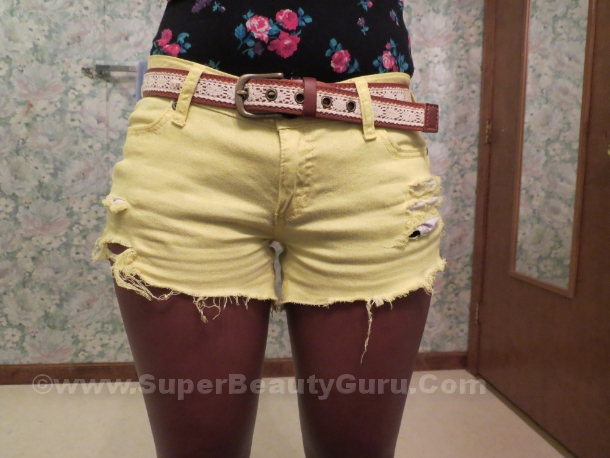
How To Turn Jeans Into Distressed Jean Shorts Tutorial
July 21st, 2012Hey everyone! Today I’m going to show you how to create how to turn jeans into distressed shorts.
I had a pair of bright yellow skinny jeans that looked great on me, but unfortunately, they had a stain on them on the pant leg. I tried everything to remove the stain, but it didn’t budge, so instead of getting rid of the jeans, I decided to turn them into a pair of shorts. I decided to make them into a pair or distressed shorts because I love that look, and it’s really fun to do.
If you have a pair of jeans that were like mine, stained lower down on the leg area, or perhaps yours fit well, except the leg doesn’t go down far enough. If that is the case, don’t get rid of them! Simple turn your long pants into short pants. You can do this with any type of pants, but only attempt to distress denim shorts. I’m sure there’s a way to do that to other materials, but I don’t know how to do that yet, so try it out with denim first.
Denim shorts look really great when it’s distressed. Distressed shorts are basically shorts that have shaggey edges, rips, tears, fringe, or look worn out. Nowadays, tons of people buy shorts that look like this, or they do it to a pair of shorts/pants that they already own to get that worn look. I think this style is fabulous, and I love the outcome of my shorts!
I’ve been loving this look for such a long time, just check my Tumblr and you will see all the pairs of distressed denim shorts I have reblogged, it’s crazy. I wish I could wear short shorts like these to school because they’re so cute, and they definitely cover everything they need to, but sadly my school doesn’t allow that so I’ll just wear these during the summer or on weekends. In college I’ll get to though. I hope they still fit when I get to college!
Here are all the Steps and Tools Used in this Tutorial:
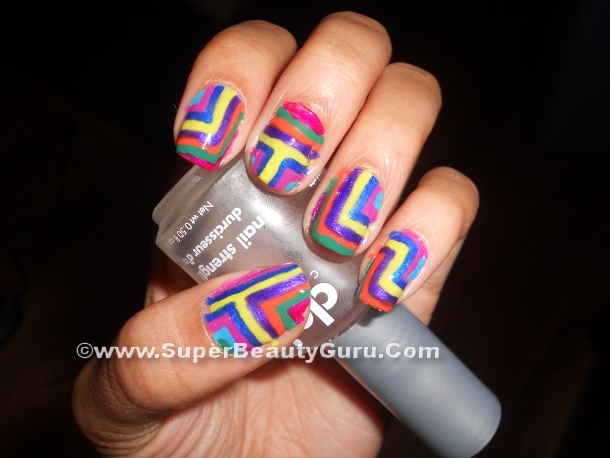
Colorful Geometric Nail Design Tutorial
July 10th, 2012Hey everyone! Today I’m going to show you how to create a Colorful Geometric Nail Design.
This is a super bright and colorful nail look that can jazz up any outfit. It’s great to wear in the Spring or Summer when everyone loves wearing color, but It’s also nice to wear in the winter when everything is dark and you want a pop of color on your nails. You can use a bunch of different nail polishes that you already own and put them together for this simple nail look.
Here are all the Steps and Products I used:
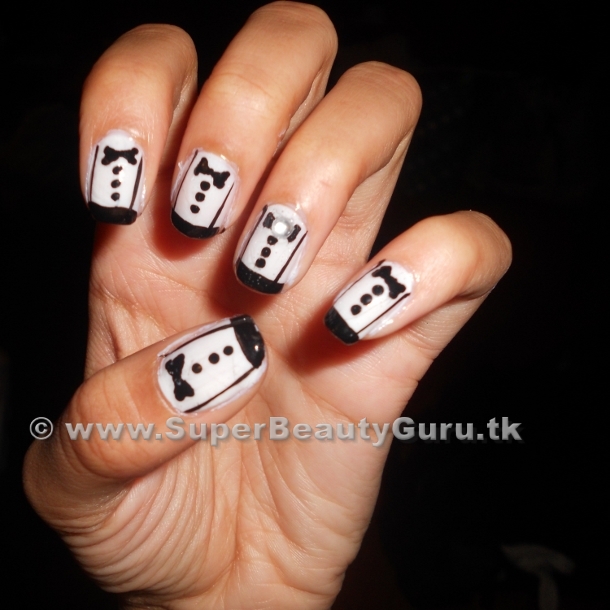
Tuxedo Nail Tutorial: How To Paint Tuxedo Nail Designs
March 18th, 2012Hey everyone! Today I’m going to show you how to create black and white tuxedo nail designs. This look is cute and innovative and is a pretty simple nail design to create. I wore this to school with a white blouse, black skinny jeans, a black bow-tie and suspenders and everyone loved it! You obviously don’t have to dress to match your nails like I did, but the design is super cute!
NOTE: THE WATERMARK IS OUTDATED, AND THESE PHOTOS BELONG TO SUPERBEAUTYGURU.COM, THE OLDER VERSION OF THIS BLOG IS NO LONGER ACTIVE.
Here are all the Steps and Products I used:
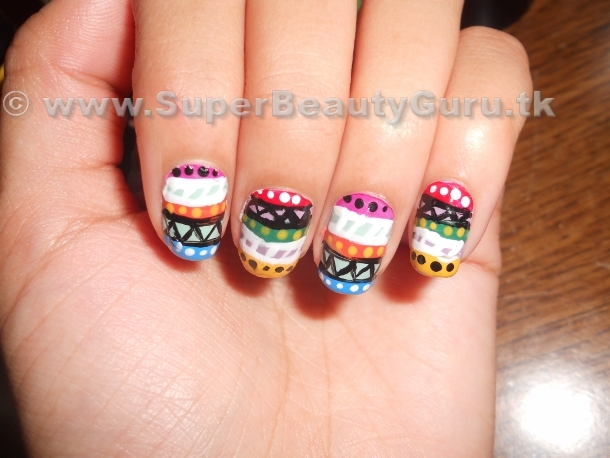
Tribal Print Nail Tutorial – How To Paint Tribal Print On Your Nails
February 26th, 2012Hey everyone! Today I’m going to show you how to paint a tribal-inspired nail design on your fingernails! This is one of the most complicated nail designs I’ve ever done, so I’m not gunna lie and say it’s super easy, but if you have a steady hand, it won’t be hard! All you need is patience and time, and a bunch of colors and you can do this! So let’s get started!
NOTE: THE WATERMARK IS OUTDATED, AND THESE PHOTOS BELONG TO SUPERBEAUTYGURU.COM, THE OLDER VERSION OF THIS BLOG IS NO LONGER ACTIVE.
Here are all the steps and products I used:
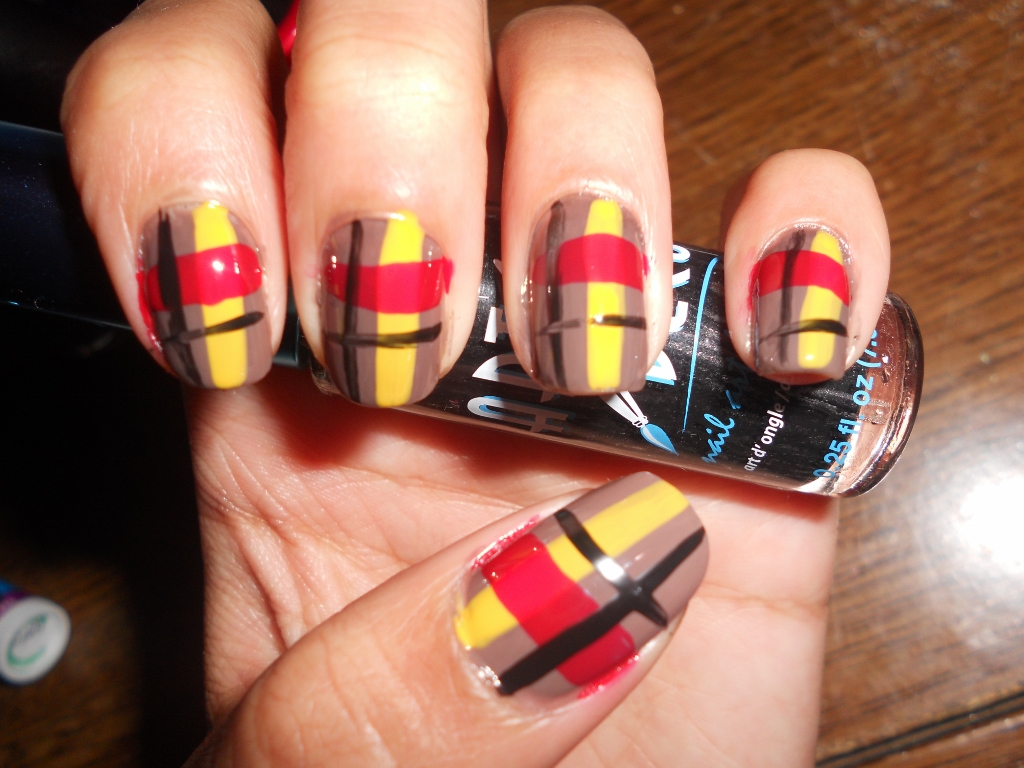
Plaid Nail Art Design Tutorial: How to Paint Plaid Nail Polish on Finger Nails
January 20th, 2012Hey everyone! Today I’m going to show you how to create Plaid Nail Art Designs on your nails! This design is amazingly simple, so anyone can recreate this look! It’s sophisticated, so if you aren’t into the younger designs I like, you will definitely like this one!
Here are all the steps and Products I used:
Read the rest of this entry “
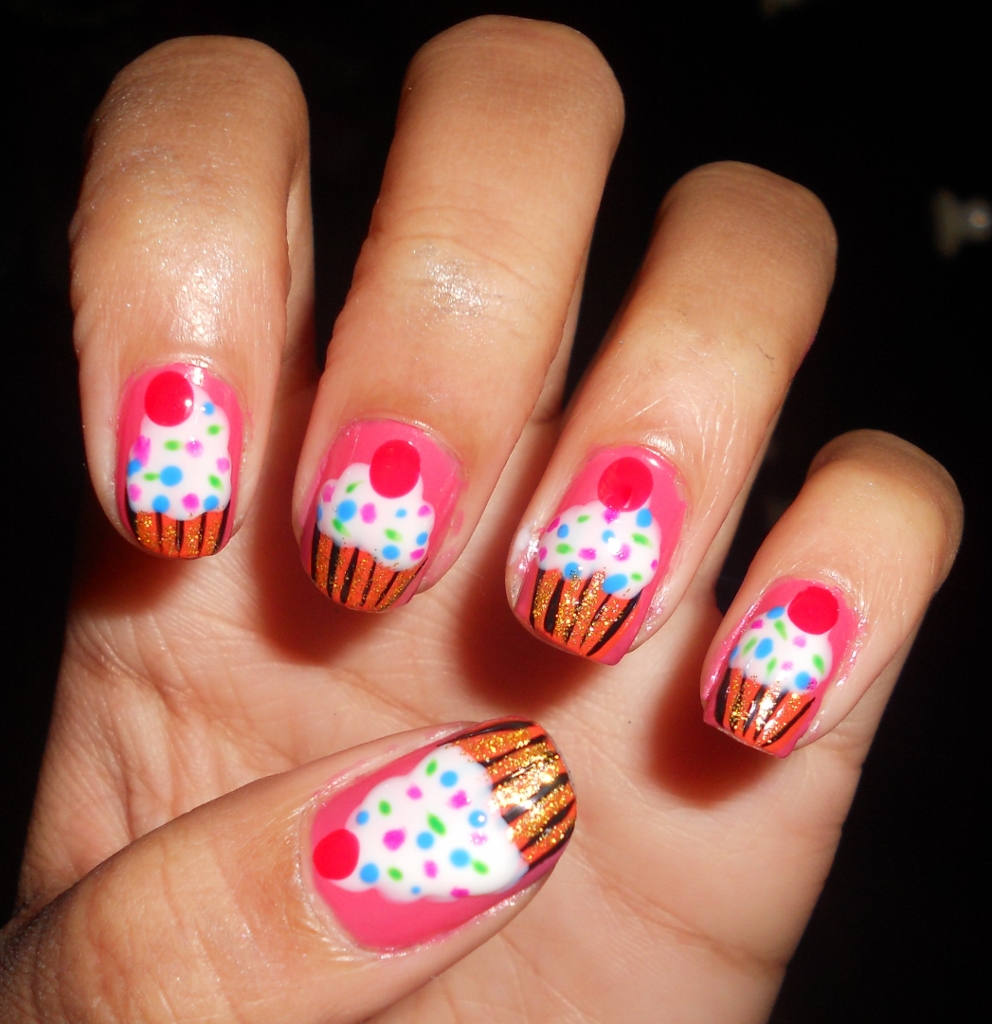
Cute Cupcake Nail Tutorial: How to Paint Cupcake Nail Designs
January 16th, 2012Hey Everyone! Today I am going to show you how to paint these adorable cupcake nail art designs on your nails! I think they are super cute, and when I wore them to school, I got a ton of compliments! I hope you enjoy!
Here are all the steps and Products I used:
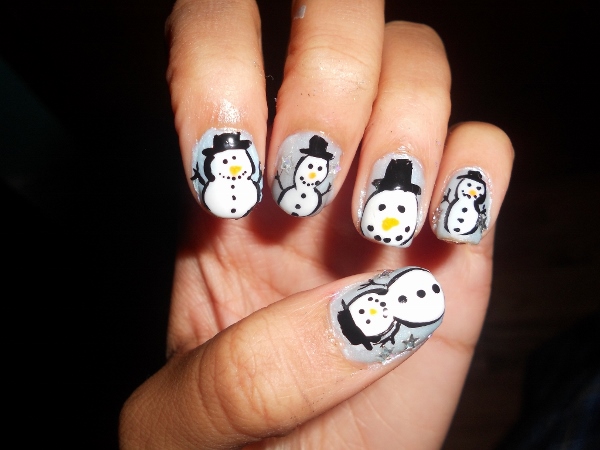
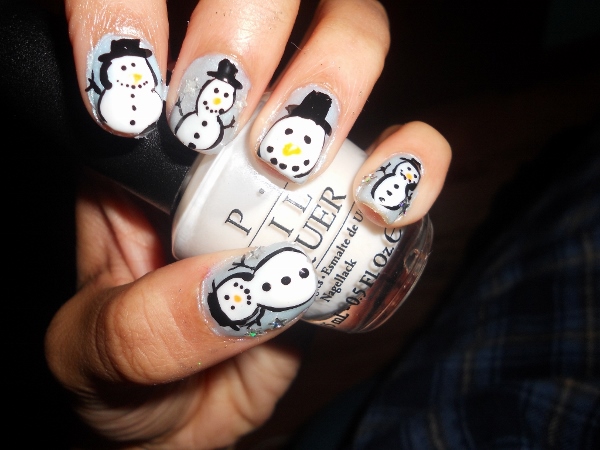
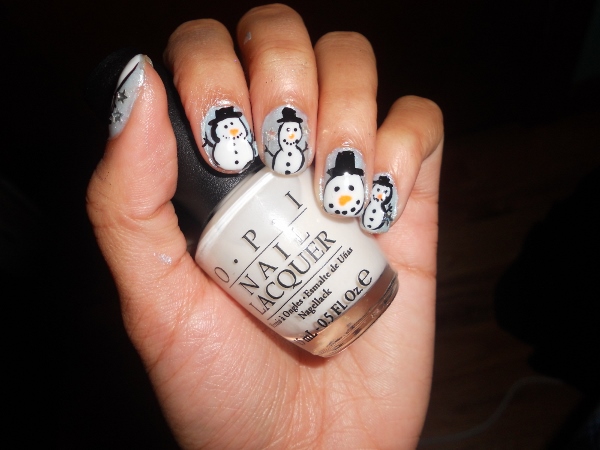
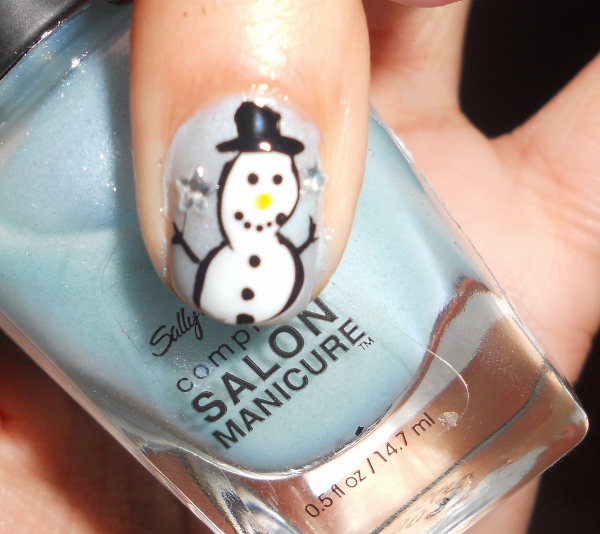
Snowman Nails! A Cute Winter Manicure Nail Design
January 12th, 2012Hello everyone! So I painted my nails around Christmas time, and never got around to posting it on my blog! I would have filmed a nail tutorial, but my video camera doesn’t focus up-close, so I’m out of luck there 
Steps:
1) Apply a base coat to protect your nails.
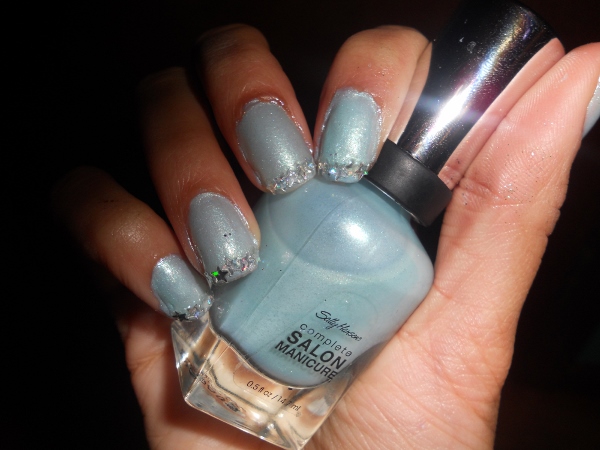
2) Paint all of your nails using a pale shimmery blue. The large shimmer pieces in my nail polish give the nail the illusion of falling snow in the background. This makes it look like it’s snowing behind the snowmen.
3) Using an opaque white, make two circles, one on top of the other, the lowest one being the bigger circle. (If you are creating an accent finger, you would only make one circle on your ring finger, because on this finger I made the snowman up close. You would still make two circles on the other nails.) You can use a dotting tool, nail pen, nail marker, or a thin-brush nail polish to make the circles, but I applied the white straight from the normal bottle of nail polish it came in. The brush was small enough, and I have good control over it. Make sure to leave space at the top of the nail because this is where the hat will go.
4) Using a thin-brush black nail polish, outline the two circles forming the snowman silhouette. Now use the same nail polish to paint on the arms and hat. I had a black with a thin brush on one side and a pen on the other, so I used that to dot on the smile and buttons. Try to make sure the dots you make on the face aren’t too big, or else it will get messy. Make two more dots of the same size for the eyes. You might want to use a dotting tool for this step, I would if I were to redo this nail look.
5) To make the carrot nose, I dipped a toothpick into an orange nail polish and made a dot in the center of it’s face. While the dot was still wet I used the tip of the toothpick to slightly tug the color to one side to make the carrot pointed shape. A toothpick is great for this step because you need a precise point to do the nose.
6) This step is optional, but for extra glitter, I added shiny silver stars to the sides of the snowmen. If you don’t have anything like this you can skip this step, or use silver rhinestones.
7) Once your design is done, wait 20 minutes for it to dry, then seal it in with your favorite top coat. This will keep the stars from falling off, make the nail more even and shiny, and keep your design from chipping.
Products Used:
-Sally Hansen Continuous Treatment Base and Top Coat – Clear
-Sally Hansen Complete Salon Manicure – Dive Deeper
-OPI Nail Lacquer – Funny Bunny
-Art Deco Nail Striper – Black
-Wet n’ Wild Megalast Nail Color – Sunburst
-Silver Star Nail Accessories
Thanks for stopping by! Please subscribe to my blog if you like it
xoxo Amber C Johnson from Super Beauty Guru <3
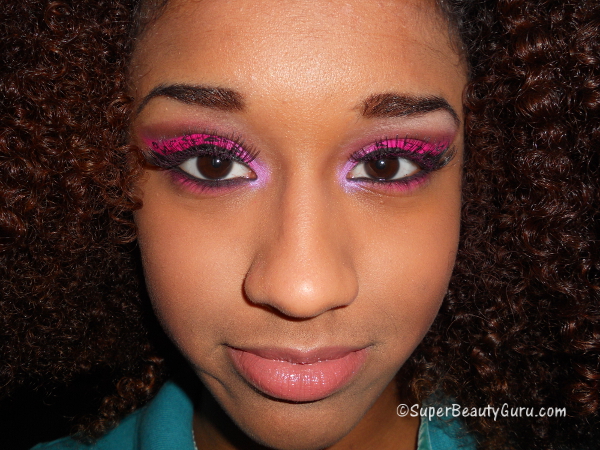
Pink Leopard Print Eye Makeup Tutorial
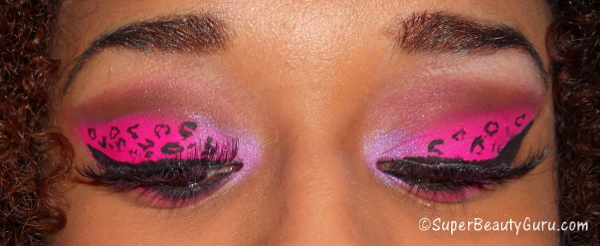
November 23rd, 2011Here’s what my makeup looks like for today’s tutorial:
Here is what I used, and a video tutorial on how I created this crazy makeup look:
